
Patching holes
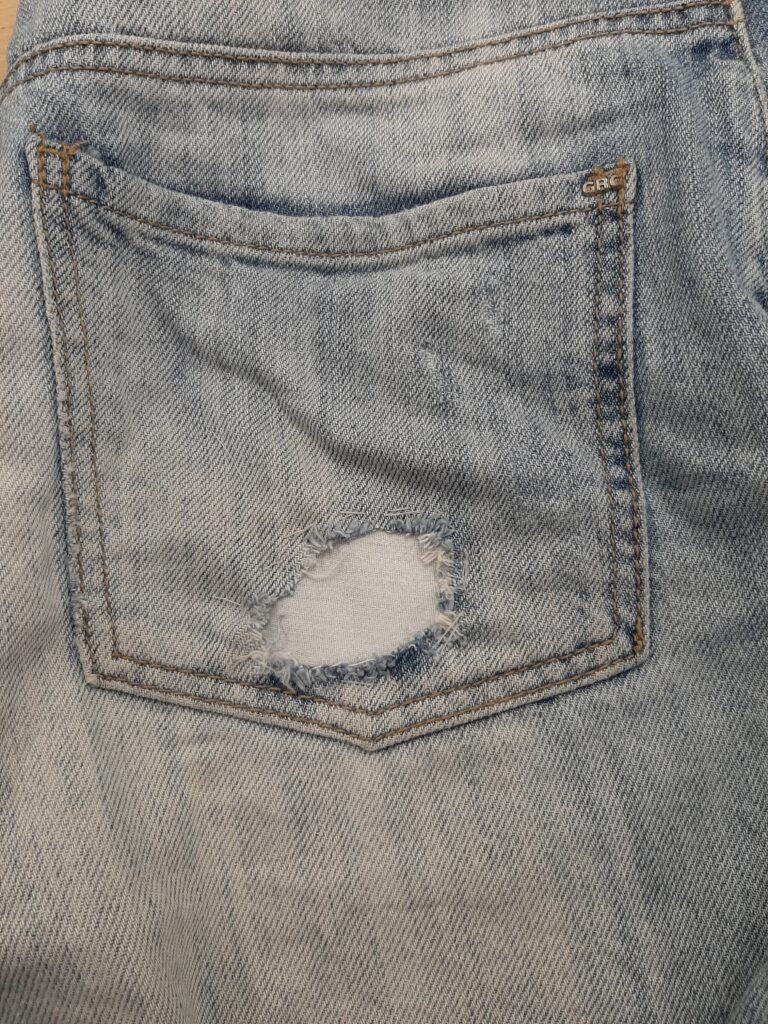
I’ve found that some of my clothes have some holes in them. Instead of tossing them, donating them, or going around with holes in my items I decided to try to give them new life by adding patches to cover them up.
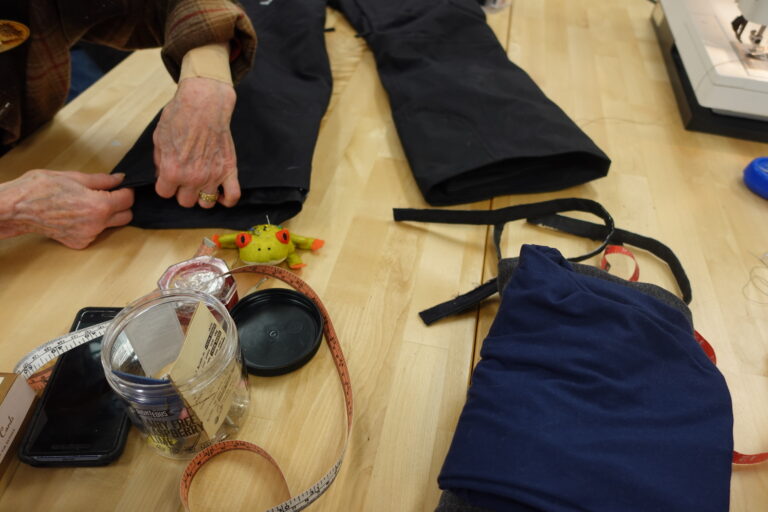
For some old jeans, I sewed some scrap material to cover the hole so that I’d be able to iron my patch on to it. That way the pocket would still be useable as the patch wouldn’t adhere to the inside of the pocket.
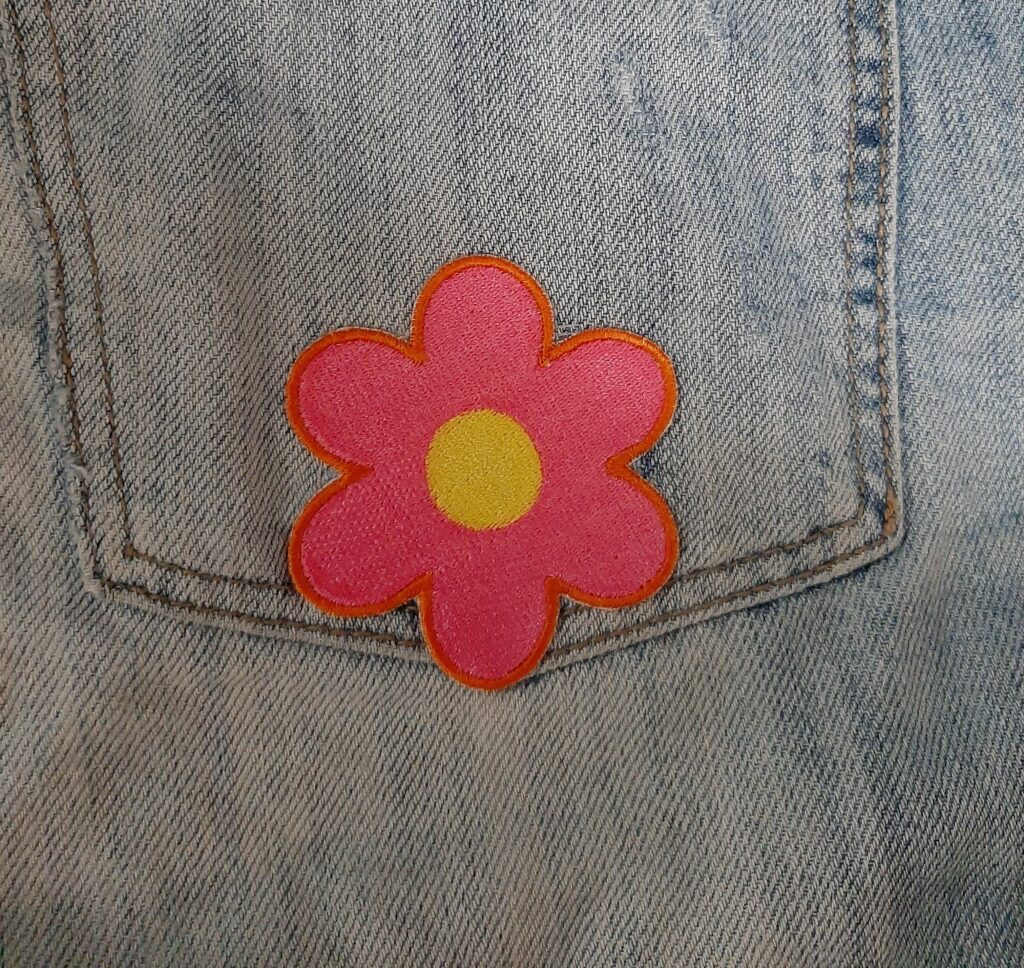
I designed a simple flower using the Makerspace embroidery software and measured the hole to see what size my patch needed to be. Once I saved my PES file to a USB stick, I plugged it into the embroidery machine, threaded it, and hit go.
Once it was finished, I cut the patch out and used iron on adhesion in the textiles lab to iron it onto my jeans.
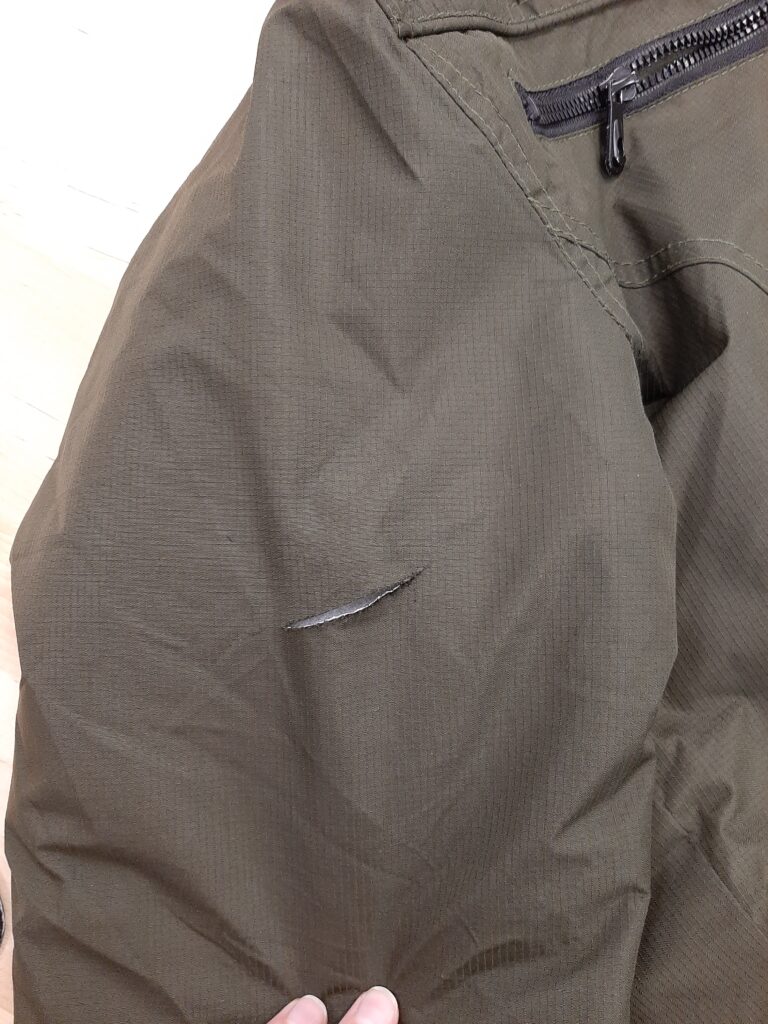
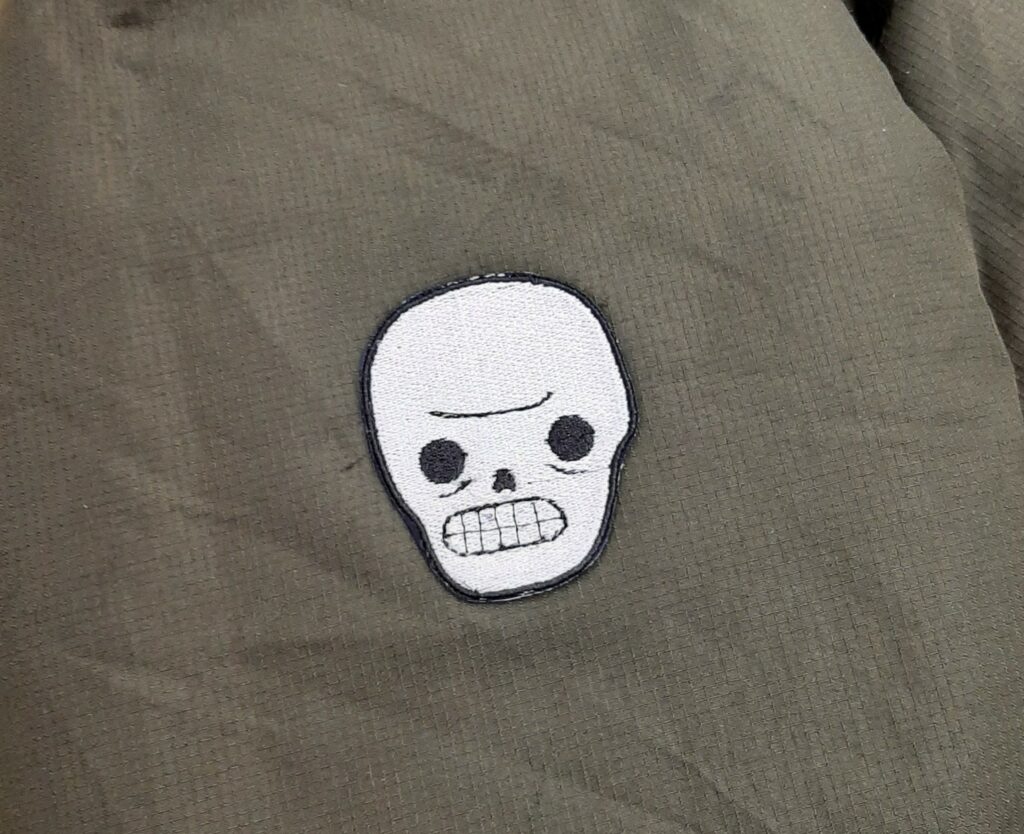
I did pretty much the same process for a jacket that had a cut in the arm. I designed my patch and cut it out. This time, I tried using fabric glue to stick it on because I wasn’t sure the material of the jacket could be ironed. The fabric glue did not work very well though, and my patch fell off. I ended up just stitching it by hand with needle and thread. It was tough to get the needle through the fabric of my jacket, so I had to use pliers to help me push and pull the needle through.
I’m happy with how they turned out, and now have a way to fix clothes that will probably look better that me attempting to sew the holes or rips closed.