Make Your Own Identity Token!
This fun and quick tutorial will walk you through the process of designing and printing your identity token! This tutorial usually takes between 30-60 minutes and by the end you will have learned:
- How to design a simple 3D object using Tinkercad
- How to prepare an object to be 3D printed using Cura
- How to use our Ultimaker 3D Printers
- The rules and process for using the Makerspace 3D Printers
The identity token is your passport to 3D printing! It lets us know that you understand the basics of how we do 3D printing in the Makerspace.
The token is also a gift you’re making the Makerspace! We’re collecting them to turn into a display that shows all the many people who are part of our community. Including you! So if you want to keep a copy of your token, you’ll need to print two (don’t worry, we will show you how to do that later) so you can take one with you.
Before we get started, please take a moment to read the Makerspace’s 3D Print Guidelines and if you have any questions ask a staff member.
Okay! Let’s begin!
Let’s begin!
- Open TinkerCAD: www.tinkercad.com
- Login with an existing account or create a new account.
- Once logged in, click “+ New” and then “3D Design”
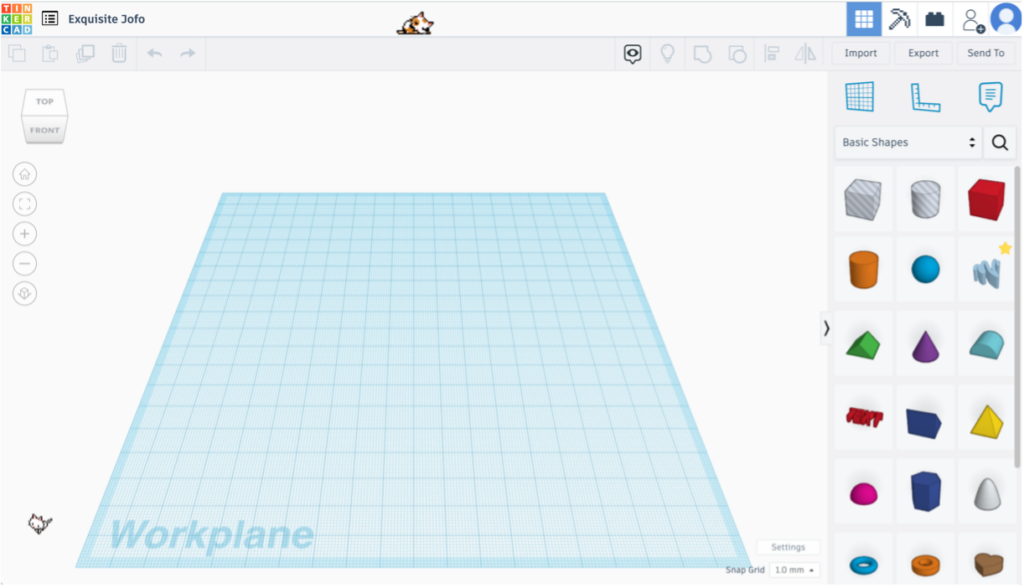
- An empty field will open up with shapes on the right- hand side
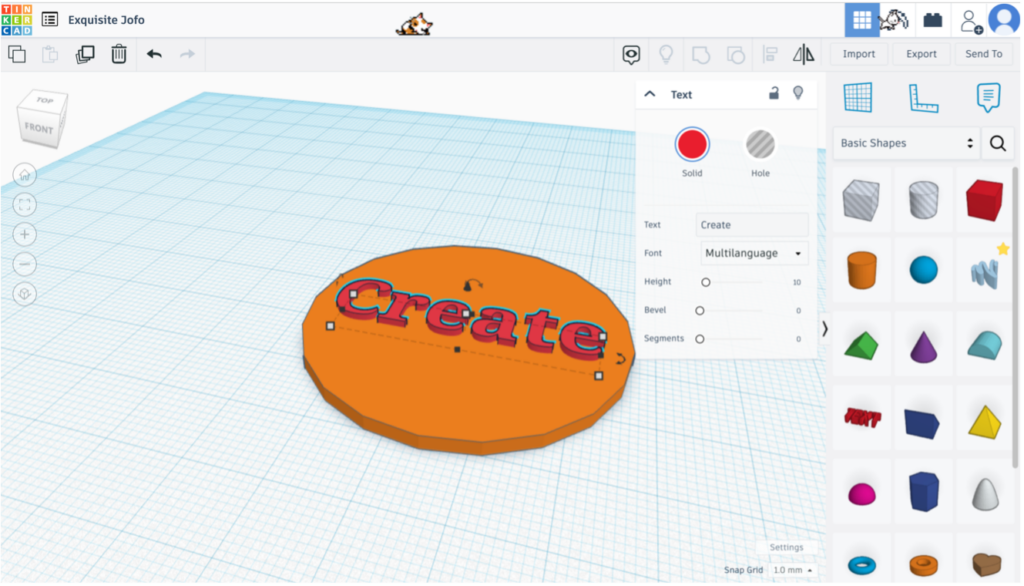
- Click and drag the orange cylinder onto the plane.
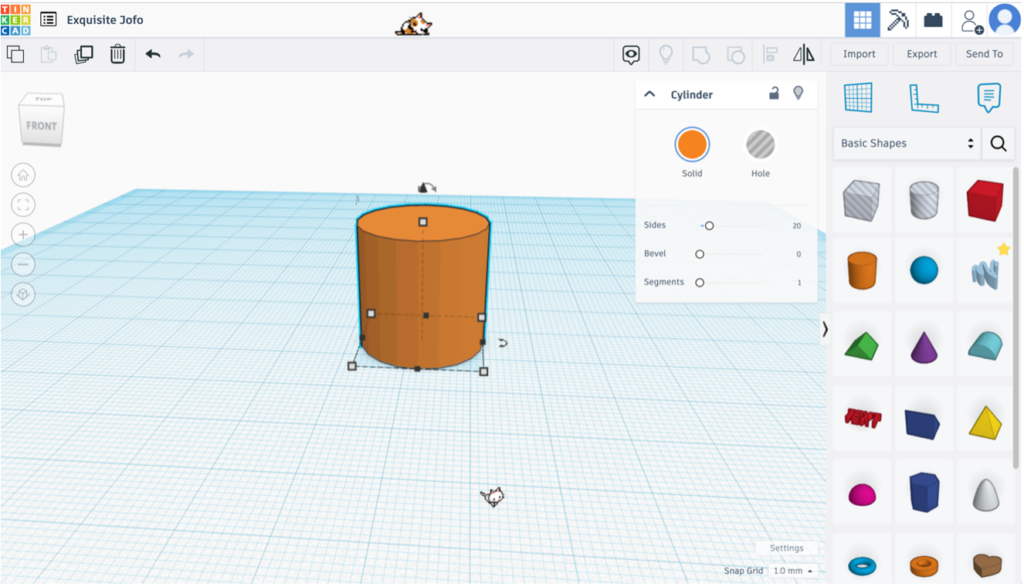
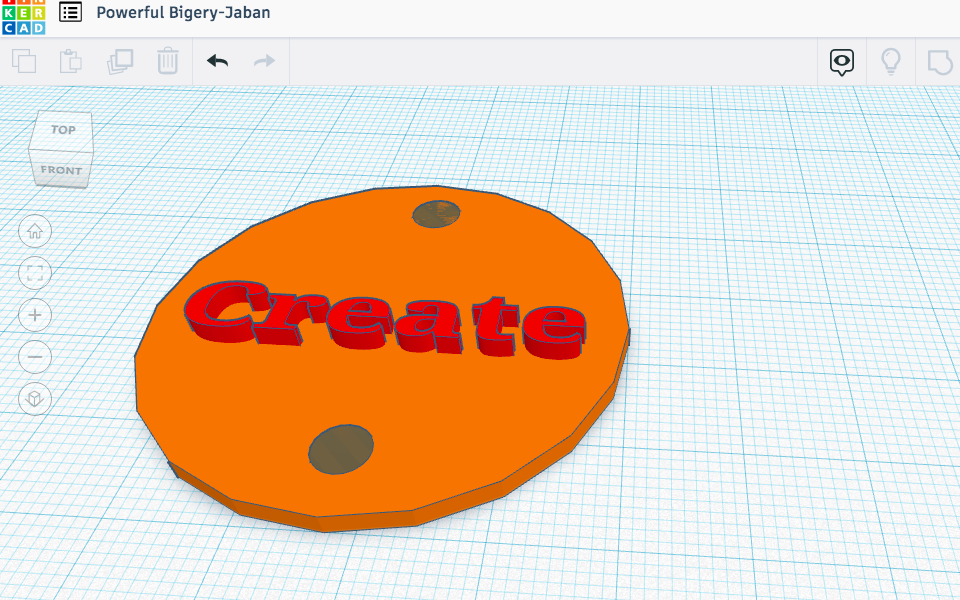
- Click and drag the small square on the top of the cylinder down to flatten the cylinder to 2 mm thickness. Make the diameter bigger by dragging the squares on the edges to 45 mm. Dimensions should now be 45 x 45 x 2 mm.
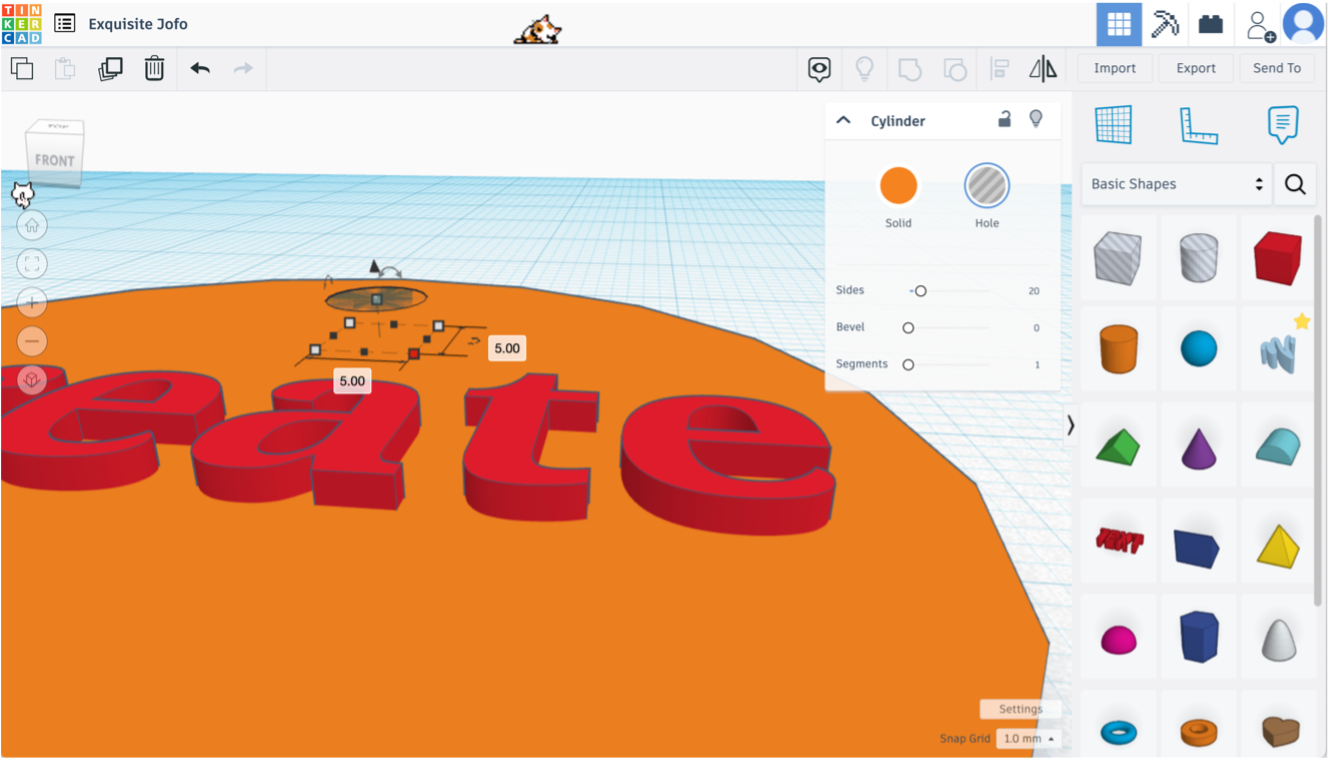
- Rotate your view to look down upon the token. You can rotate your view by holding down the right mouse button on the plane and dragging the view around. Next, drag the text shape from the shape collection onto the plane.
- Click the text and a panel will appear on the right-hand side. Type in the box labelled TEXT to type something identifying, like your name or initials. Remember this will be displayed in Makerspace. Resize your text to an appropriate size to fit onto the coin.
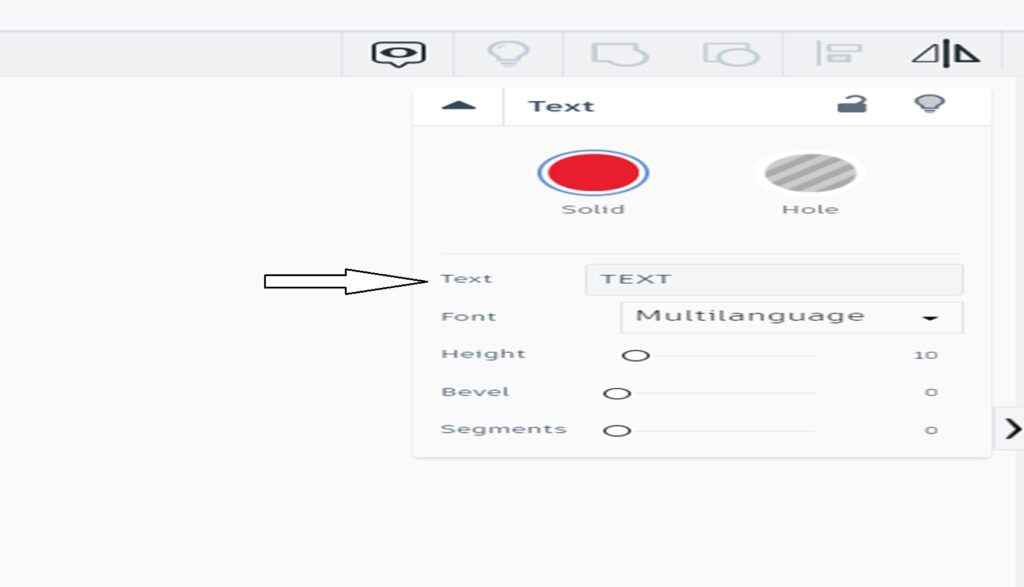
- Drag the text so it is on your token. Then raise the text by dragging the small triangle/cone shape upward so that it rests on the surface of your token.
- Change the text height so that it is 2-3mm thick the same way you set the token height.
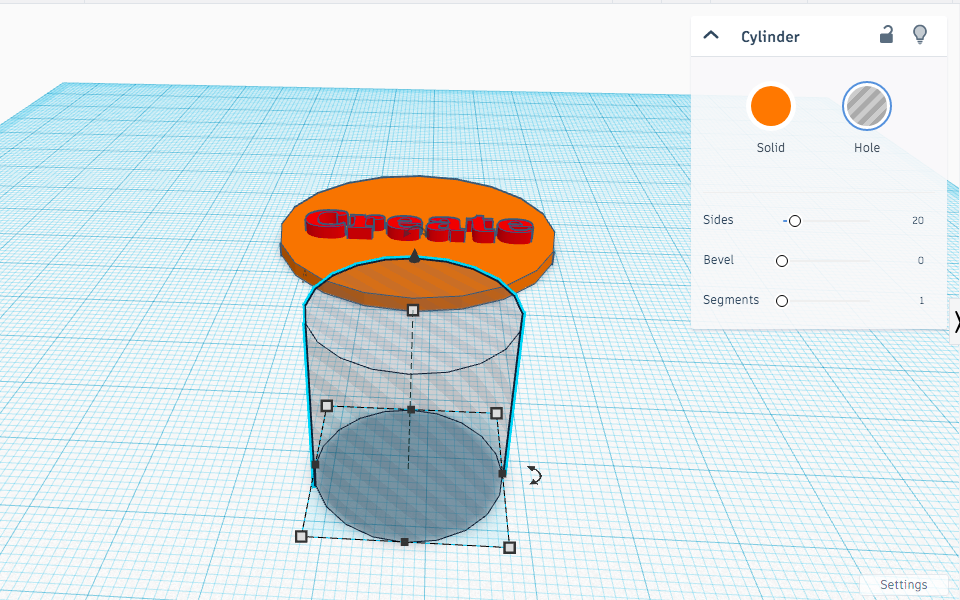
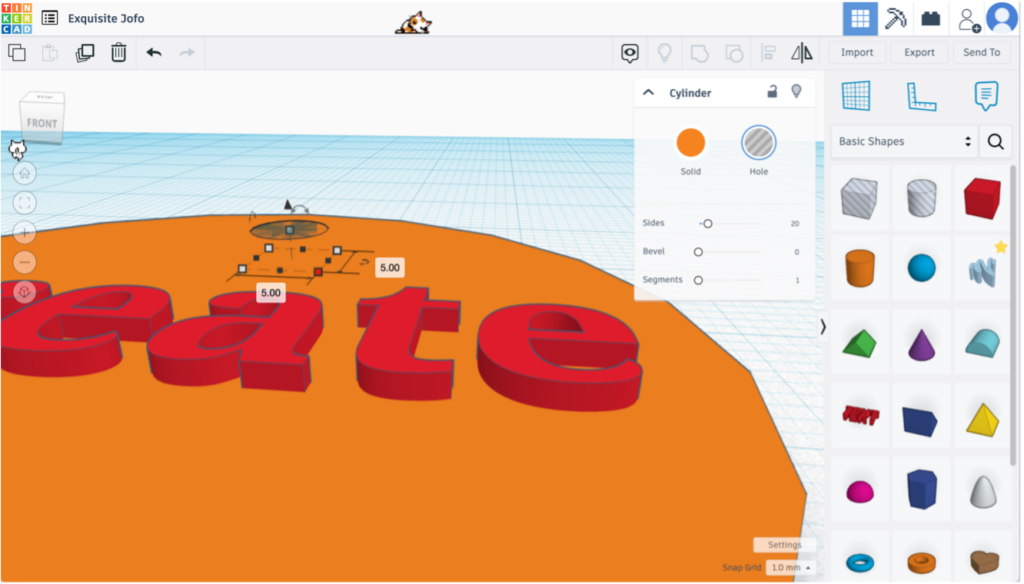
11. Next, drag another orange cylinder onto the plane and click the “hole” option. This will create a hole that will go through your token so we can hang it from a string. You will need to make two holes in your token, one in the top and one in the bottom. Set the dimensions to 5 x 5 mm square, and 2 mm in height (the same height as your token) and click duplicate, so that you have two holes of the same dimensions. Be sure to drag it down with the black arrow so that it sits in the token.
12. Shift and click each shape on the plane to select them all at the same time. Then click on the group icon to group all the shapes into one. Alternatively, press Ctrl + g to group the selected shapes.
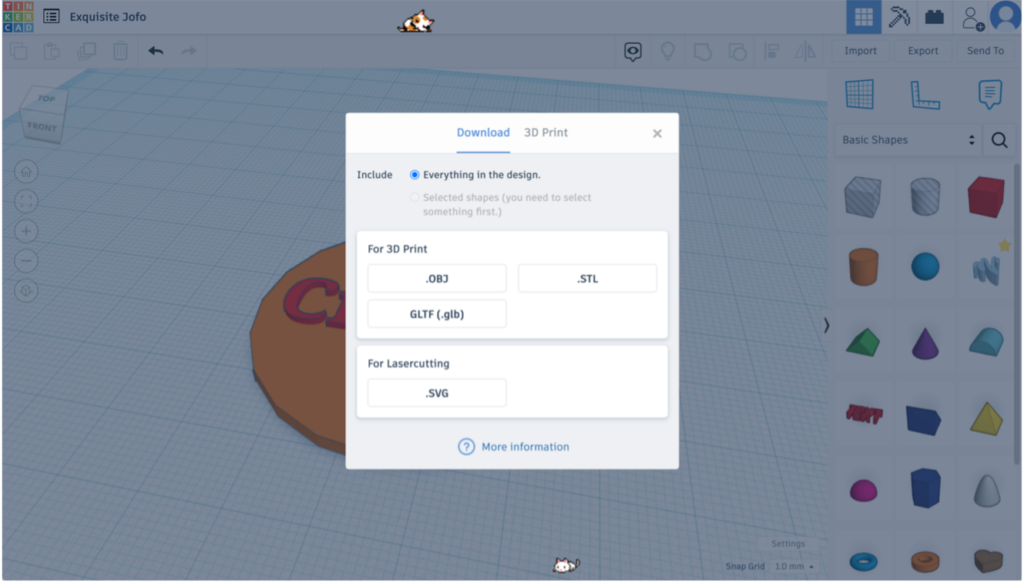
13. Finally, click export on the right hand side and select “include everything in this design” and “.STL” and the token will now be saved to the computer.
! – Find a staff member or a Makerspace student ambassador when you are ready to start printing your token. Printers must be assigned by staff or student ambassadors to use them at Makerspace. Only print on your assigned printer. Please note that printers are limited and may not always be available.
14. Find the STL file you downloaded and open it in Ultimaker Cura.
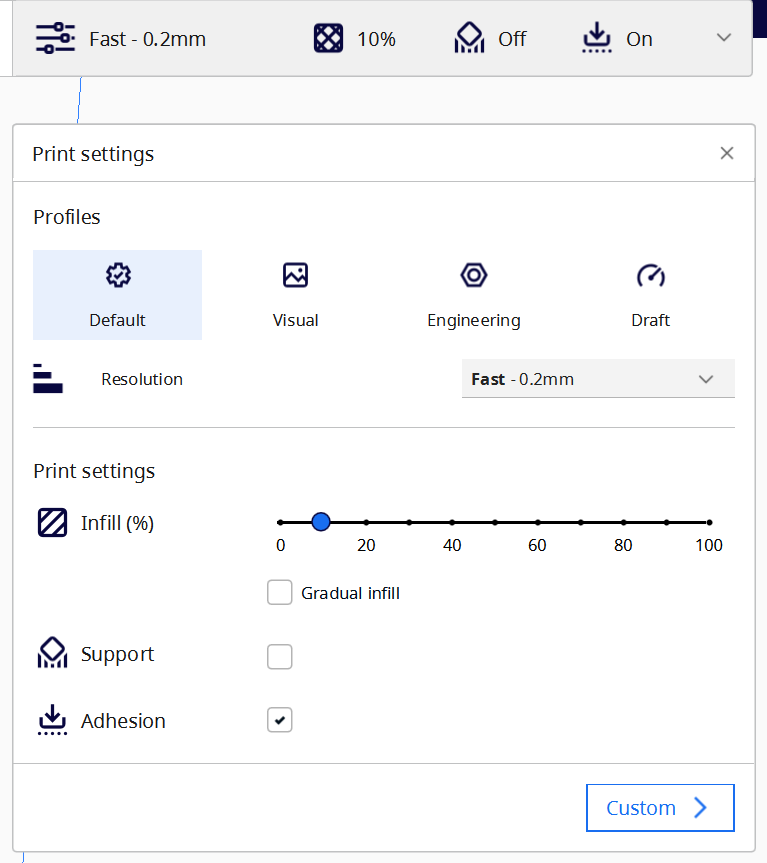
15. Set up appropriate print settings: On the right-hand side is a panel. Set the layer thickness (resolution drop down) to Fast-0.2mm. then set the infill percentage to 10%. If you need any help ask a staff member!
! – Print settings for all prints must use draft at a fast resolution (0.2mm) or larger and a maximum of 25% infill.
16. If you would like to keep a copy of your token, select your model, then right click. Choose “multiply selected” and multiply by one. You should now see two tokens.
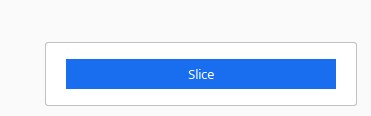
17. A button labeled “slice” will be at the bottom right-hand corner. Click slice. This converts your 3D object into a format the printer can understand.
18. Find a staff member or a student ambassador to approve your print. Once approved you can send your print to the 3D printer using the “print” button where the “slice” button was previously found.
! – Prints must be approved by staff or student ambassador before being sent to the printer.
19. Wait until the printer has started printing for at least 5 minutes when using the 3D printer. This will allow you to catch errors or notice if the 3D printer is extruding filament correctly.
20. Clean up your workspace and computer before leaving. Prints can be found on the pick-up shelf in the 3D print room for 2 weeks after printing.
Happy Printing!!