3D Printing
Makerspace has 6 Ultimaker 3D printers available to students, staff, and faculty:
- Three S3 printers
- Two S5 printers
- One S7 printer
Please see the 3D printing rules and guidelines on this page.
Makerspace strives to be as sustainable as possible. Please be mindful of how and why you use materials.
Where to Start
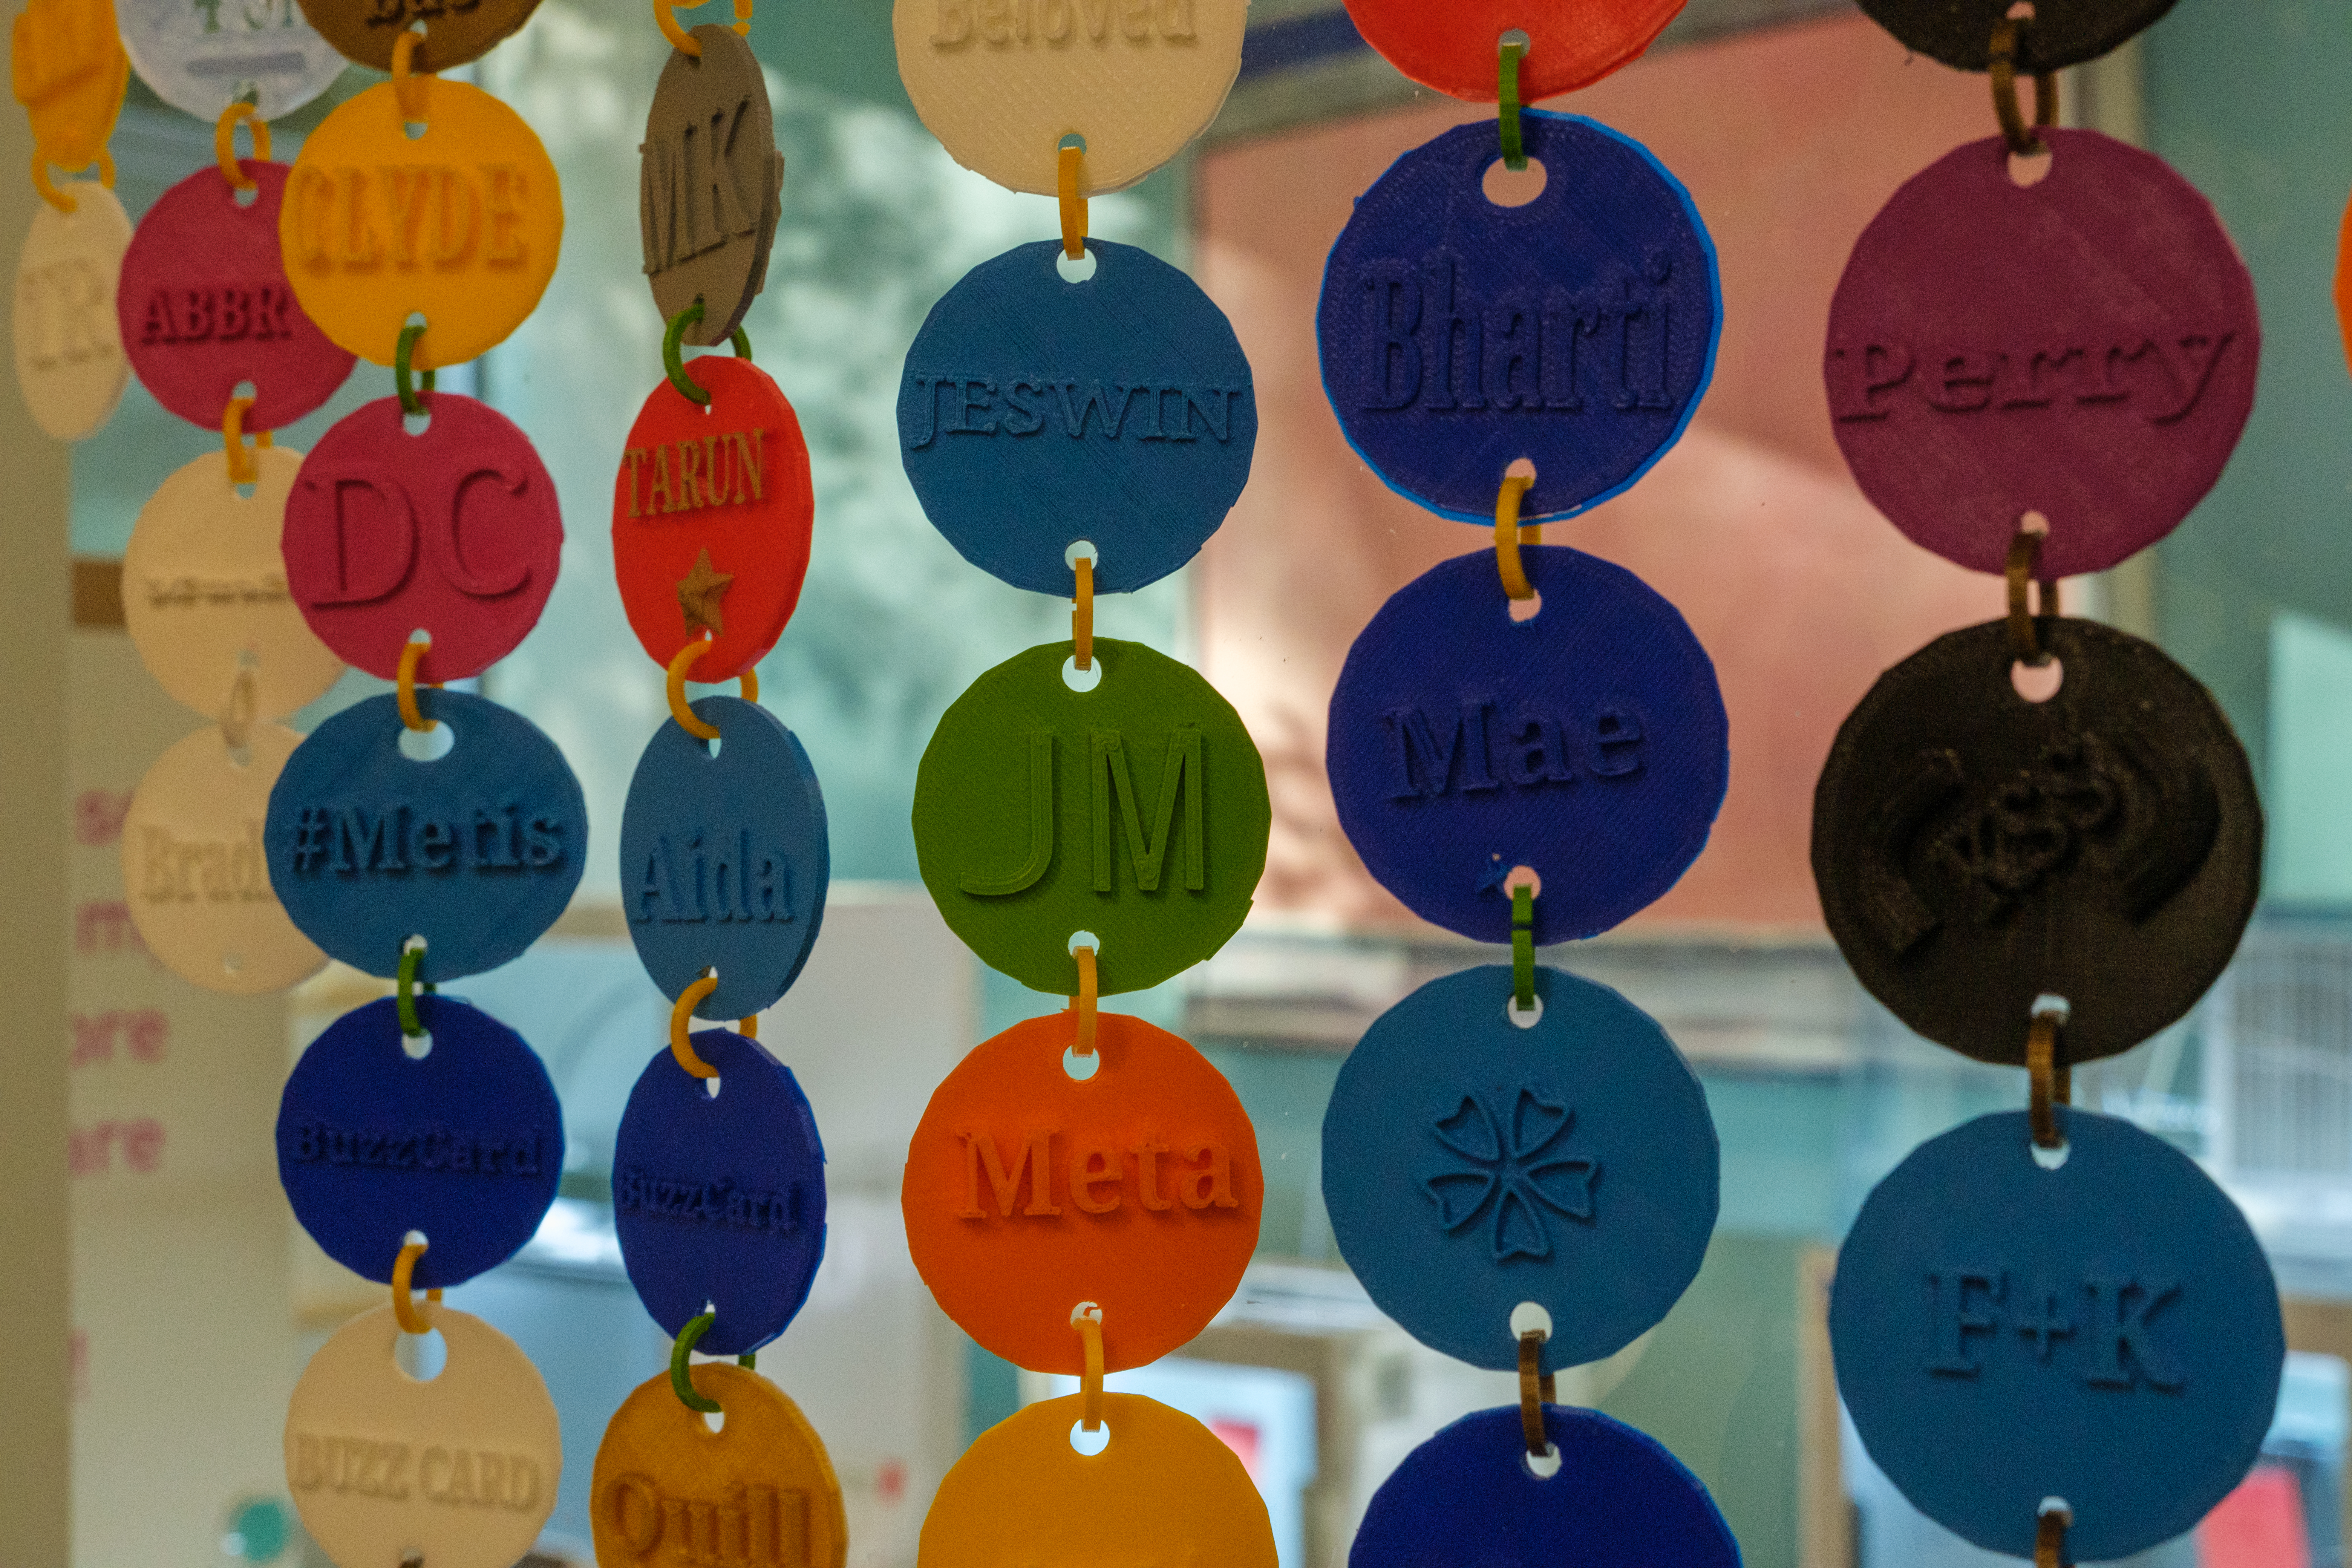
3D printing can seem intimidating but getting started is easy! Creating an Identity Token is the first step for anyone wanting to 3D print at Makerspace. Click here to learn more about Cura and Slicing!
Onshape
A step up from TinkerCAD. Includes self-paced courses for learning it’s features and capabilties.
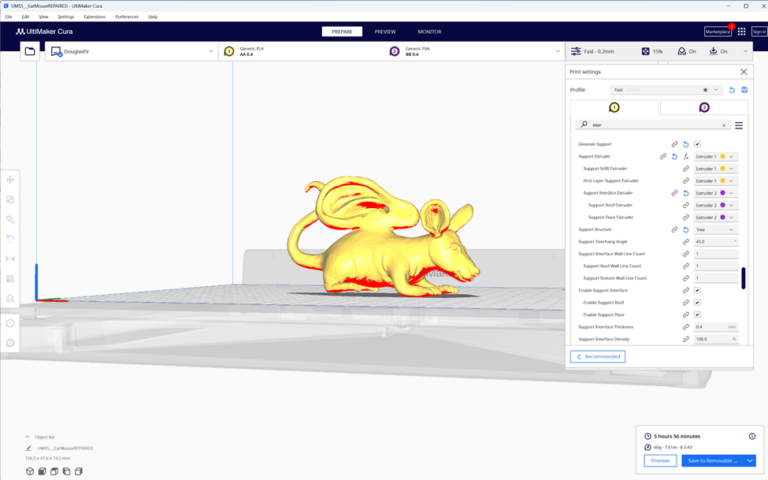
Ultimaker Cura Walkthrough
The basics of using the Ultimaker Cura software.
3D Printing Rules
Our guidelines are designed to increase access to 3D printing, encourage original design and creativity, encourage eco-friendly practices, and cut down on unsuccessful prints.
Getting Started
- You must finish the identity token tutorial on our website and agree to these rules before you start printing.
- If you don’t follow these rules, you might not be allowed to use the 3D printers anymore. Staff always has the final say on printing.
- If there’s a problem with the printers, please tell a staff member right away.
What you can print
- You can print ready-made designs (like those you find online) that take under four hours.
- You can print your own designs that will be done by 9AM the following day.
- Longer prints require the permission of the Makerspace Librarian. We’re more likely to say yes to prints you’ve designed, improved through trial and error, or that have a significant purpose.
- Absolutely no weapons, weapon parts, items that look like weapons, or anything that’s copyrighted.
Printing Process
- Printers are available on a first-come, first-served basis, or you can reserve some online through our website.
- Ask staff to assign you a printer. Only print on your assigned printer.
- Prints must be checked and approved by staff before being sent to the printer.
When a print fails
- When a print fails and you want to re-print it, please fill out a “print failure report” explaining what happened and give it to staff when you’re ready to re-print the object.
3D Printing Guidelines
Materials
- PLA is the material most objects are printed with in the Makerspace. It is the least expensive and easiest to print with material.
- Advanced materials (PVA/BVOH/TPU/Wood-based PLA) can be used once you’ve printed a few (2-3) objects and where they make sense for the print.
- Do a test print with PLA before you try a new print with more advanced materials, especially if it it a big print.
- Large or complex prints using advanced materials may be referred to the Makerspace Librarian.
Settings
- Start with these settings unless you need different settings for a specific reason:
- Infill: 10-20%
- Resolution: .15-.2mm
- Adhesion: on
- We want you to experiment with settings but test them on a small print first if you haven’t used them before.
- Talk to staff before changing advanced settings in Cura or any settings on the 3D printers.
- When you are done, reset the settings for the next person.
Support
- For most things use PLA as your support material.
- When using PVA/BVOH as support material explore the “interface” setting for big items to increase the chance of it working.
General Tips
- Explore how changing the orientation of an object can decrease the print time, the need for support material, or increase the quality of the print.
- Try prototyping large or complicated objects by printing smaller test versions or parts of objects first.
Sample Projects


3D Printing Project Posts
Take a look at some of the more recent projects our staff, student research assistants, or community members have made.
-
How to 3D print with PVA in between your model and your supports
First: You must complete the Makerspace’s 3D print token tutorial prior to printing anything further https://makerspace.trubox.ca/2022/03/23/make-your-own-identity-token/ What is PVA filament and why use it? PVA is a glue-based filament. When soaked in water, it slowly…
-
How to Get Your (long) 3D Prints Approved (And Why It Matters)
If you’re looking to get a longer 3D print approved, this post is for you. Our 3D printing rules and guidelines exist to increase access to the printers, encourage learning and creativity, promote sustainability, and…
-
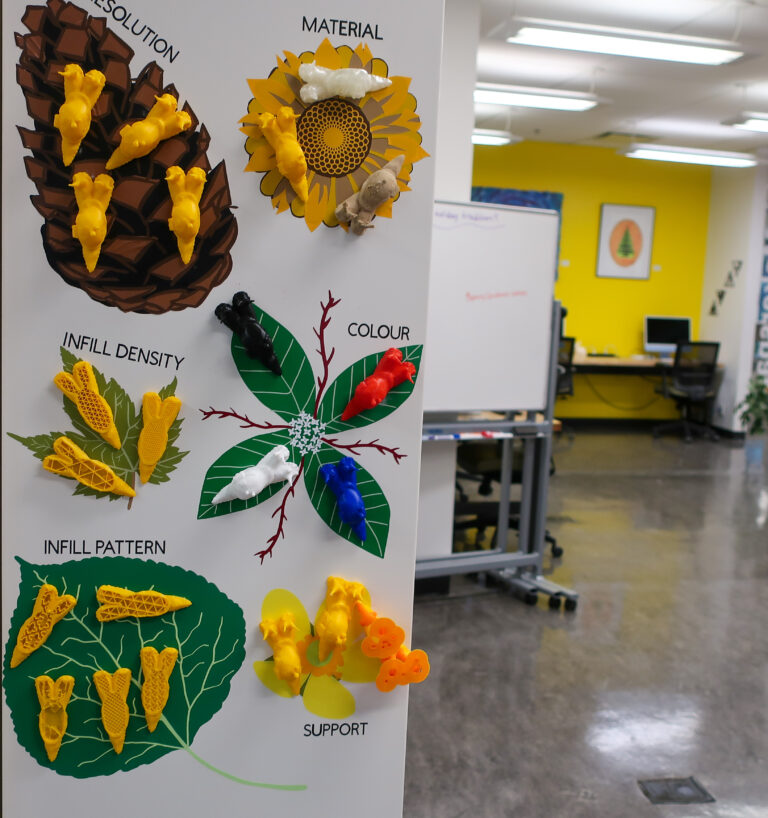
Introducing the 3D Printer Snail Settings Wall
Want to learn about how different settings impact a 3D print? Next time you’re in the Makerspace, check out the new Snail Settings Wall to get a feel for how things like resolution, infill pattern,…