Adventures in Making Your Own Gear (MYOG): Sewing a small waterproof backpack
I love backpacks! Which means I’m always dissatisfied with the specifics — too many straps in places I don’t want them, pockets that aren’t just right. For years now I’ve dreamed of making my own backpack. My dream backpack.
Thankfully there is a whole online community of people just like me who actually do this and if you search for “make your own gear” (or “myog”) you will find a ton of helpful materials. I recommend the myog community on Reddit in particular as a great resource and a helpful and supportive community.
I’ve barely sewed anything before this. The biggest sewing project I’ve done was some small covers for mediation blocks, and they took me 3 years to finish… But during the Easter long weekend I decided to finally tackle my first real sewing project: a small backpack called the Summit 15 based on a free design from a well-loved website called Prickly Gorse Gear.
I had some material I’d ordered last summer (70d nylon ripstock – look that up if you’re curious, but materials are complicated, and so I’m not going into details in this post) and some nice light waterproof material someone has donated to the Makerspace’s community fabric stash.
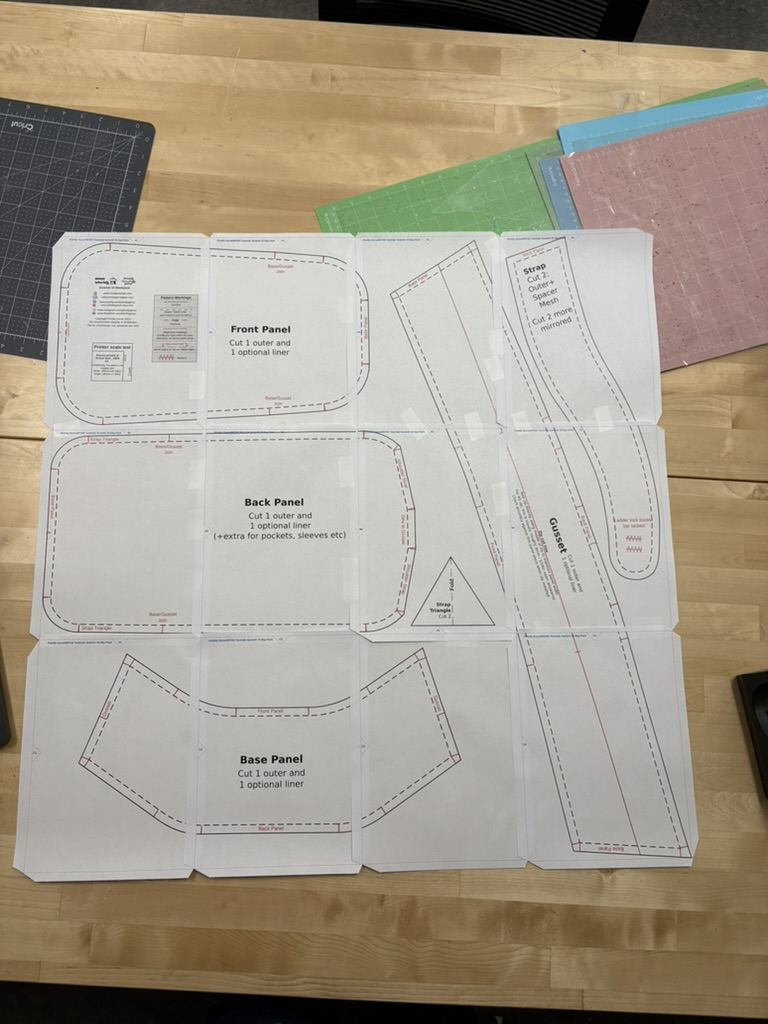
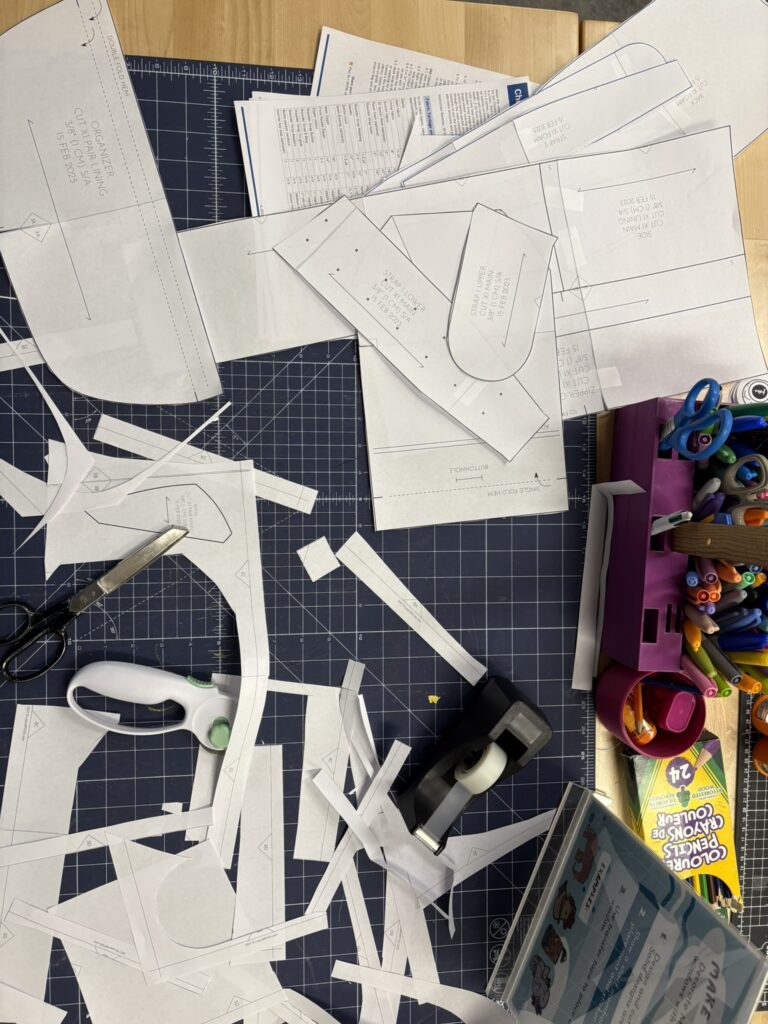
Printing the pattern took two tries to figure out because apparently A4 and 8 1/2 x 11 are NOT the same size. Be warned. This can be printed on a home printer or a print shop. Just make sure to follow the instructions about printing to make sure the scale is correct. Then I followed the instructions to tape the papers together and cut out all the pieces. Printing and cutting the patterns and the fabric took most of the first day. It was surprisingly messy, and it’s great podcast listening work.
On the second day, I actually got to sewing. The straps were one of the hardest parts, so of course I did them first when I had the least experience sewing.
Looking back, I was really just winging everything from threading the machine, to getting the tension right, to going around corners. Even just sewing straight was new to me. I made a terrible mess of these seams and if I re-did these now after just a few more hours experience I would do a much better job. But it all worked in the end and I learned a lot. I will likely go back and reinforce some of these now that I know a little more about what I am doing.
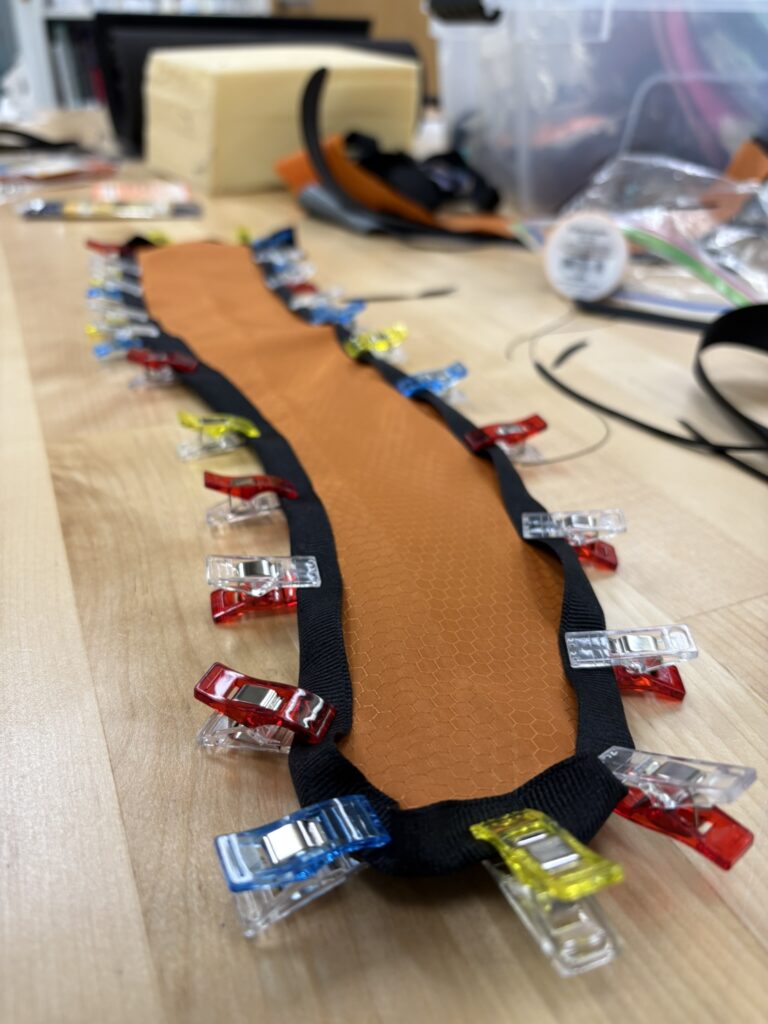
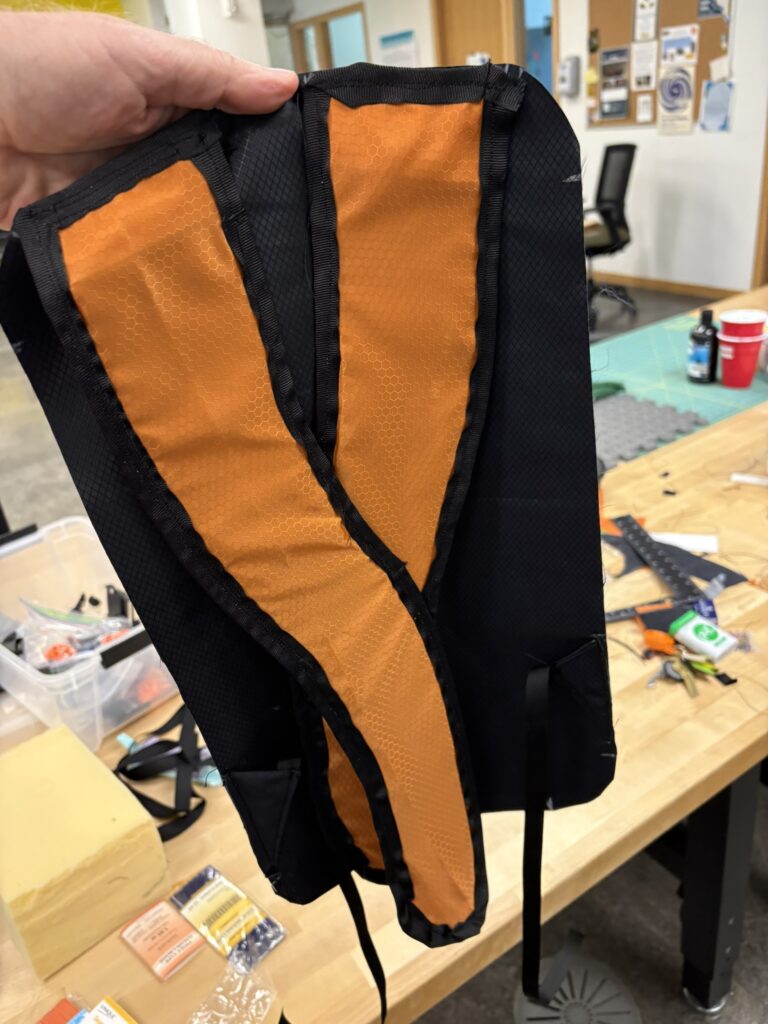
Attaching the straps to the back. I was planning on lining the bag with the orange material and didn’t realize that I should have attached the lining to the outside pieces at this point before continuing. That caused some minor problems later.
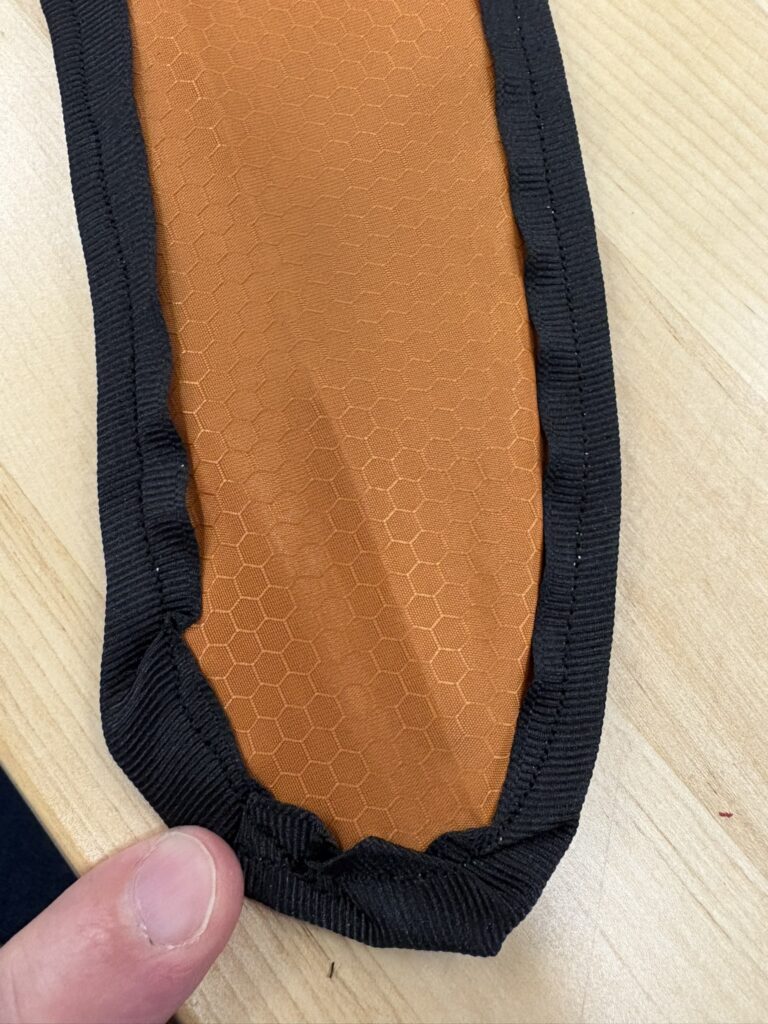
You can see the puckering and uneven stitches as I learn to go around corners.
Sewing the zipper and gusset was the hardest part, but actually once I got through this bit a lot of how sewing works crystallized for me! Suddenly why you sew things inside out and how they will look when you flip them again made sense.
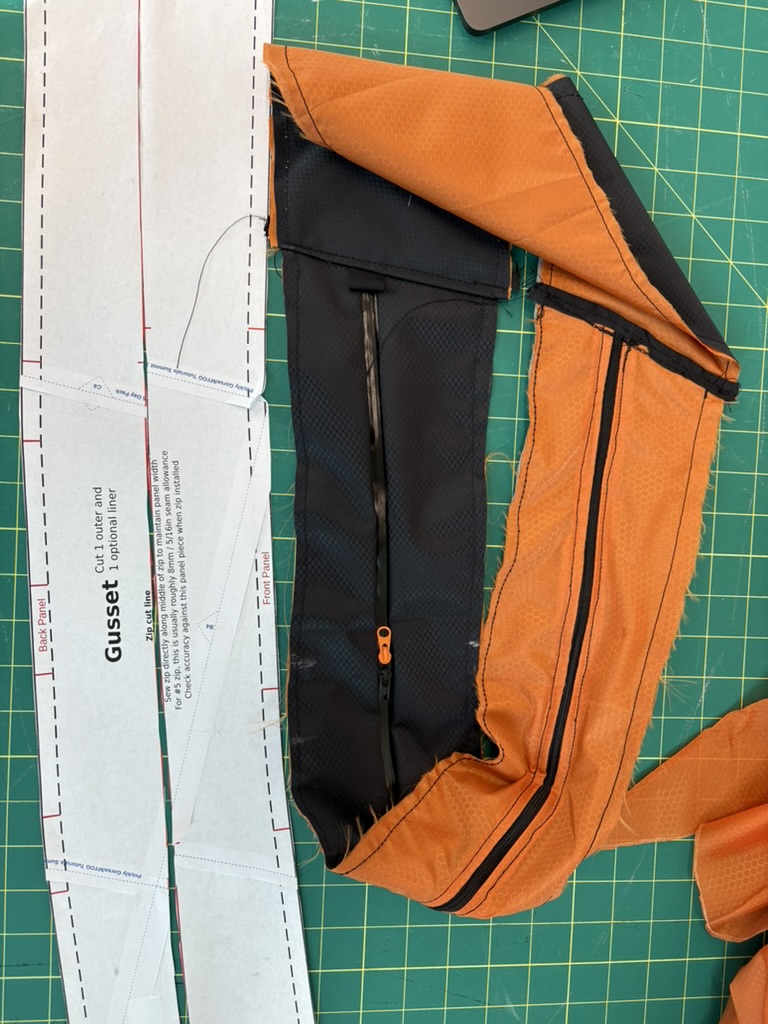
The front panel attached to the gusset! Looks like a bag now!

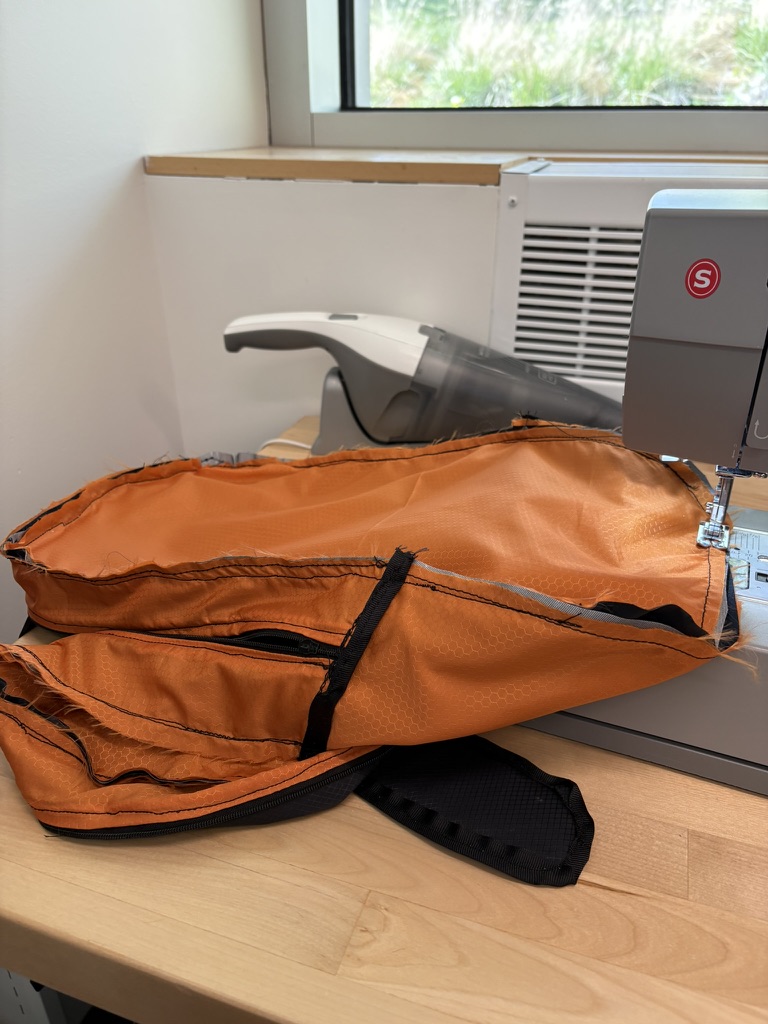
Some real bad puckering as I didn’t realize how much the inner liner would stretch as I sewed, and I wasn’t correcting for that as I went so it all ended up at the end. To make things worse, I was connecting the liner to the outer later as I was connecting the front panel to the gusset.

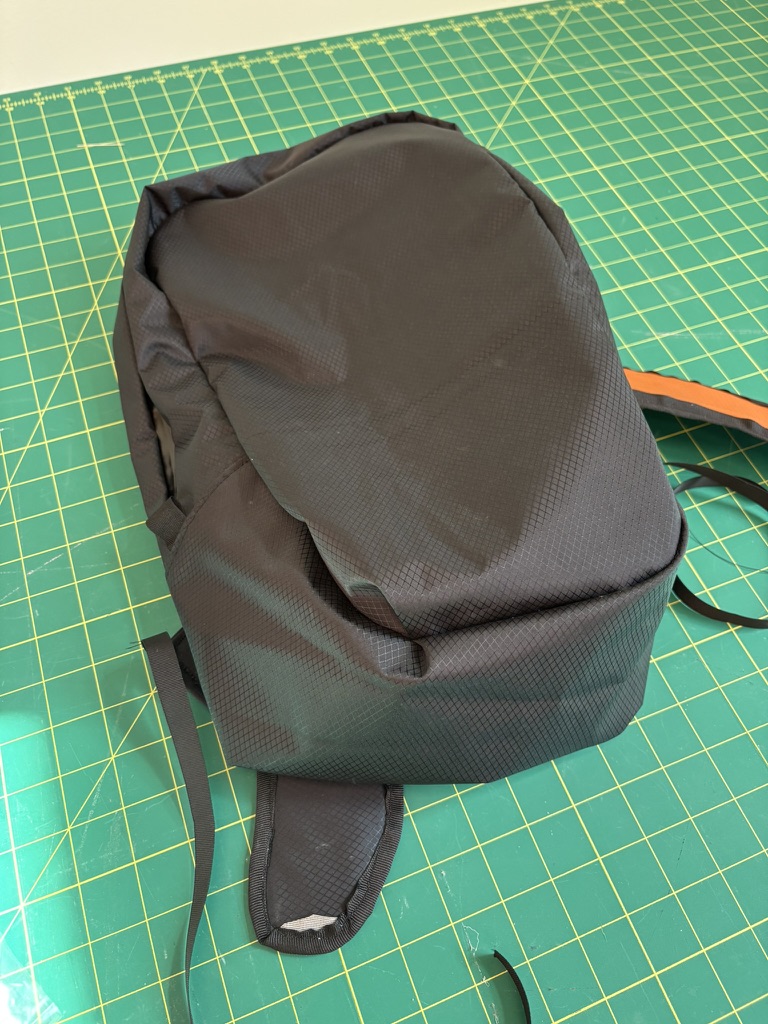
Adding the back panel. Here is where you learn to go real slow. Some great advice I read is that corners are just very short straight stretches and you just need to go slow and correct often.
Basically done! At this point I just needed to finish off the inner seams (which were a terrible mess) and attach the webbing from the bottom of the pack to the straps. Here you can also see on the left strap a bit of fabric got flipped as I was sewing around one of the corners. I will need to go back and fix this later. This was the first strap I did and it was a little overwhelming and I wasn’t paying as much attention as I should have.
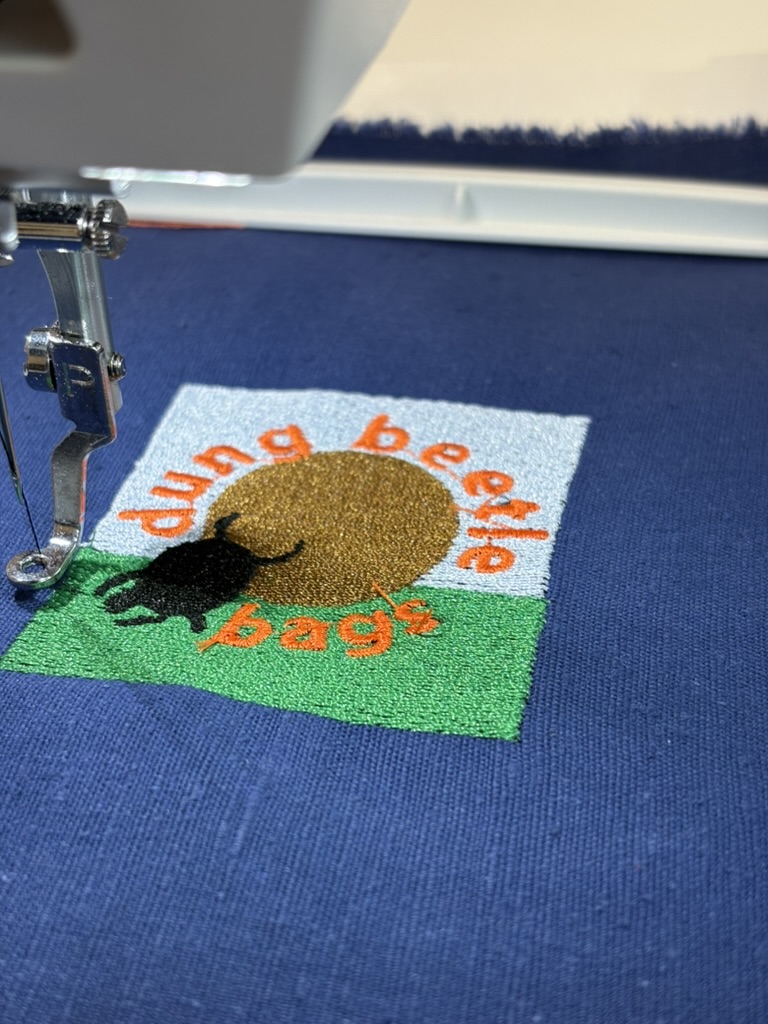
If you’re going to make your own bag, you better also make a patch for it! Thankfully we have a fancy new embroidery machine in the makerspace, so I threw together this design and after 2 prototypes had something I was happy with.
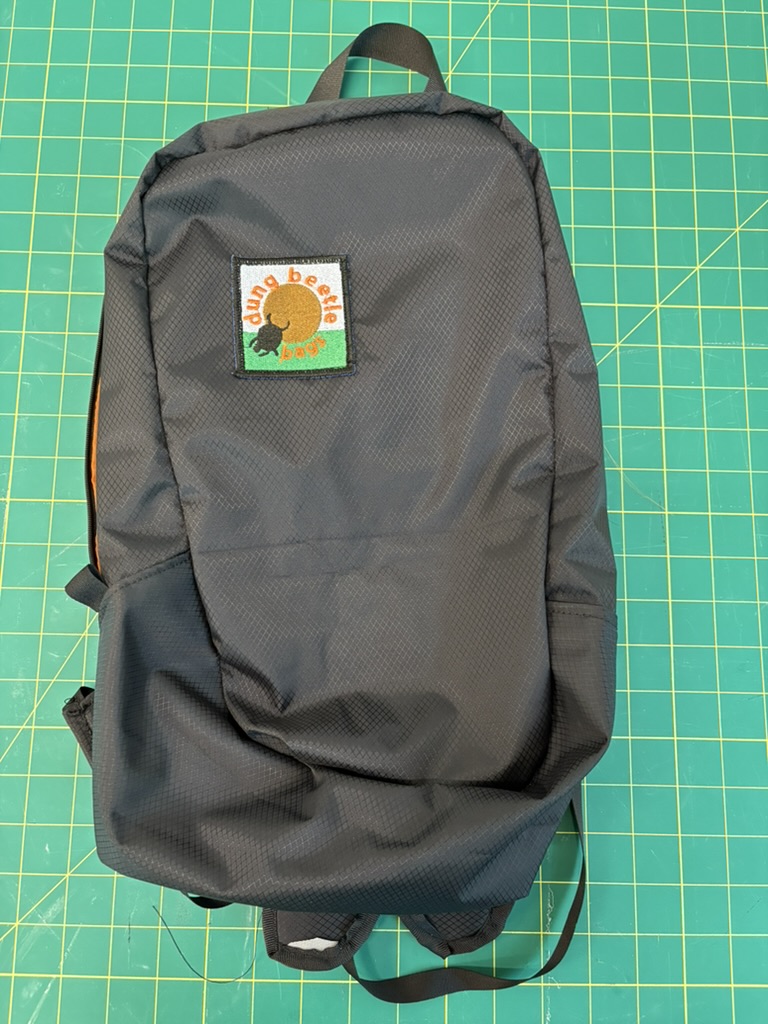
And here is the finished product!
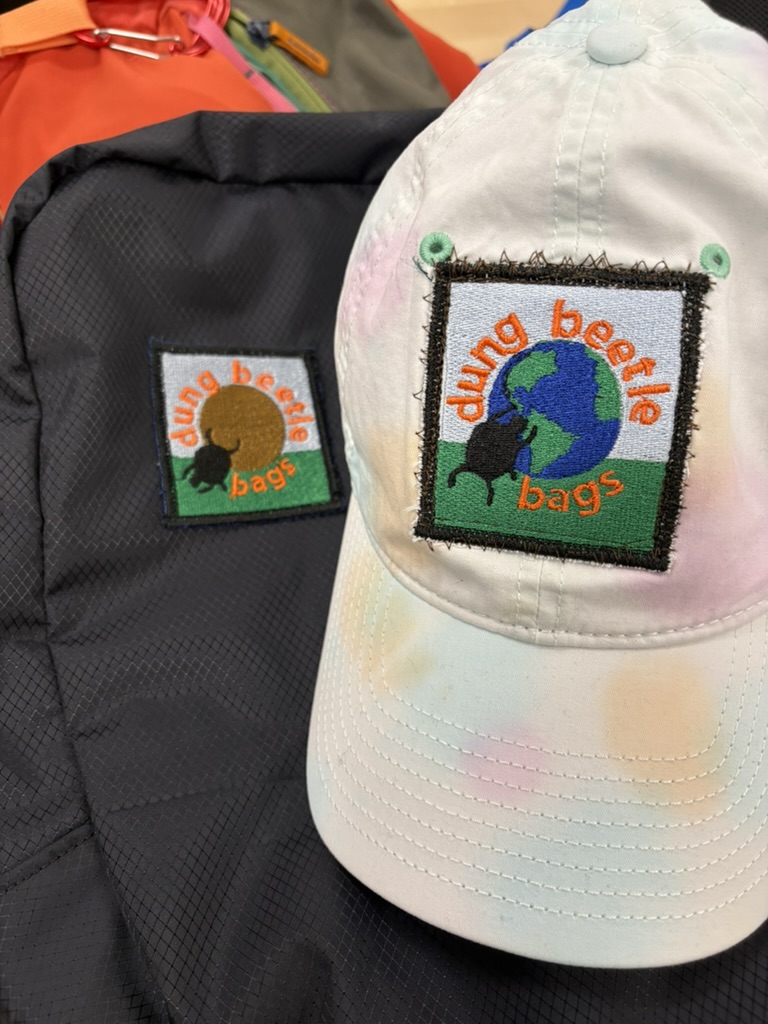
A few days later I realized I wanted to make the dung ball into a globe, so I made a prototype of that and stitched it (in the ugliest way possible, but that was the point) onto a hat I had used previously to test out some emboidery methods that didn’t work.
And that is the whole project!
I really love the idea of people making and repairing functional gear in the Makerspace. We’ve also been lucky in that people have donated some good gear making fabric and things like side-release buckles to the community fabric stash. If you want to experiment, please come on into the Makerspace and play around. I am also always happy to chat and answer questions about projects.