How to Get Your (long) 3D Prints Approved (And Why It Matters)
If you’re looking to get a longer 3D print approved, this post is for you. Our 3D printing rules and guidelines exist to increase access to the printers, encourage learning and creativity, promote sustainability, and cut down on unsuccessful prints. Understanding why we check certain things will help you plan better prints that are more likely to succeed — and more likely to get approved.
A Quick Reminder: Our Three Print Tiers
If you haven’t already, check out our 3D Printing Rules and Guidelines and the original blog post explaining why we made these changes. Here’s the short version:
- Under 4 hours: You can print pretty much anything you make or find online that takes less than 4 hours. Staff will still check to make sure it follows our rules and will print successfully, but you don’t need to have designed it yourself.
- Overnight (done by 9AM the next morning): These need to be your own designs or designs you’ve significantly modified. More on what we mean by “significantly modified” below.
- Longer than overnight: These need direct approval from the Makerspace Librarian (that’s me). I’m much more likely to say yes to prints you’ve designed, improved through trial and error, or that have a significant and meaningful purpose.
All prints are checked by staff before they go to the printer. This isn’t meant to slow you down, it’s meant to help you succeed. Staff frequently catch issues that would cause a print to fail or take many hours longer than needed.
The Big One: What Counts as “Significantly Modified”?
This is probably the most common point of confusion. To qualify for an overnight print with a design you found online, you need to have made meaningful changes to it — think roughly 30% or more of the original design. This means making real structural, functional, or design changes to the model itself.
Things that do count as significant modifications: redesigning part of the structure, combining multiple models into something new, changing the geometry to improve how it prints or functions, or substantially reshaping the design to fit a specific purpose.
Things that don’t count: adding your name or some text to a model, changing the size, or making small cosmetic tweaks. If the original designer would still recognize it as basically their design, it probably hasn’t been modified enough.
We know this can feel like a high bar, but there’s a reason for it. When you significantly modify a design you learn a lot more, and in our space learning is the point. And honestly, a lot of things people find online could be made from scratch in Tinkercad with a bit of practice.
Why Long Prints Fail (And Why We Care About Settings)
Here’s an important thing to understand about 3D printing: the longer a print takes, the more likely it is to fail. A 2-hour print has a pretty good chance of succeeding. A 20-hour print has a lot more opportunities for something to go wrong — the filament could tangle, the print could detach from the build plate, or any number of other issues could happen. When a long print fails, it wastes material, wastes time, and takes a printer away from other users.
This is why we pay attention to your settings. Many of the changes we ask you to make to your prints are about reducing how much time and material they take and therefore the chance of failure.
Here are the most common issues we see:
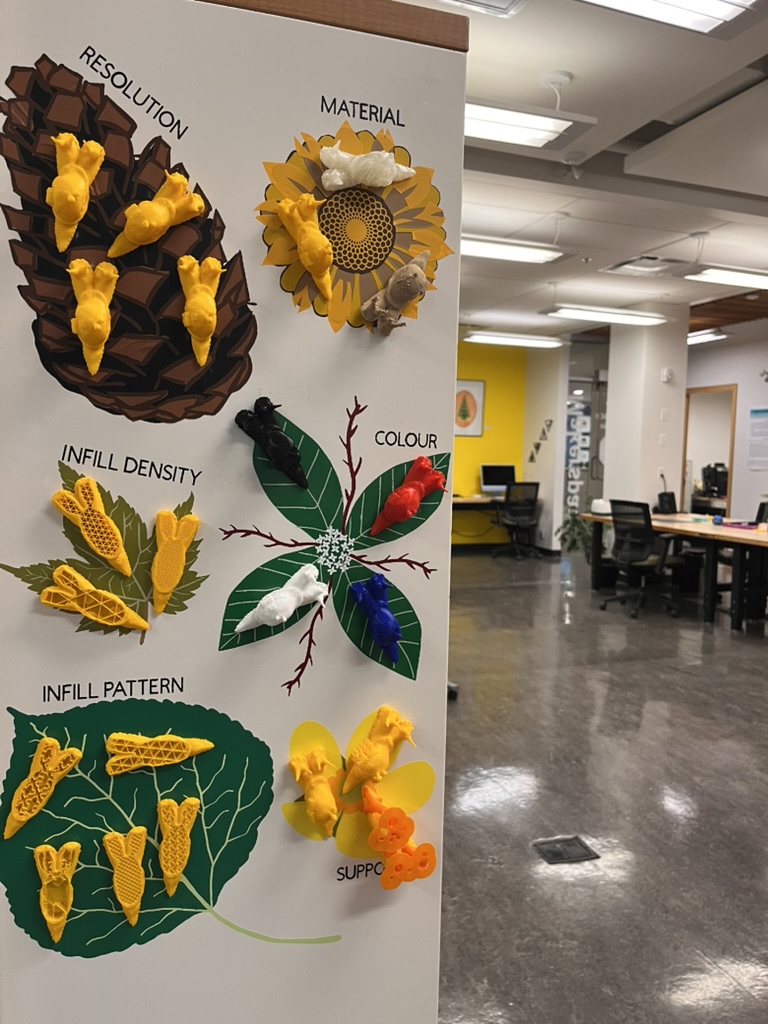
Resolution is too high. Our recommended resolution is 0.15–0.2mm. Higher resolution (lower numbers, like 0.08mm) means more layers, which means more time. Unless you have a design that has details that require a higher resolution, the quality is the same.
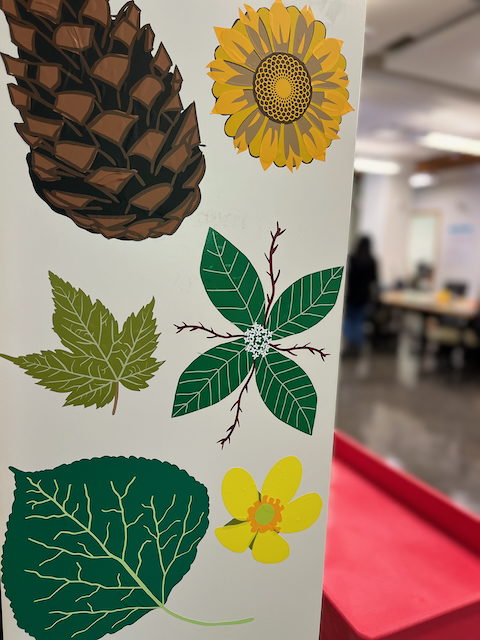
Infill is too high. Our recommended infill is 10–20%. Many people set infill to 50% or even 100% thinking it will make their print stronger, but for most projects 15–20% is more than enough. Higher infill dramatically increases print time and material use. If you’re not sure what infill looks like, come check out the Snail Settings Wall next to the print room — you can literally see the difference by picking up the snails and looking inside. If you need stronger prints advanced techniques like increasing the number of external walls can be more efficient that increasing infil.

Poor orientation on the build plate. How you orient your object in Cura can make a huge difference in print time, the amount of support material needed, and print quality. A model standing straight up might need lots of support and take 12 hours, but the same model rotated on its side might need almost no support and take 6 hours. Orientation can also impact quality because whatever is on top will print the cleanest.
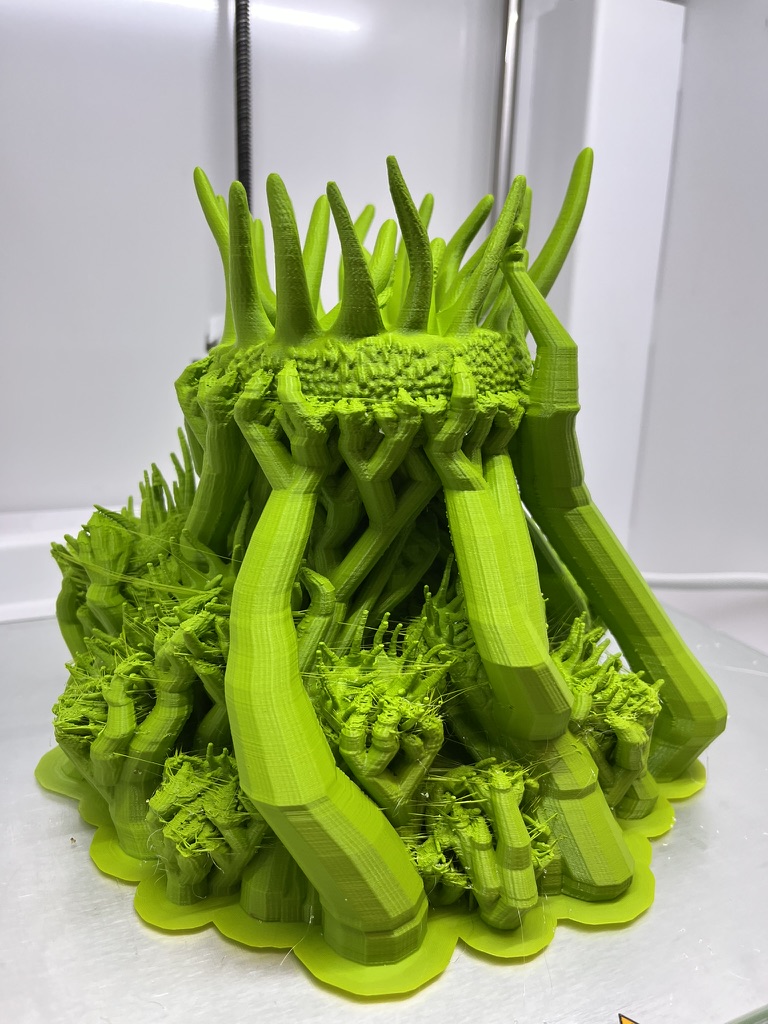
Too much support (or the wrong kind). Support material exists to hold up overhanging parts of a print, but not every overhang needs support, and too much support wastes material and adds print time. When you do need support, PLA works well for most things. Tree support is almost always more efficient that normal support. If you’re using PVA or BVOH as support material on a big print, try using the “interface” setting to increase the chance of it working. And always think about whether re-orienting the model could reduce or eliminate the need for support entirely.
“Junk prints.” We won’t approve prints that are going to take a very long time but are low quality, poorly set up, or unlikely to succeed. If something looks like it’s going to run for 40 hours but hasn’t been thoughtfully sliced or designed, it’s not going to get approved — not because we don’t want you to print big things, but because we don’t want you to waste two days printing something that’s not going to be used or is going to fail.
How to Help Yourself Get Approved
If you’re trying to get a print under 4 hours, or get an overnight or longer print approved, here are the most helpful things you can do:
- Start with the recommended settings (0.15–0.2mm resolution, 10–20% infill, adhesion on) unless you have a specific reason to change them.
- Try different orientations in Cura to and watch how the estimated print time changes.
- Use the minimum amount of support needed.
- If you’re printing something you designed or where how it looks or functions is important its often a good idea to print a test first. Most of the time you will find something that needs to be fixed before printing the whole thing.
- If you’re modifying a design, make real changes to the model, not just surface-level additions.
And if you’re not sure about any of this, talk to staff or an Ambassador. We’re always happy to help you figure out the right settings before you print than have to tell you a print can’t be approved.
Resources
- 3D Printing Rules and Guidelines on our website
- The Snail Settings Wall next to the print room — pick them up and see what different settings actually look like
- Our recommended slicer settings are posted in the print room on our guidelines sheet
- Staff and Student Ambassadors are here to help
3D printing is one of the most popular things we do in the Makerspace, and we want everyone to have a good experience with it. Our rules are here to help you print better, waste less, and learn more. The more you understand about why certain settings and design choices matter, the more control you’ll have over your projects and the more likely they are to turn out the way you want them to.