Sewing for Summer – 70’s Inspired Halter Top
Written by Olivia McDougall
While we aren’t yet into the warm weather, I chose a halter top as a first time project to challenge myself and just to see if I could do it. Since the top isn’t a huge project, or too complex I thought it would be fun. Additionally if the top actually worked out it would be really cool to be able to wear something that I made!
To make the top I was also able to develop several of the different skills that are apart of sewing. The top was a multi-step process consisting of taking measurements, creating a pattern, cutting the pattern out on fabric, and then sewing all the pieces before finally attaching the pieces together to make the final product. It became a truly rewarding project, because I felt a sense of accomplishment that I was able to turn a piece of fabric into something useable. Guided by the YouTube video and using the following steps shown below I was able to create a finished project.
Over all I think this project was pretty easy, but it was a bit more time consuming because on some parts I was slower due to my inexperience. The sewing itself ended up being the quickest part of this project which surprised me. The pattern, cutting and pinning is what took the most time and was a bit more tricky.
One of the biggest take aways was that I should trust my measurements and not make everything bigger. Since I was worried about it being too small I sized up a bit too much and it ended up being too big.
Steps:
1. I took my measurements so I would know what size pieces had to be drawn and then cut.
2. Then I was able cut out a pattern on a big piece of paper. This then becomes the pattern that I pinned onto my fabric and cut around to make all the necessary pieces to make the top.
3. Next I laid my fabric flat, placing my pattern pieces on top of that and pinging them down. Now ready to cut I made sure to have doubles of each piece. This is because when you sew, you will sew each piece together with the “wrong” side out (nice sides facing each other) and turn it right side out. This makes it so the “correct” side of your project looks complete, and isn’t a rough edge of fabric that frays.

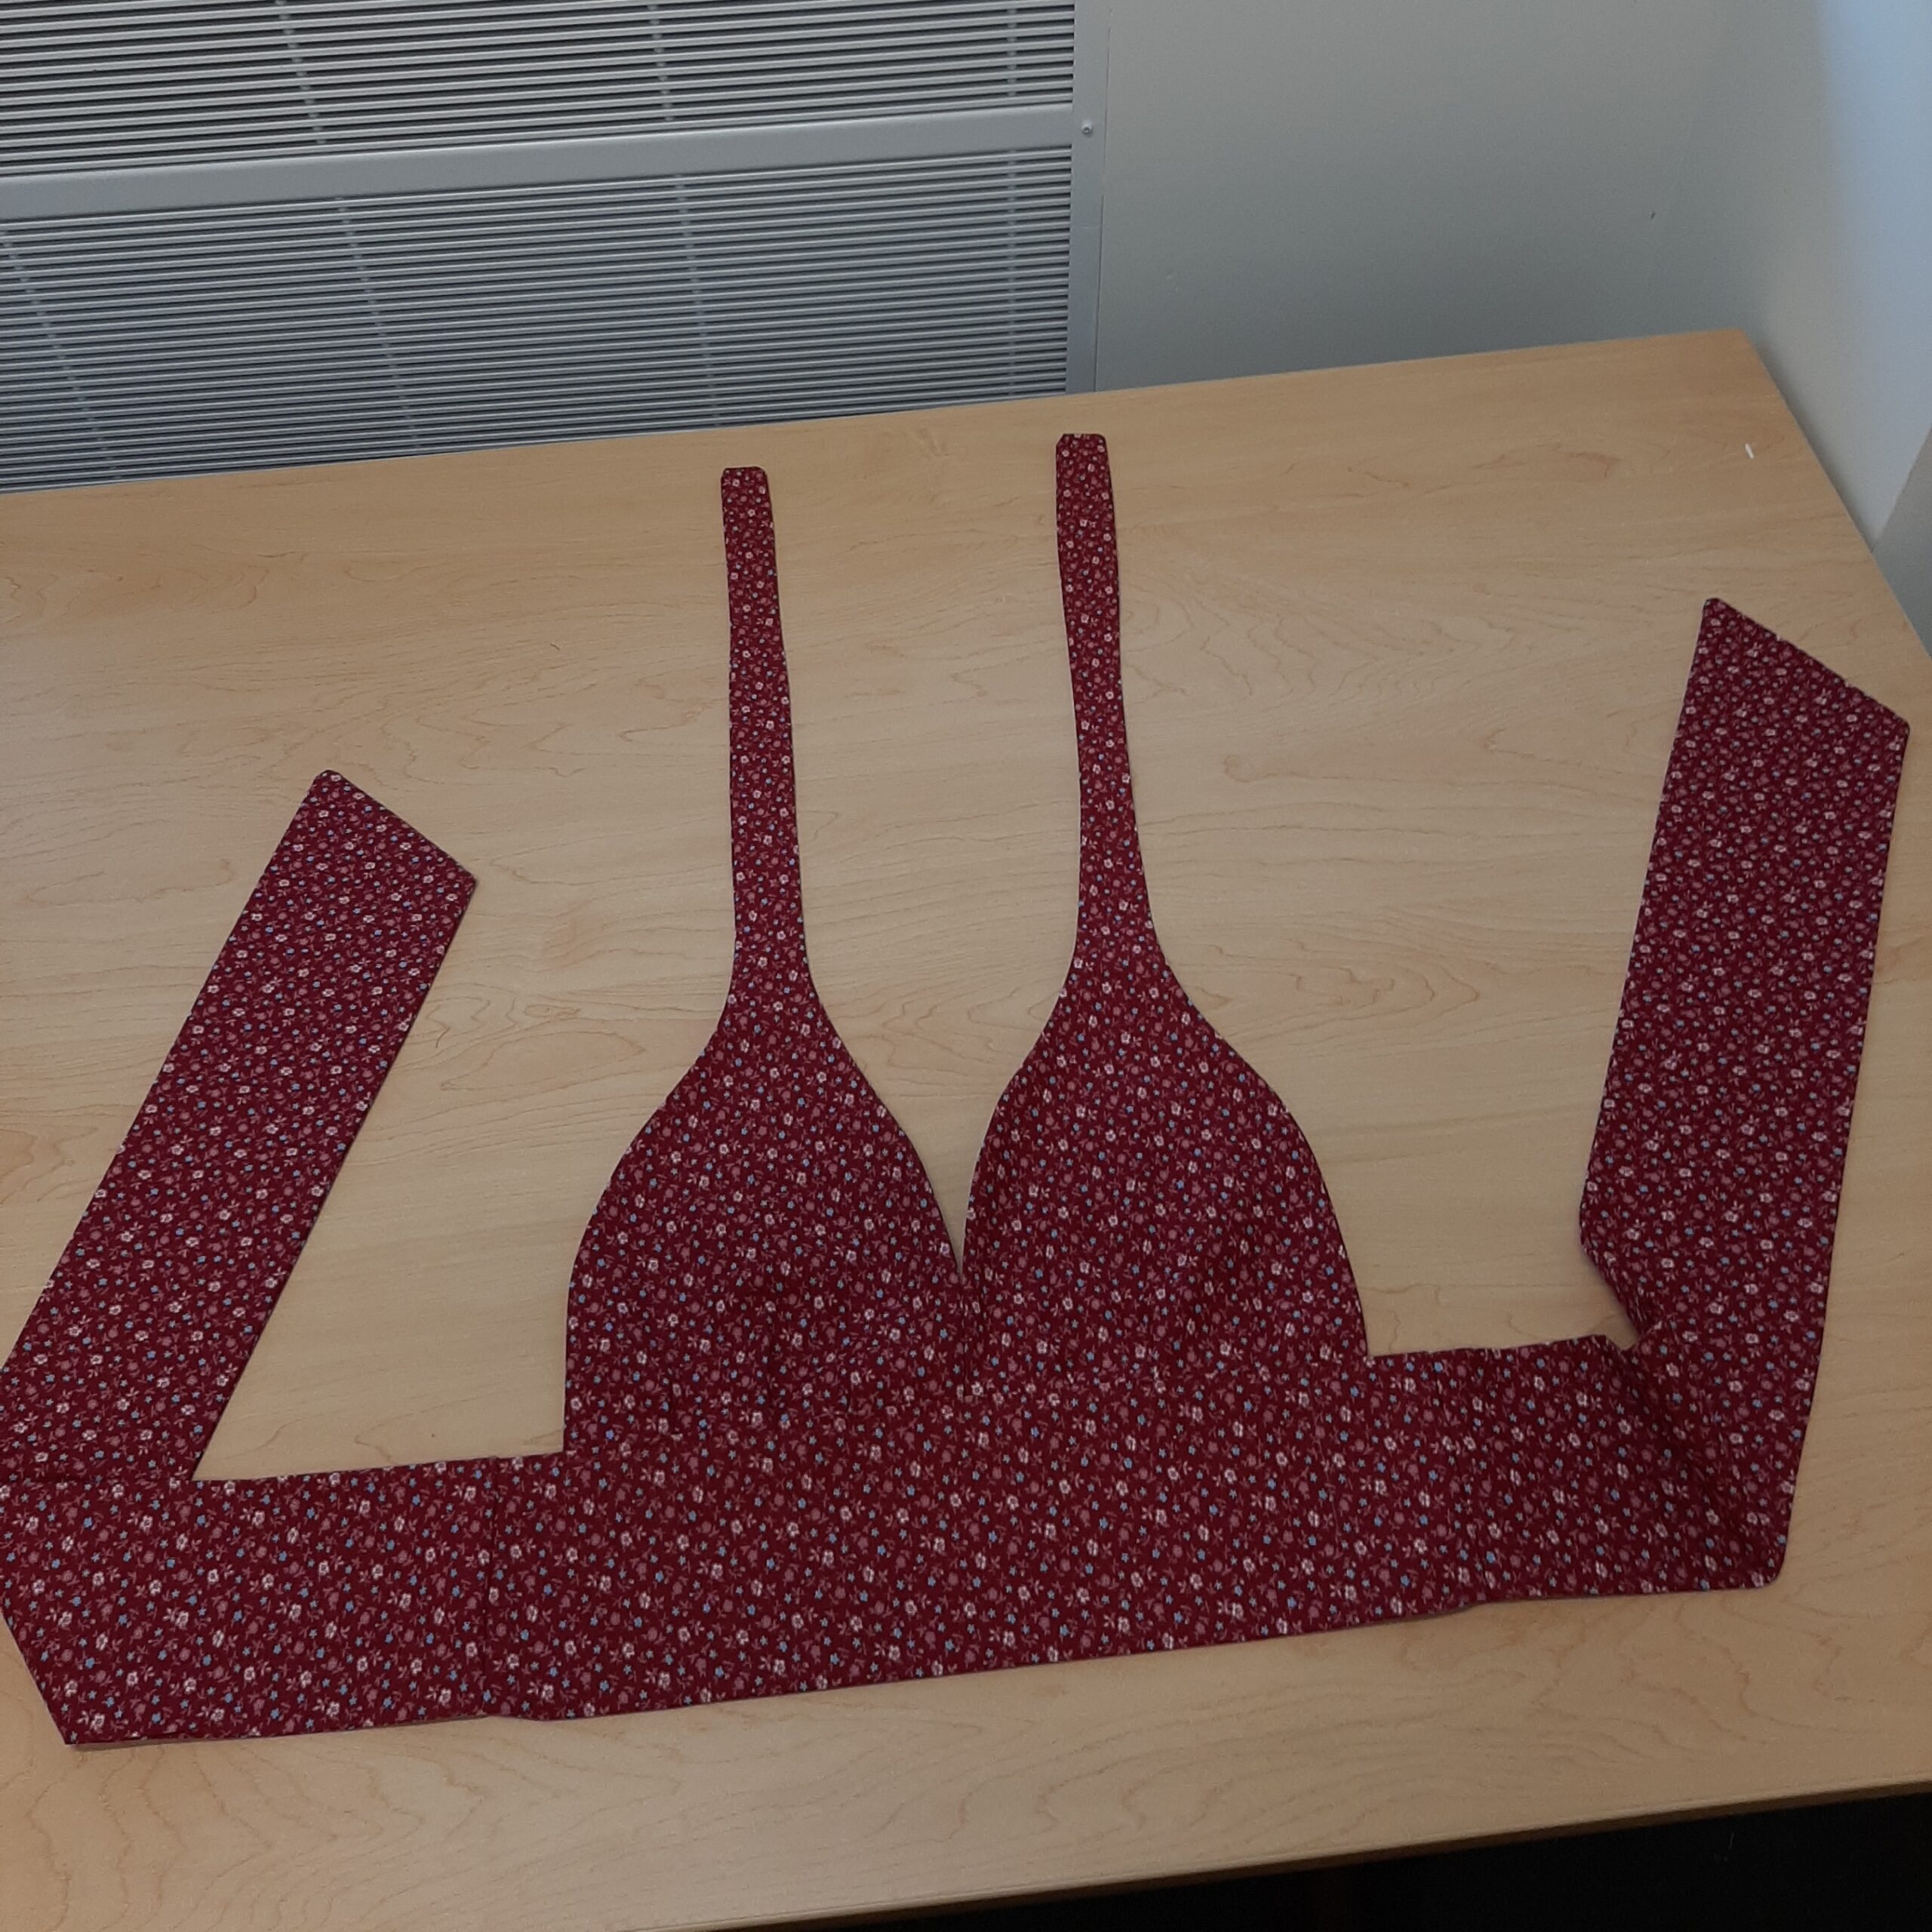
4. Following that I put each piece together, each piece having two layers with wrong sides facing out. Then pinned around the edges, and sewed all around each piece, leaving one end open so I could turn it right side out. The only exception being the bottom piece, as that gets sewn together later.
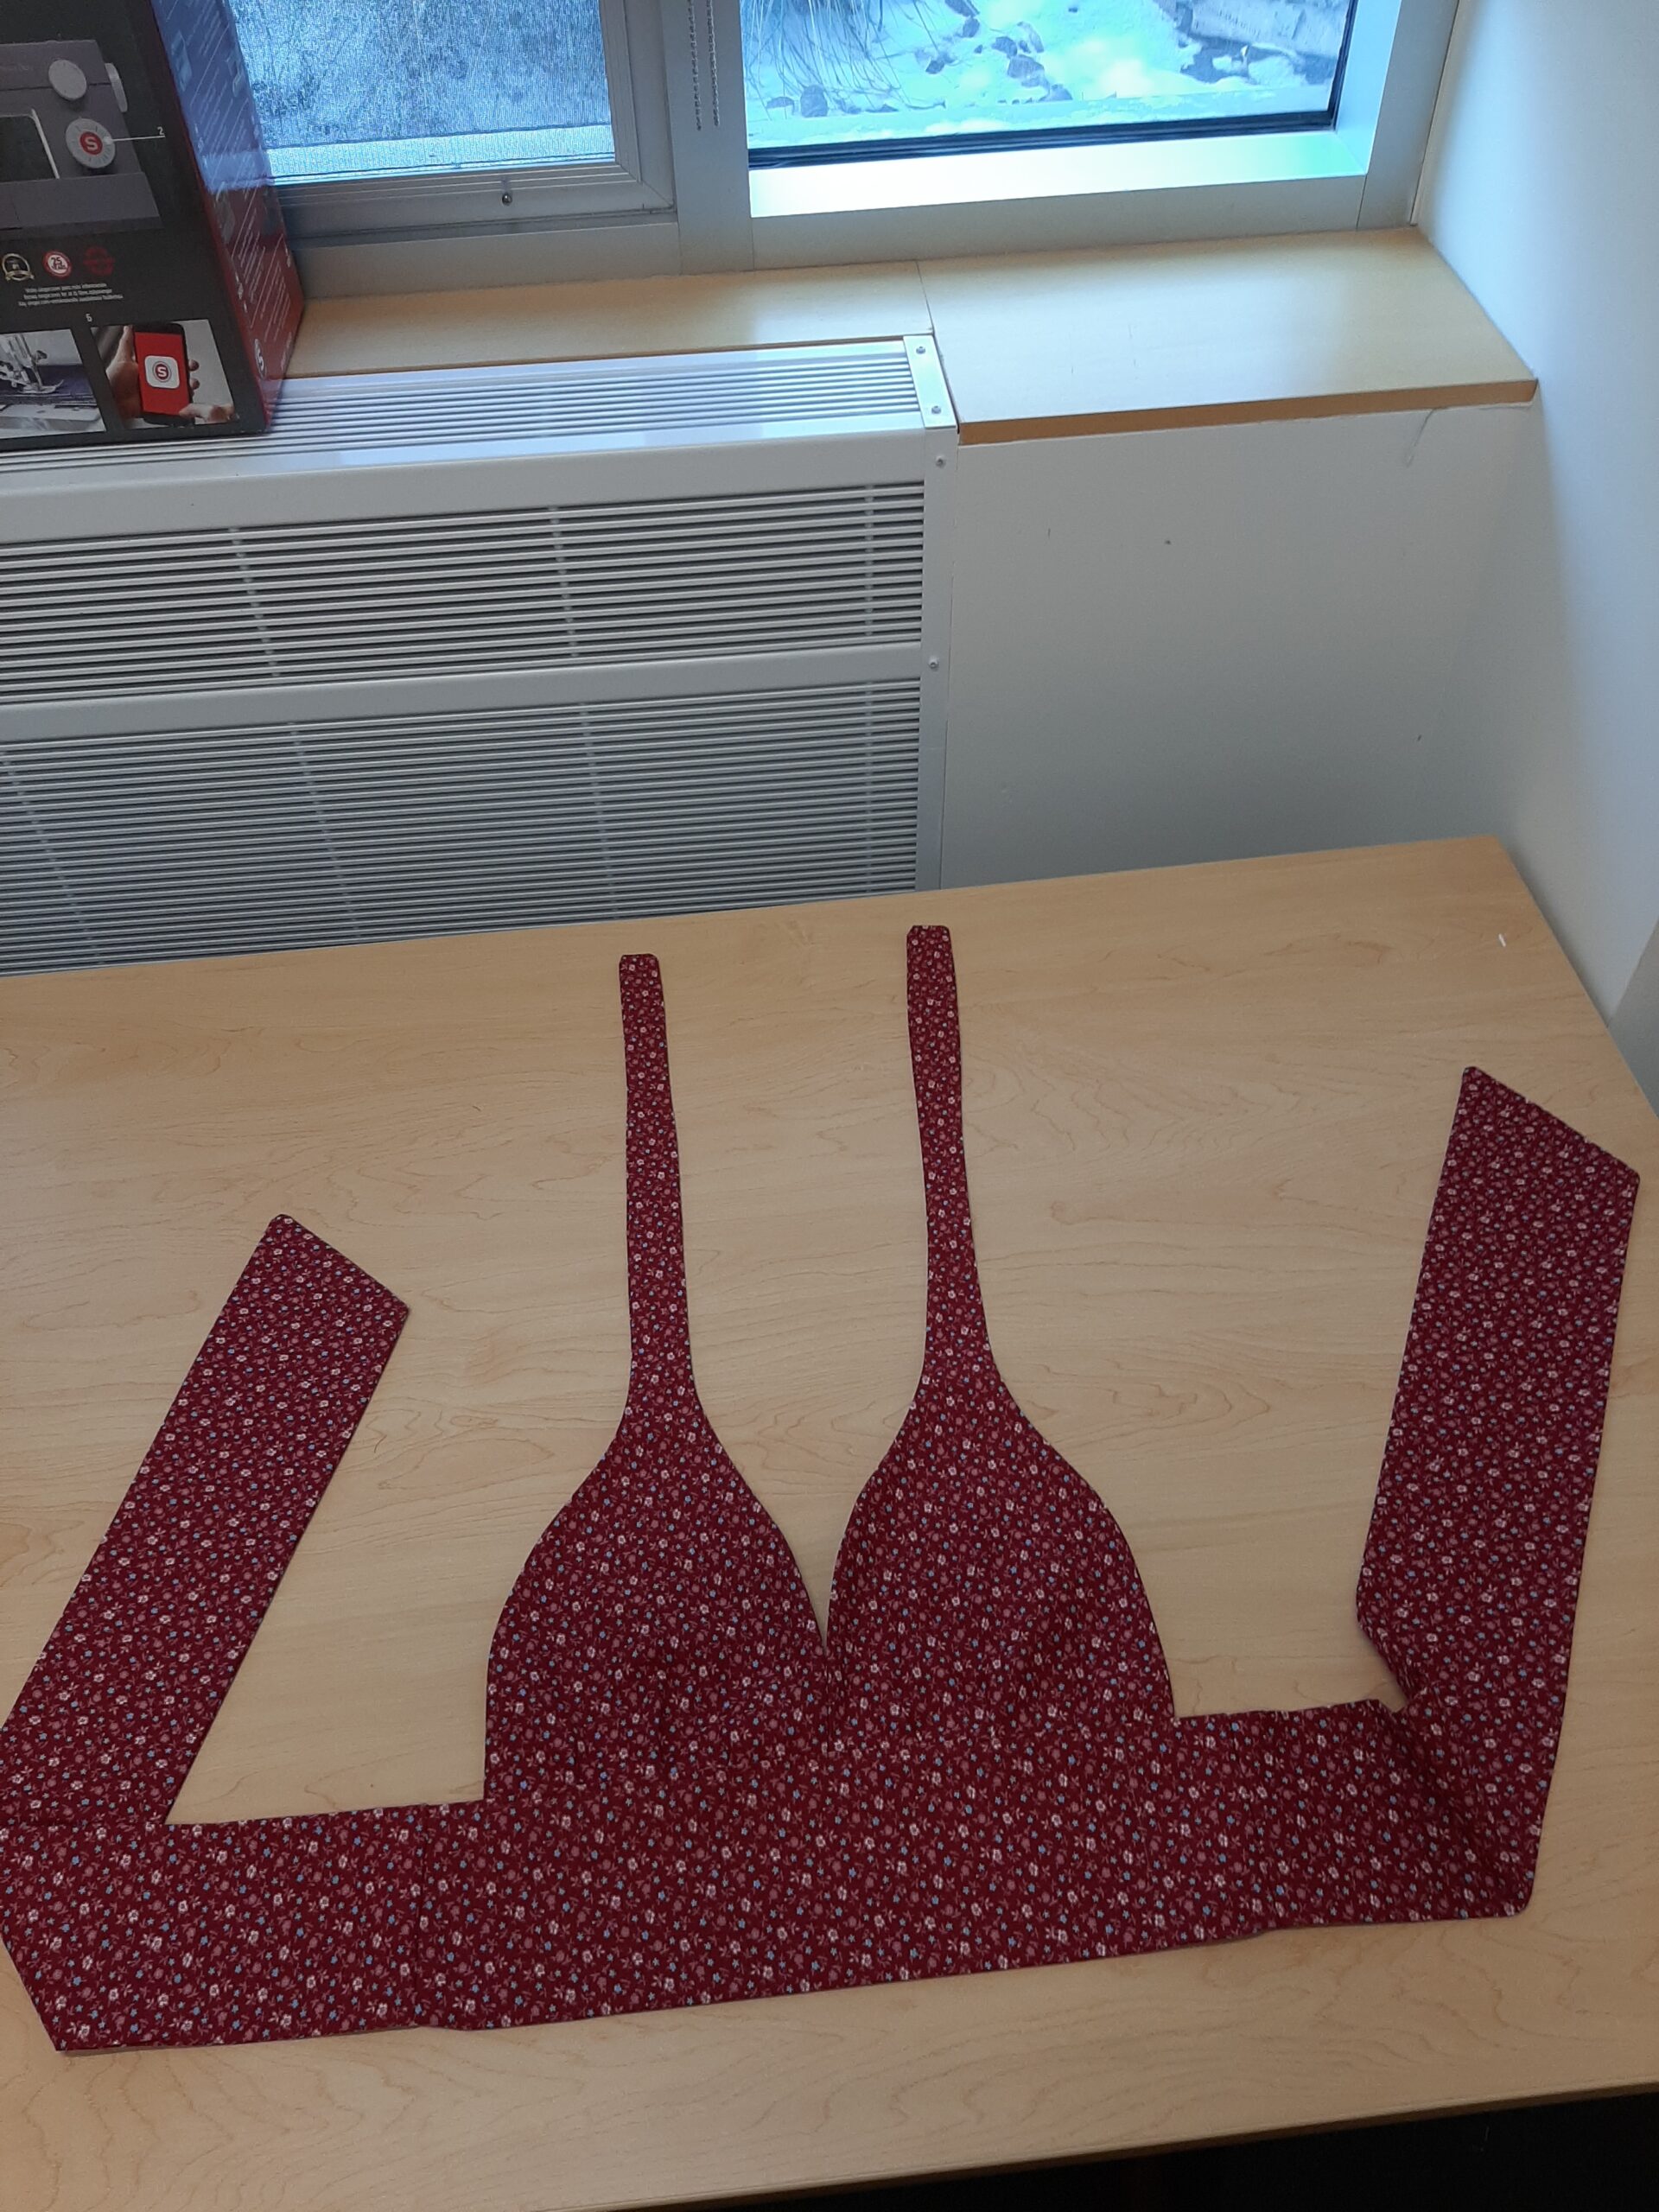
5. Now is the exciting part, where you can tell the project is coming together. Turn fabric right side out, and iron down edges so the seams are nice and lay flat. This is key to having a more professional looking finished product.
6. The final few bits of sewing are to place 2 top pieces onto bodice piece, fold bodice piece up, and sew in a straight line. Then sew straps to the side and you have a top!
Materials Used:
- Fabric of choice
- Thread to match fabric
- Sewing machine
- Mesuring tape
- Cutting tools
- Pins