Handheld 3D Scanner Tutorial
By Geordie Stenner
Plug in the scanner
There will be 4 items in the box.
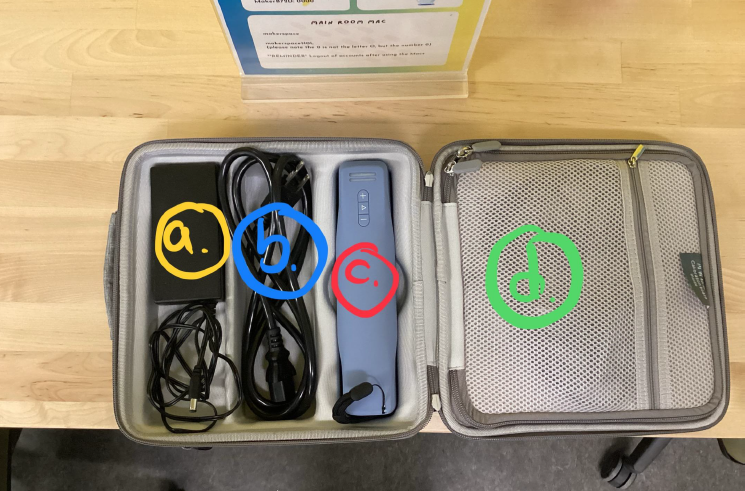
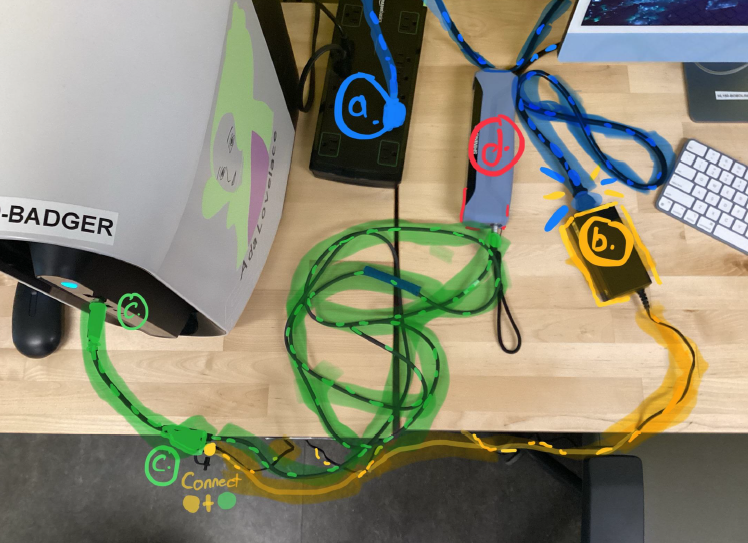
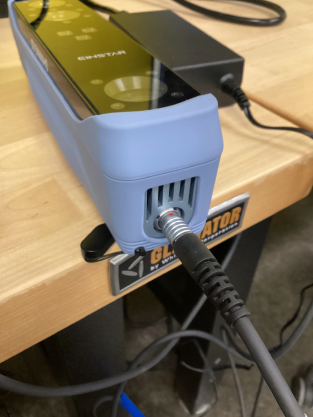
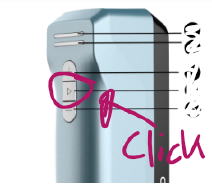
When plugging the silver cable into the scanner, make sure the red dot 🔴 is facing up.
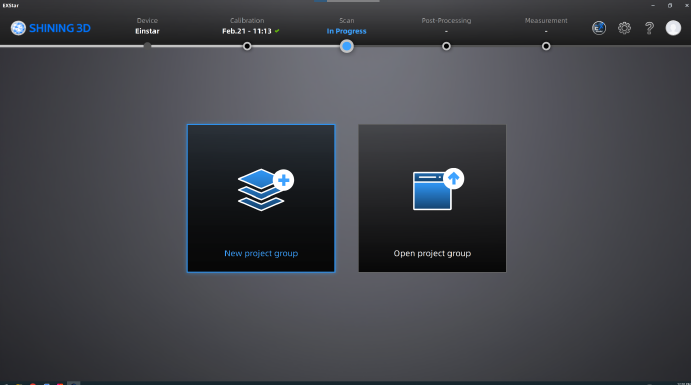
Create project
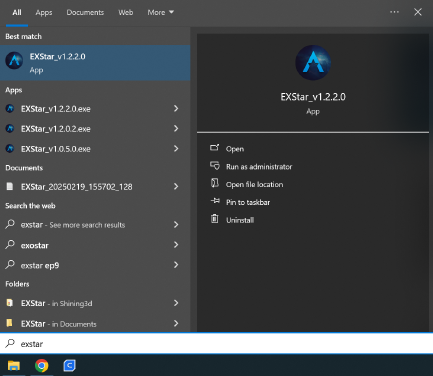
- After you’ve plugged in the scanner to the computer, open ExStar software
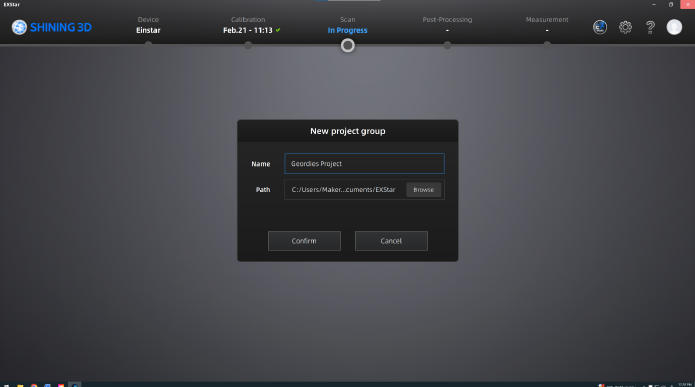
2. Click ” New project group”, and give the project a name
3. If you are scanning an object🎁, use the object scan mode. If you are scanning a person🧑, use the portrait scan mode.
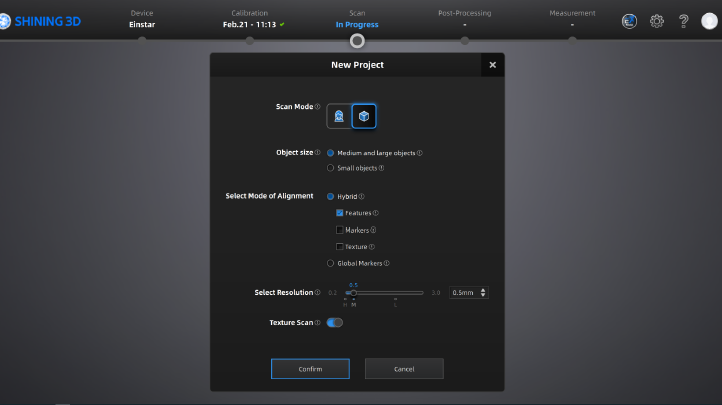
Recommended settings for object
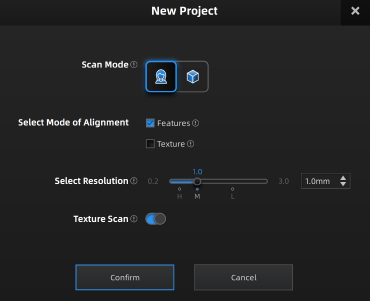
Recommended settings for portrait
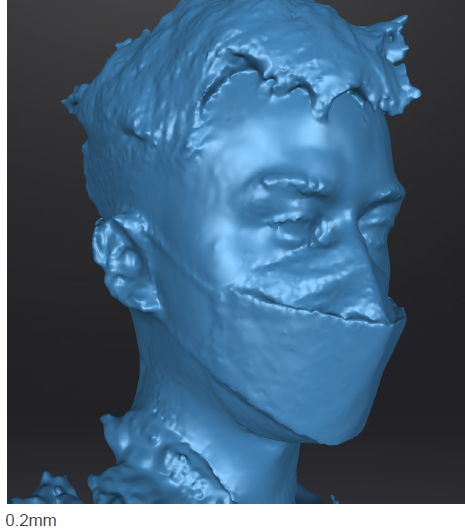
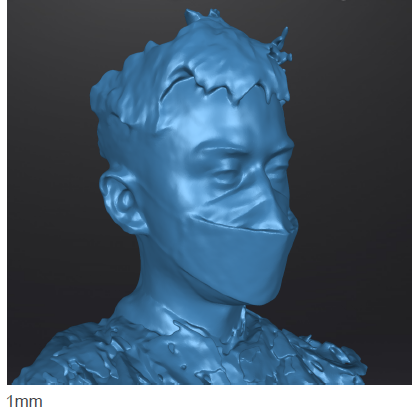
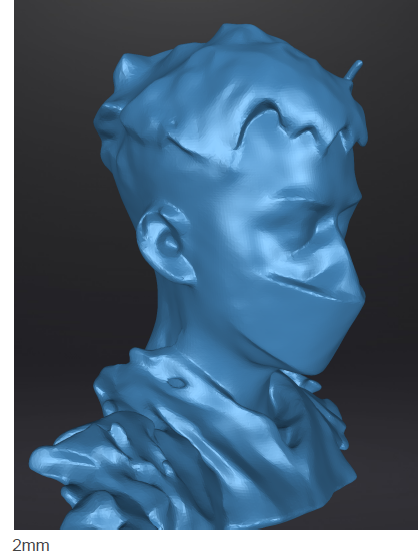
Tip: When starting off, it is not recommend to set the resolution lower than 0.5mm, finer resolutions will often have more defects and will take significantly longer to process. (and without a huge improvement in quality)
If you are scanning a small object and want lots of detail, check out our Einscan Tutorial
Scanning
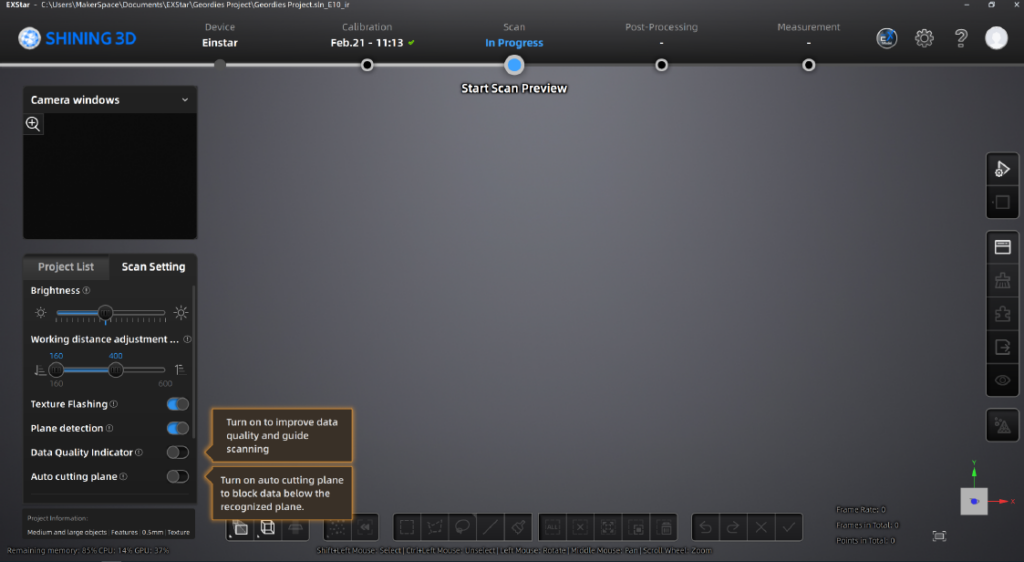
- Adjust the settings
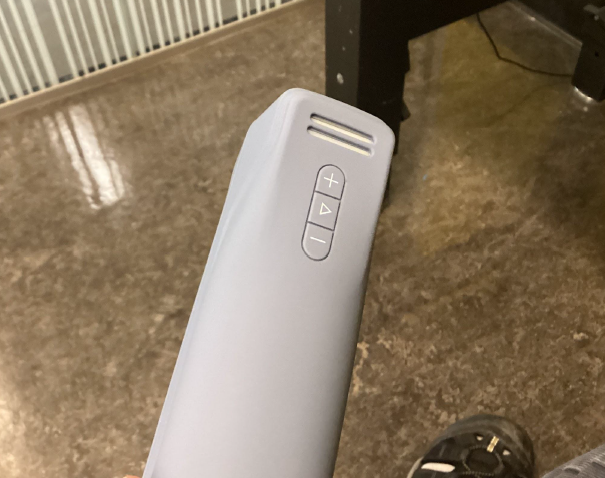
- Click the play button on the scanner to preview your scan settings.
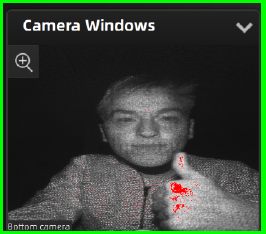
- Adjust the brightness slider until there is a small amount of red in your preview
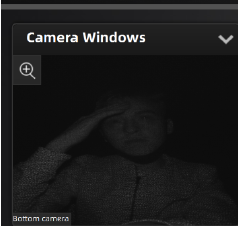
Too dim
Good
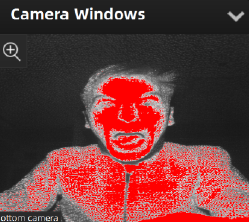
Too bright
(portrait mode only) Once you’ve created your project, increase youre scanning distance to the max (1400)

2. Scanning
- Press the play button again to begin recording your scan.
- Move around your subject, trying to get all angles.
- Once finished click the play betton to stop recording.
Tip: To avoid poor alignment when scanning a person, first scan the head, and then scan the rest of the body (without going back to the face)
Subtle facial movements over the course of a scan can deform your face!
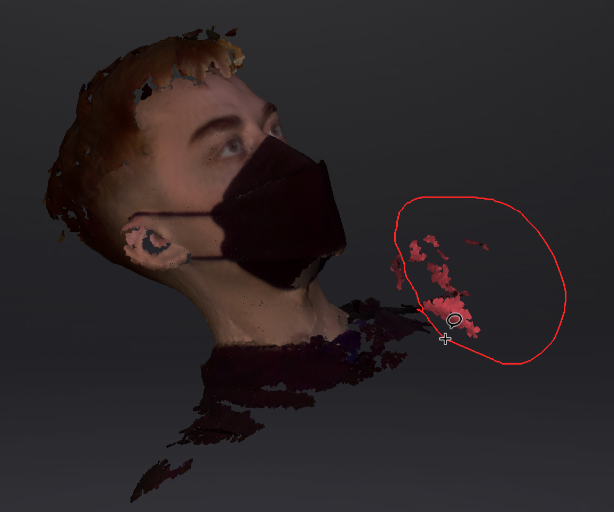
3. (Optional) Cleaning up scan. If you notice any data that shouldn’t be there, you can select it with the lasso tool and then select Delete selected data.
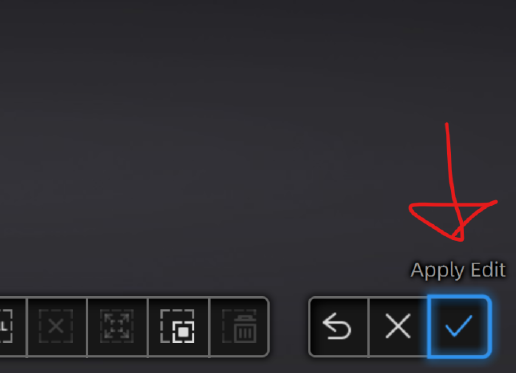
a. After deleting your points, click “Apply Edit”
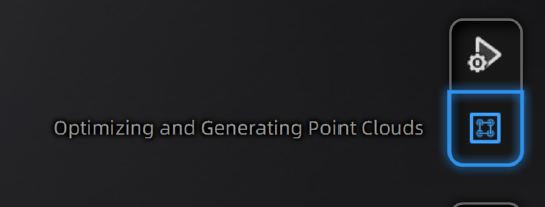
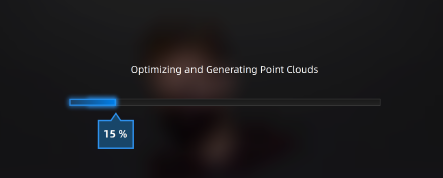
b. After, select Optimize and generate point cloud to cleanup the points before export
c. Click on Mesh (the bottom option) to create a mesh of your model
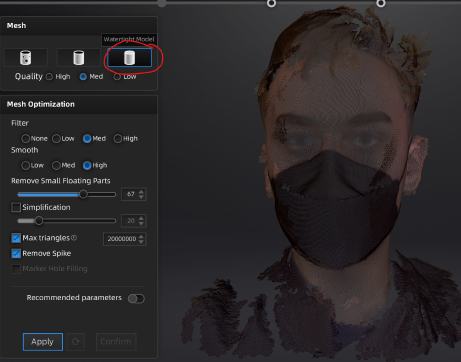
- Select watertight for your mesh mode
- Select confirm
d. In the next menu, select “simplify”, and drag down the slider until the estimated size is ~8 -30mb
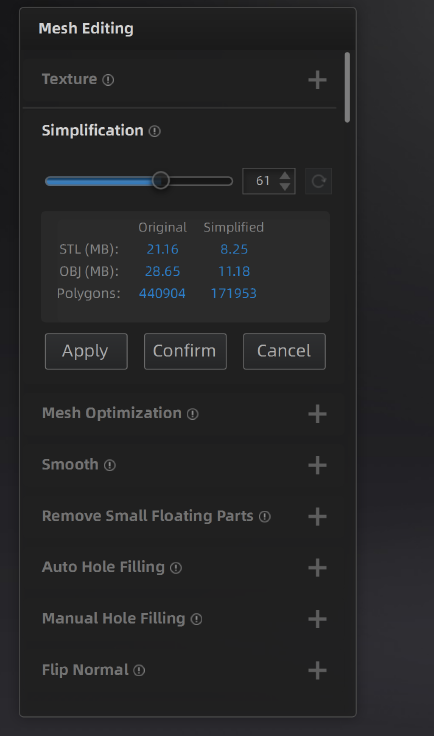
- Hit apply to preview the changes, and then hit confirm if everything looks good.
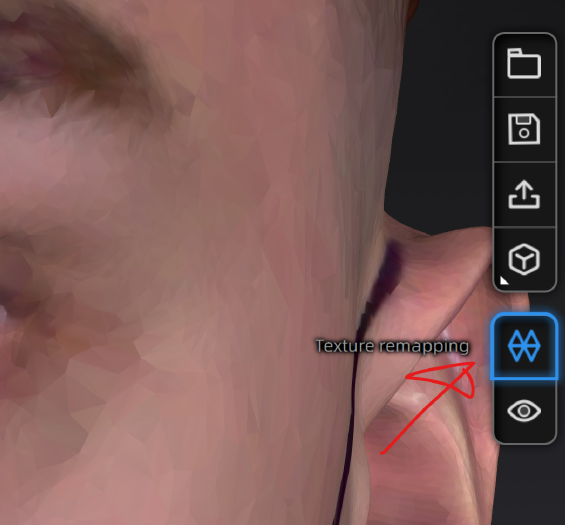
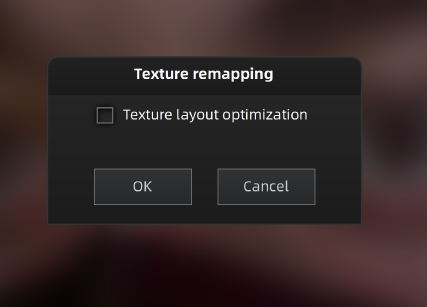
- If your project had textures, make sure to select Texture remapping
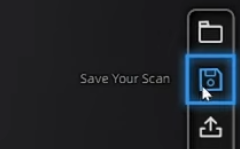
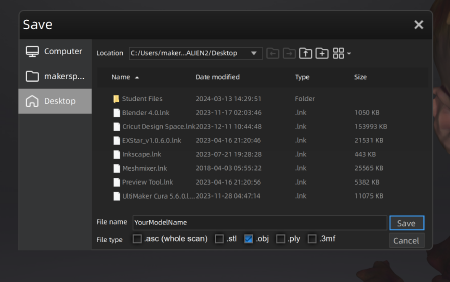
e. Select Save Your Scan, and save it as an OBJ.
That’s it! After you’ve exported your model, you can open it in software like Cura to 3d print your model, or Blender to make any further modifications to your model!