
Layered Vinyl Stickers
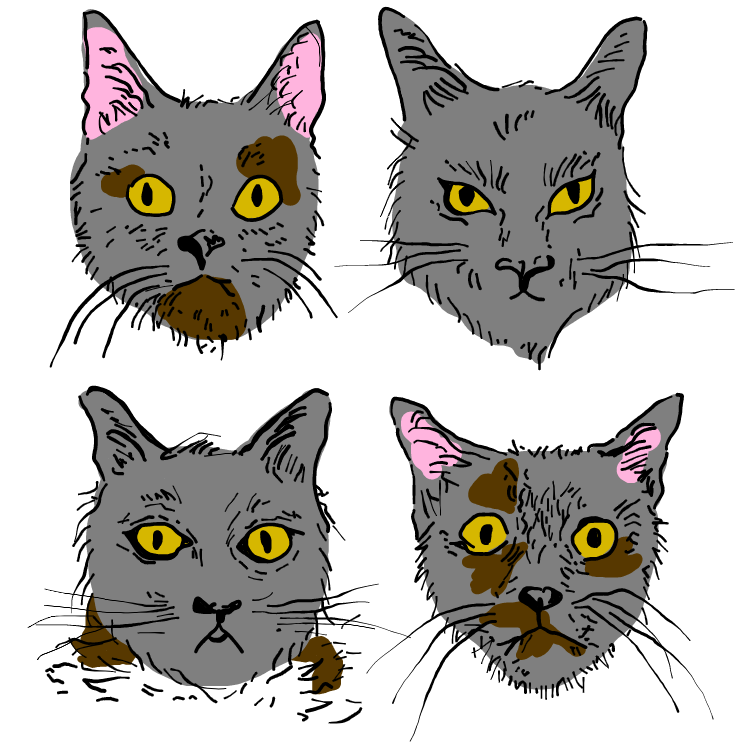
My close friend Mikaela Kalmar gifted me this portrait of my cats in 2022 for my birthday. When I asked her if it would be okay to replicate it to make a layered vinyl sticker version, she kindly agreed. I learned a lot from this experience, so here is a rundown of how I turned this portrait into layered vinyl stickers using technology available in the TRU Library Makerspace.
Scanning
First, I scanned the artwork. I decided to scan it to be able to trace it digitally. I used the scanner on the second floor of the Brown Family House of Learning. The scan was saved onto my USB. If you ever need a USB for your projects, you can borrow USBs from Makerspace!
Digitizing
Although I could have uploaded the artwork directly into Cricut Design Space, I knew that the watercolour would make it challenging to “cut” by colours. So, I decided to use Sketchpad.io, design software, to digitally trace the artwork in. I choose Sketchpad as it is free and easy to use. Other software you can try out is Inkscape and Procreate! Makerspace did not have procreate at the time of making this sticker, but I think I’ll be trying it out in the future! You can access Inkscape on all the main room Makerspace computers or borrow an iPad to use in the Makerspace.
First I added the artwork into Sketchpad using the clipart function. I locked the image so that it wouldn’t be moved around accidentally.
Then I changed the brush to a thickness that felt appropriate. From previous experience with the Cricut I knew to make the lines on my digital trace thicker than the artwork so that the vinyl would be easier to work with once cut.
When tracing I went colour by colour, starting with the black outlines. I created folders in the layers for each cat that contained subfolders for each colour of vinyl would be needed. These folders were important for keeping lines and colour organized and easier to later export as a png.


Cricut Design Space
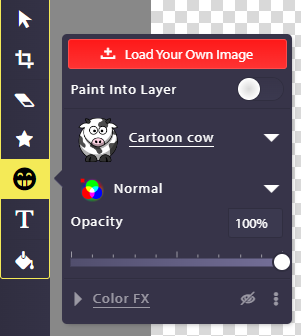
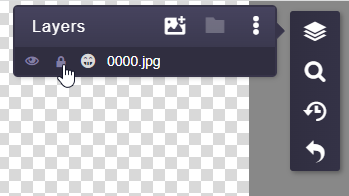
To make the cuts for the stickers I uploaded the digitized layers into Cricut by cat. Since I exported everything as coloured layers this was as simple as uploading each colour layer as is. But another way I could do this is would be by uploading the colour image. The full digitized version consists of flat colours so it can be uploaded colour by colour using the image as is. Below is a short how-to for uploading images into Cricut.
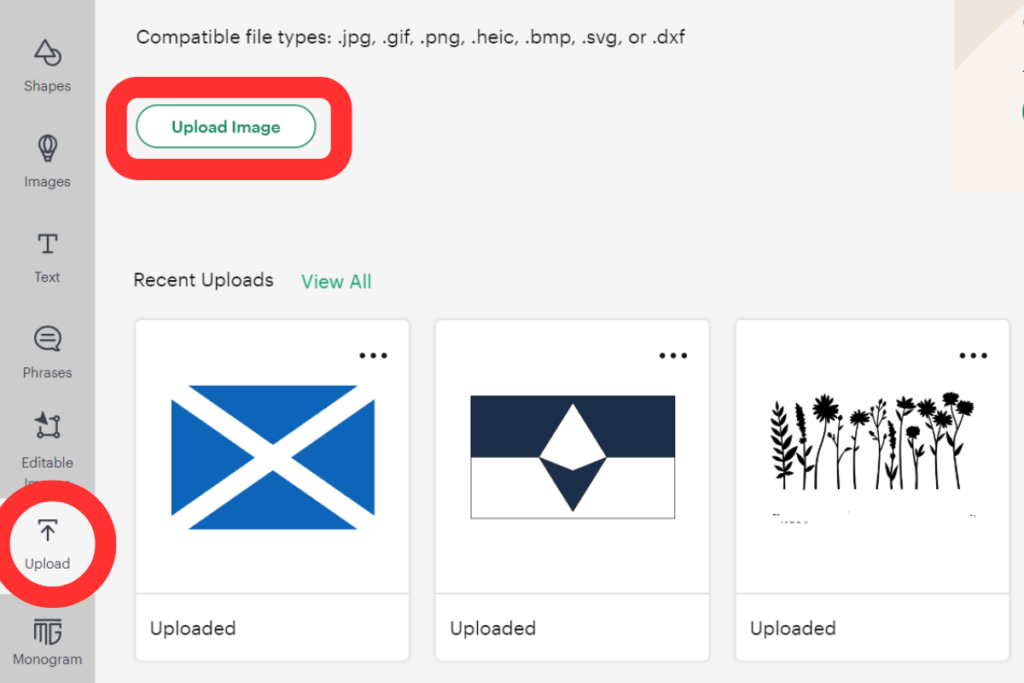
- Open a new project (or any project you want to add your image to)
- Click upload on the left hand side
- Then click upload image
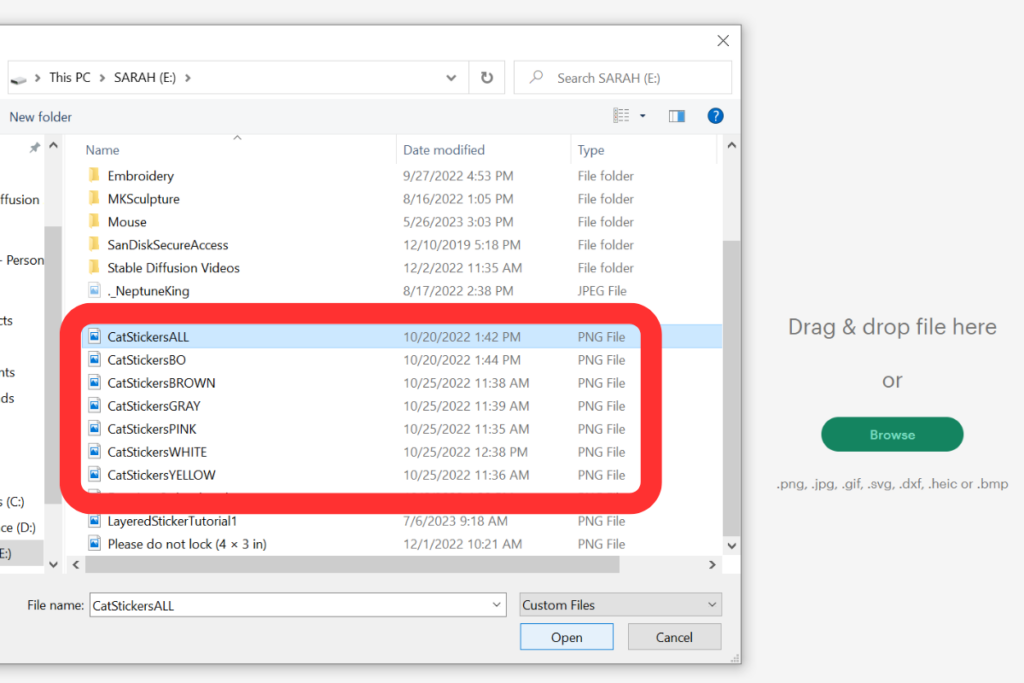
- Select the image you want to upload and open that file
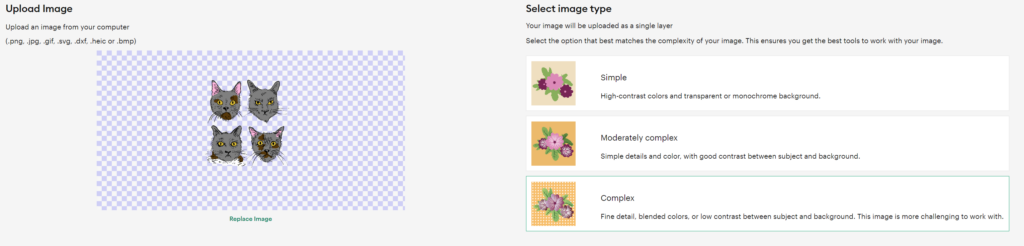
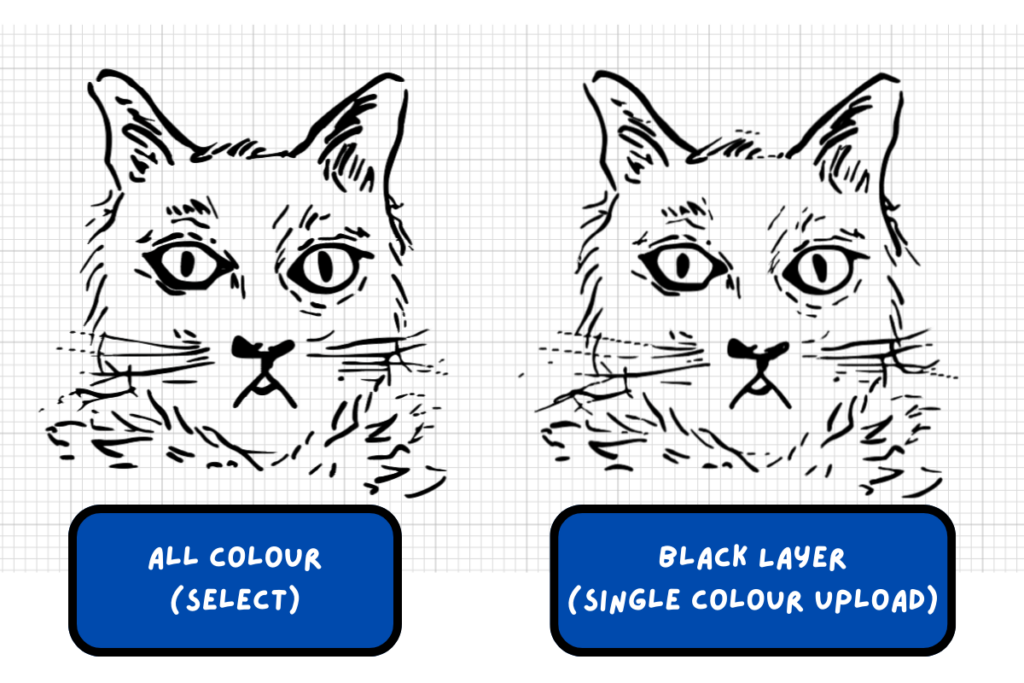
- Select image type
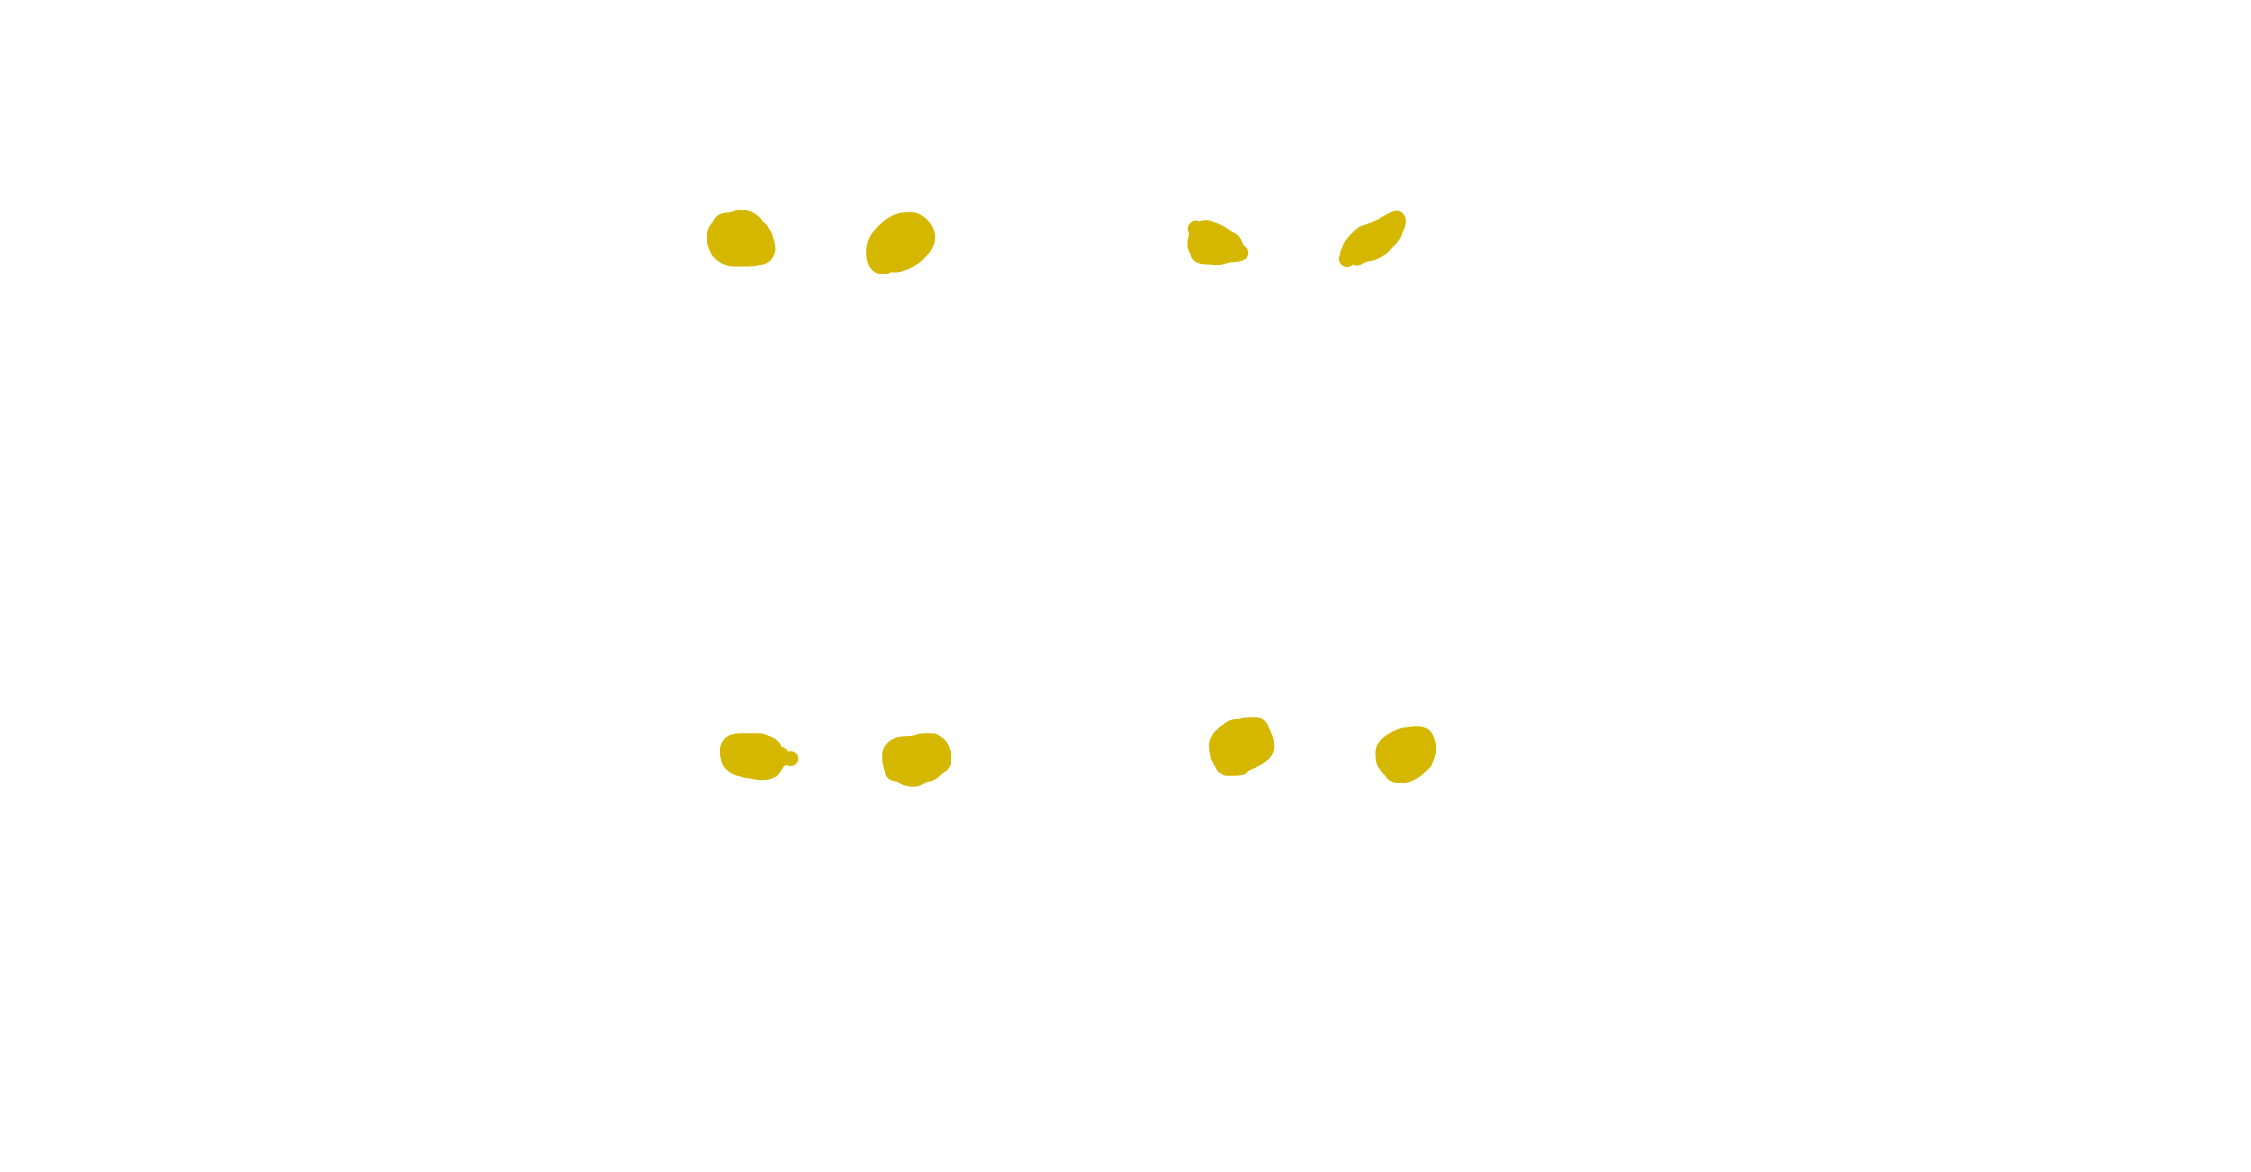
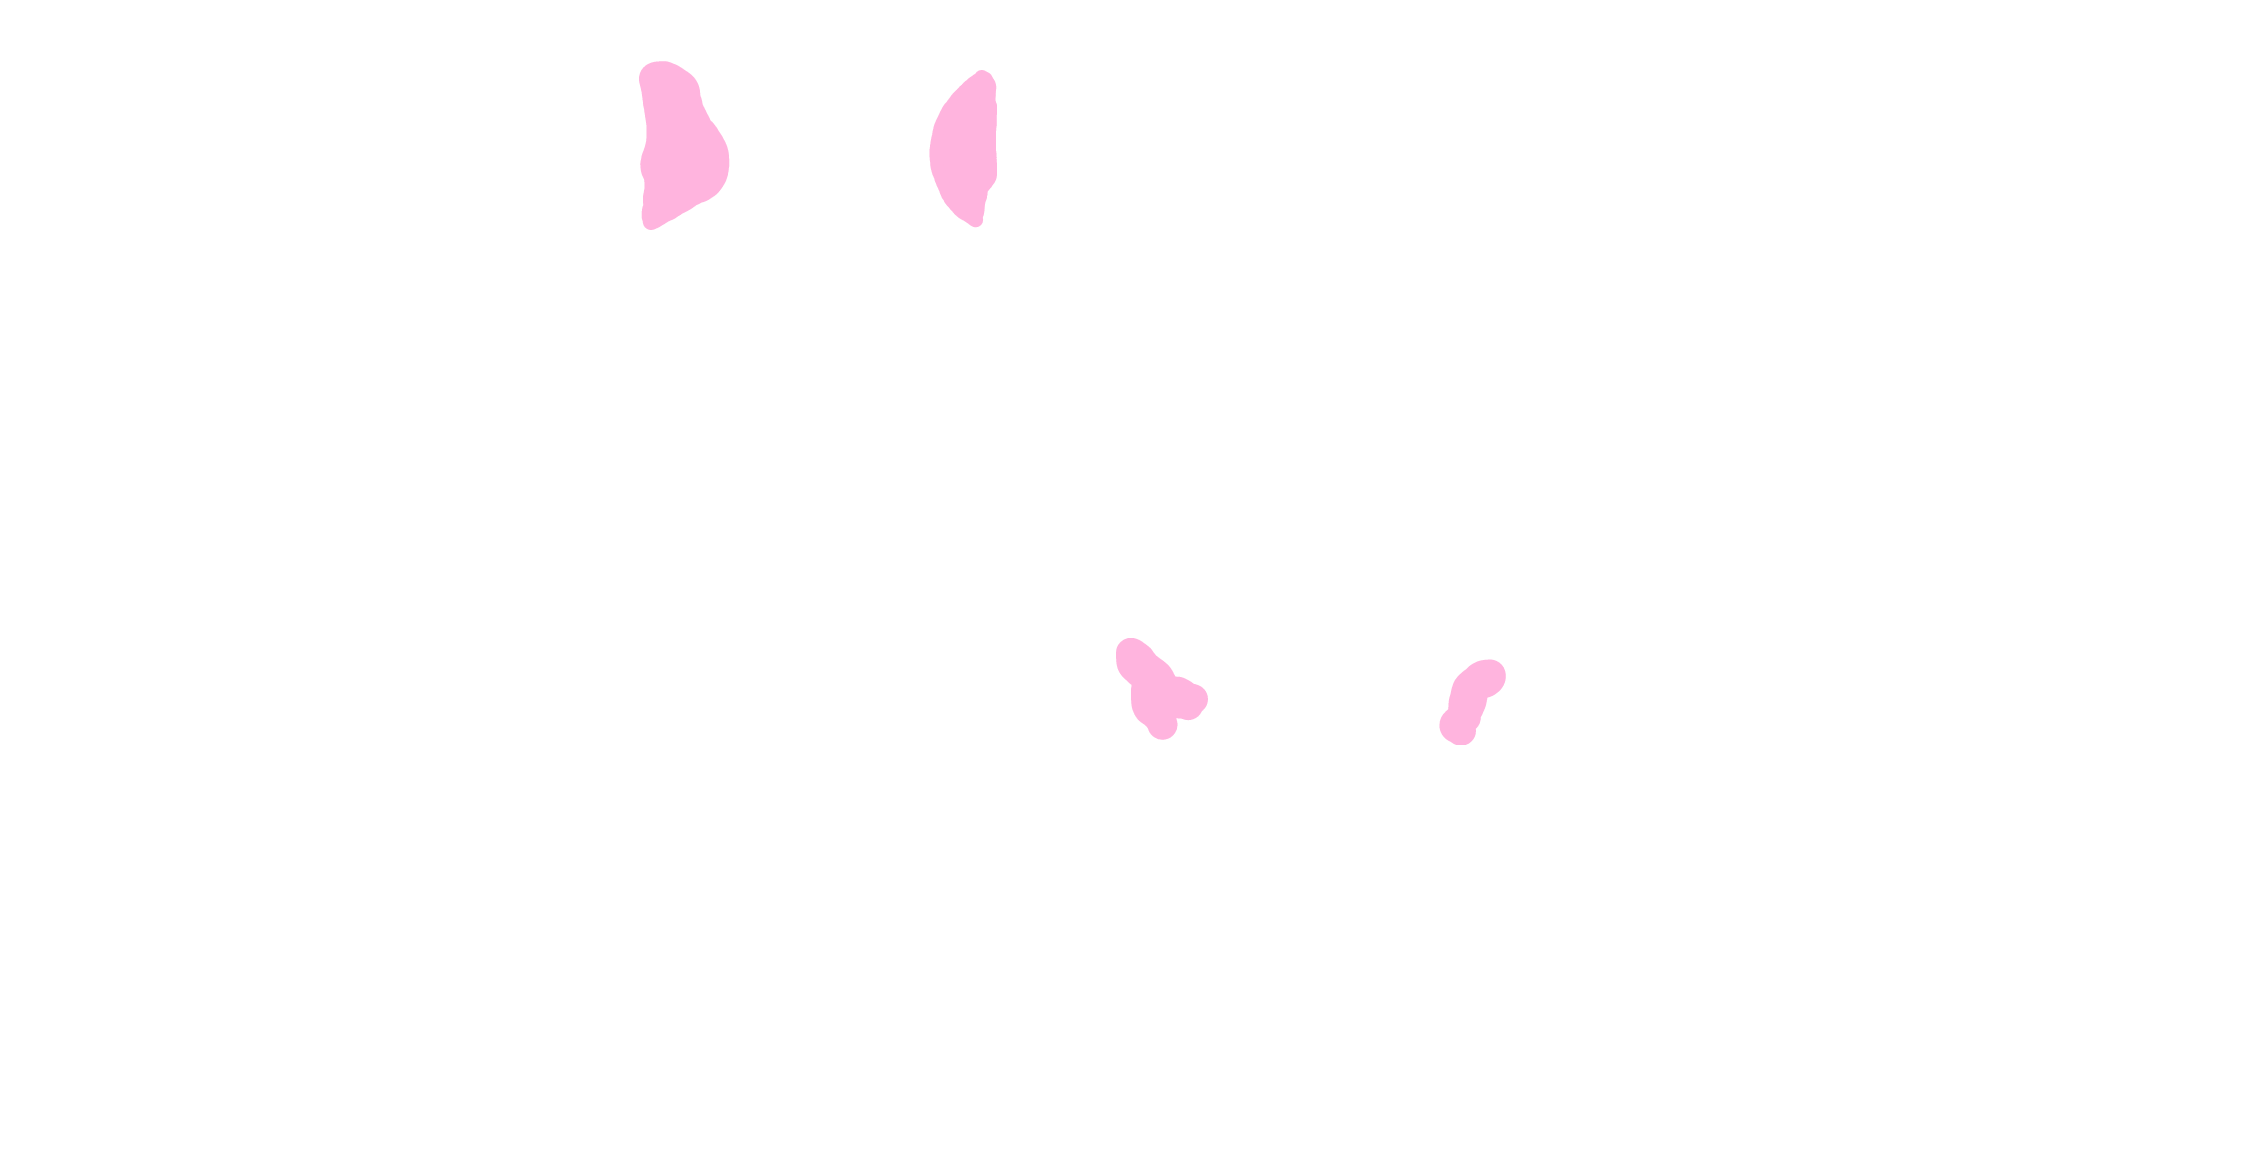
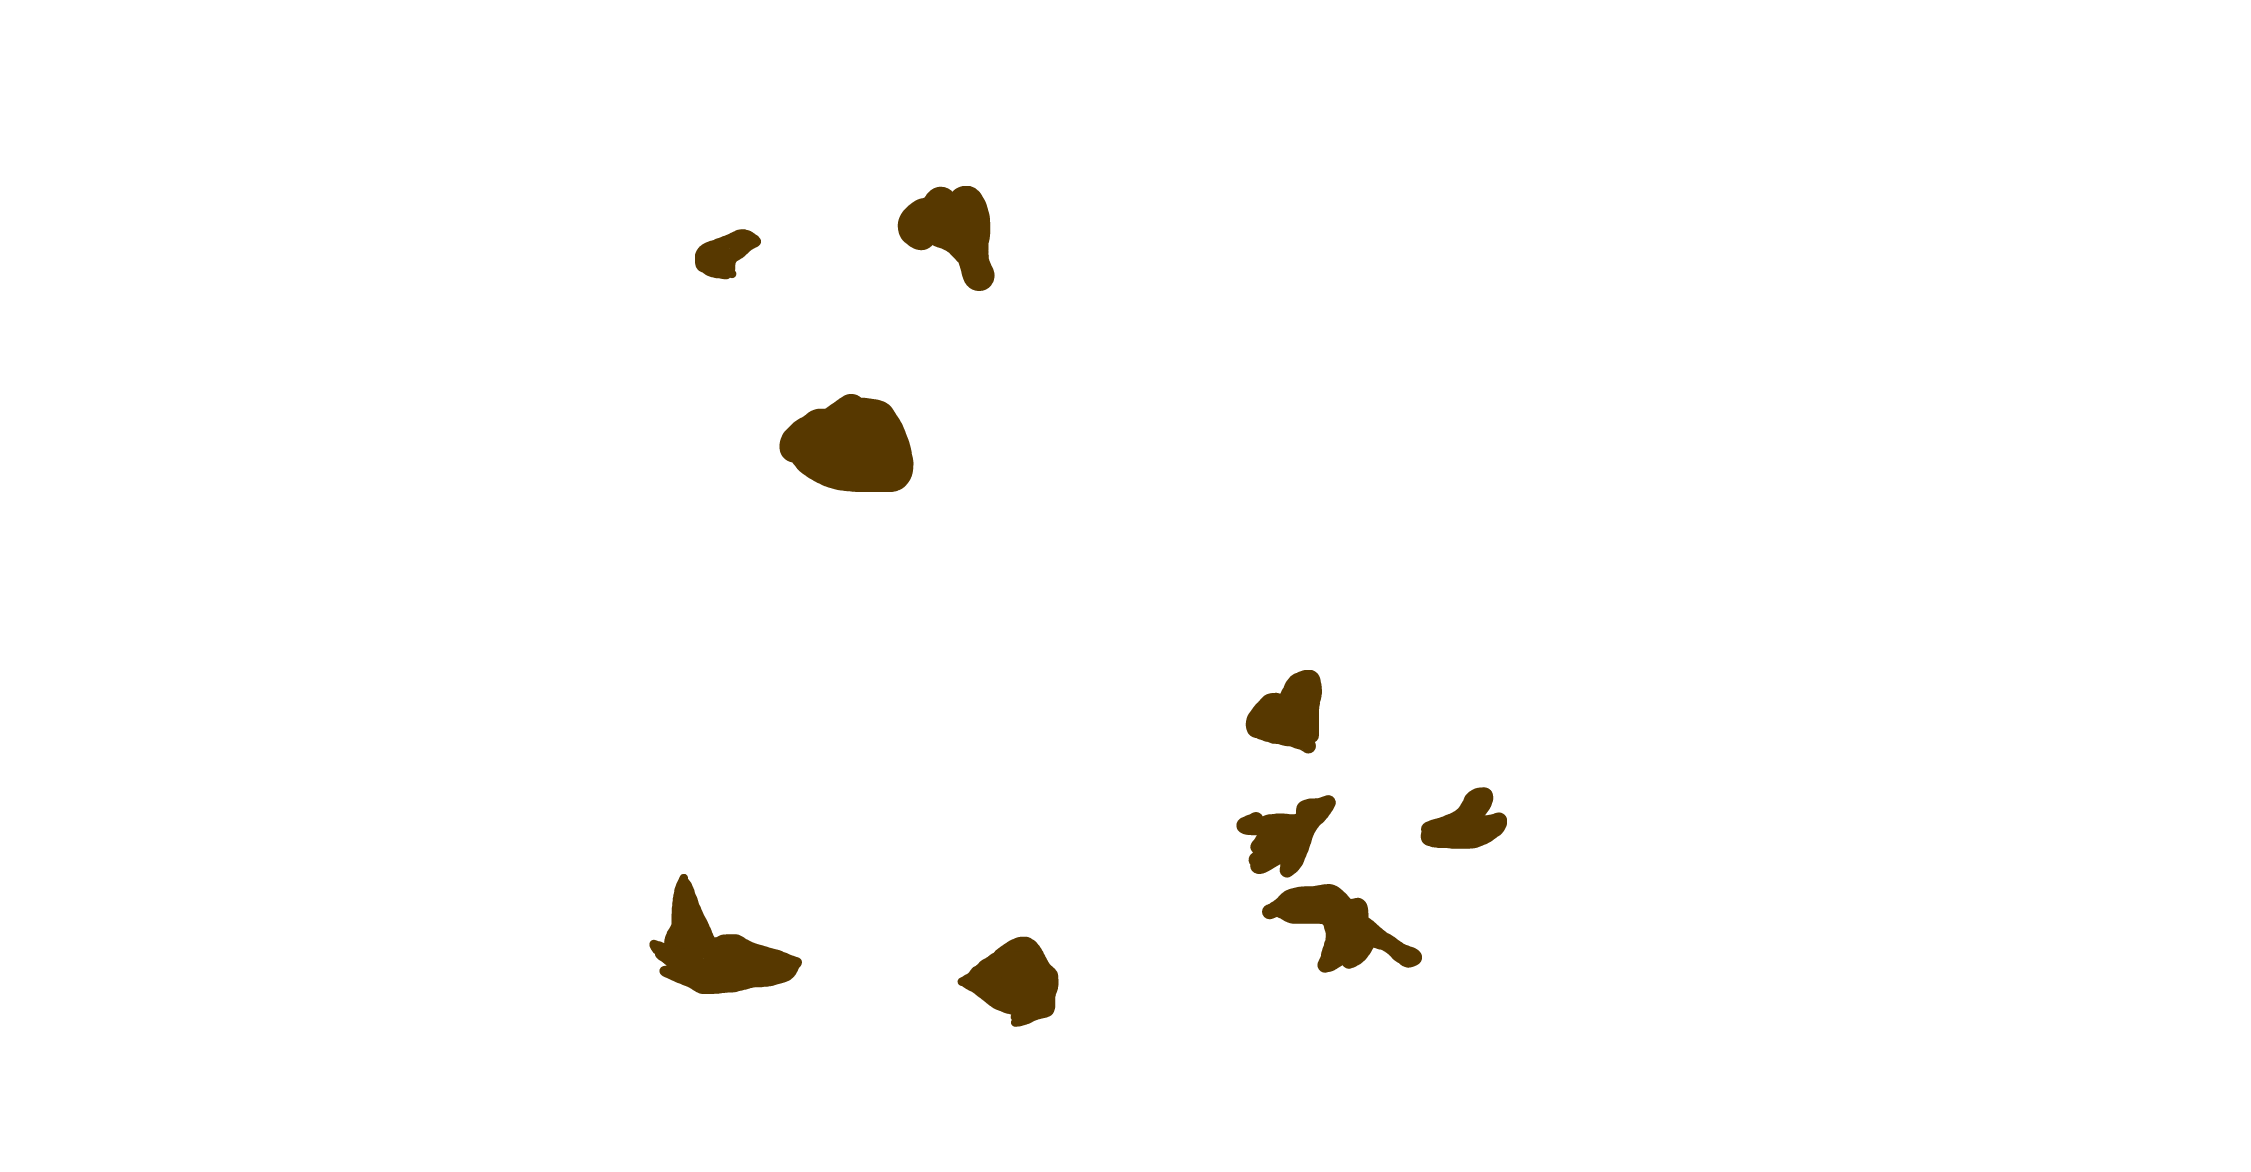
a. I went with simple image as there are only flat colours in my digital images.
- Isolate one colour on the image using the select or erase tool
a. TRU Makerspace has a free account of Cricut Design Space, so the background remover option is unavailable
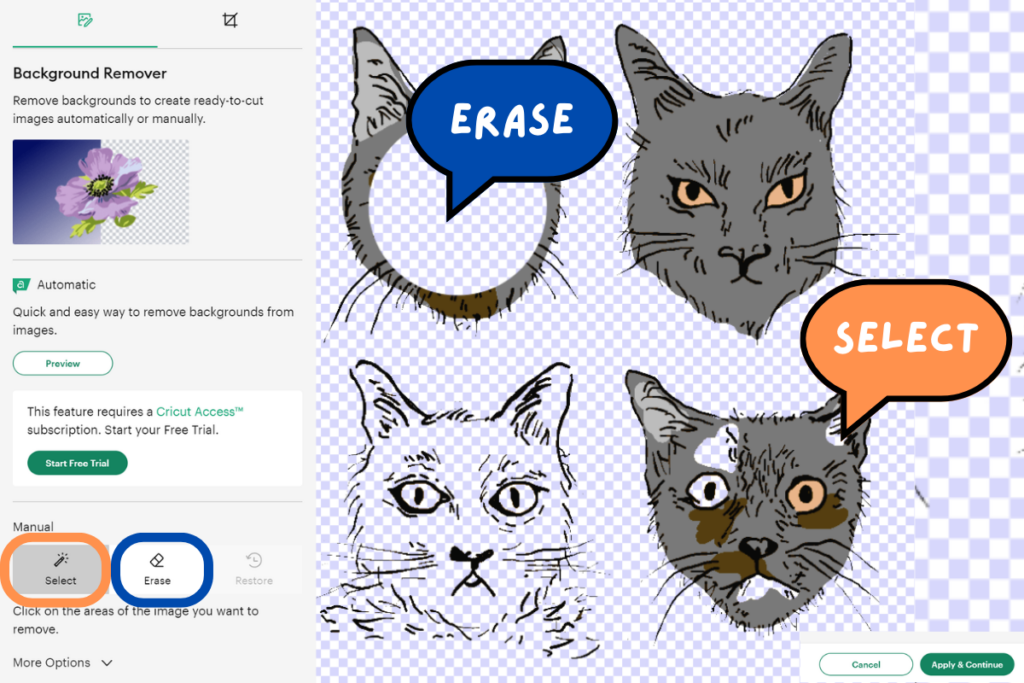
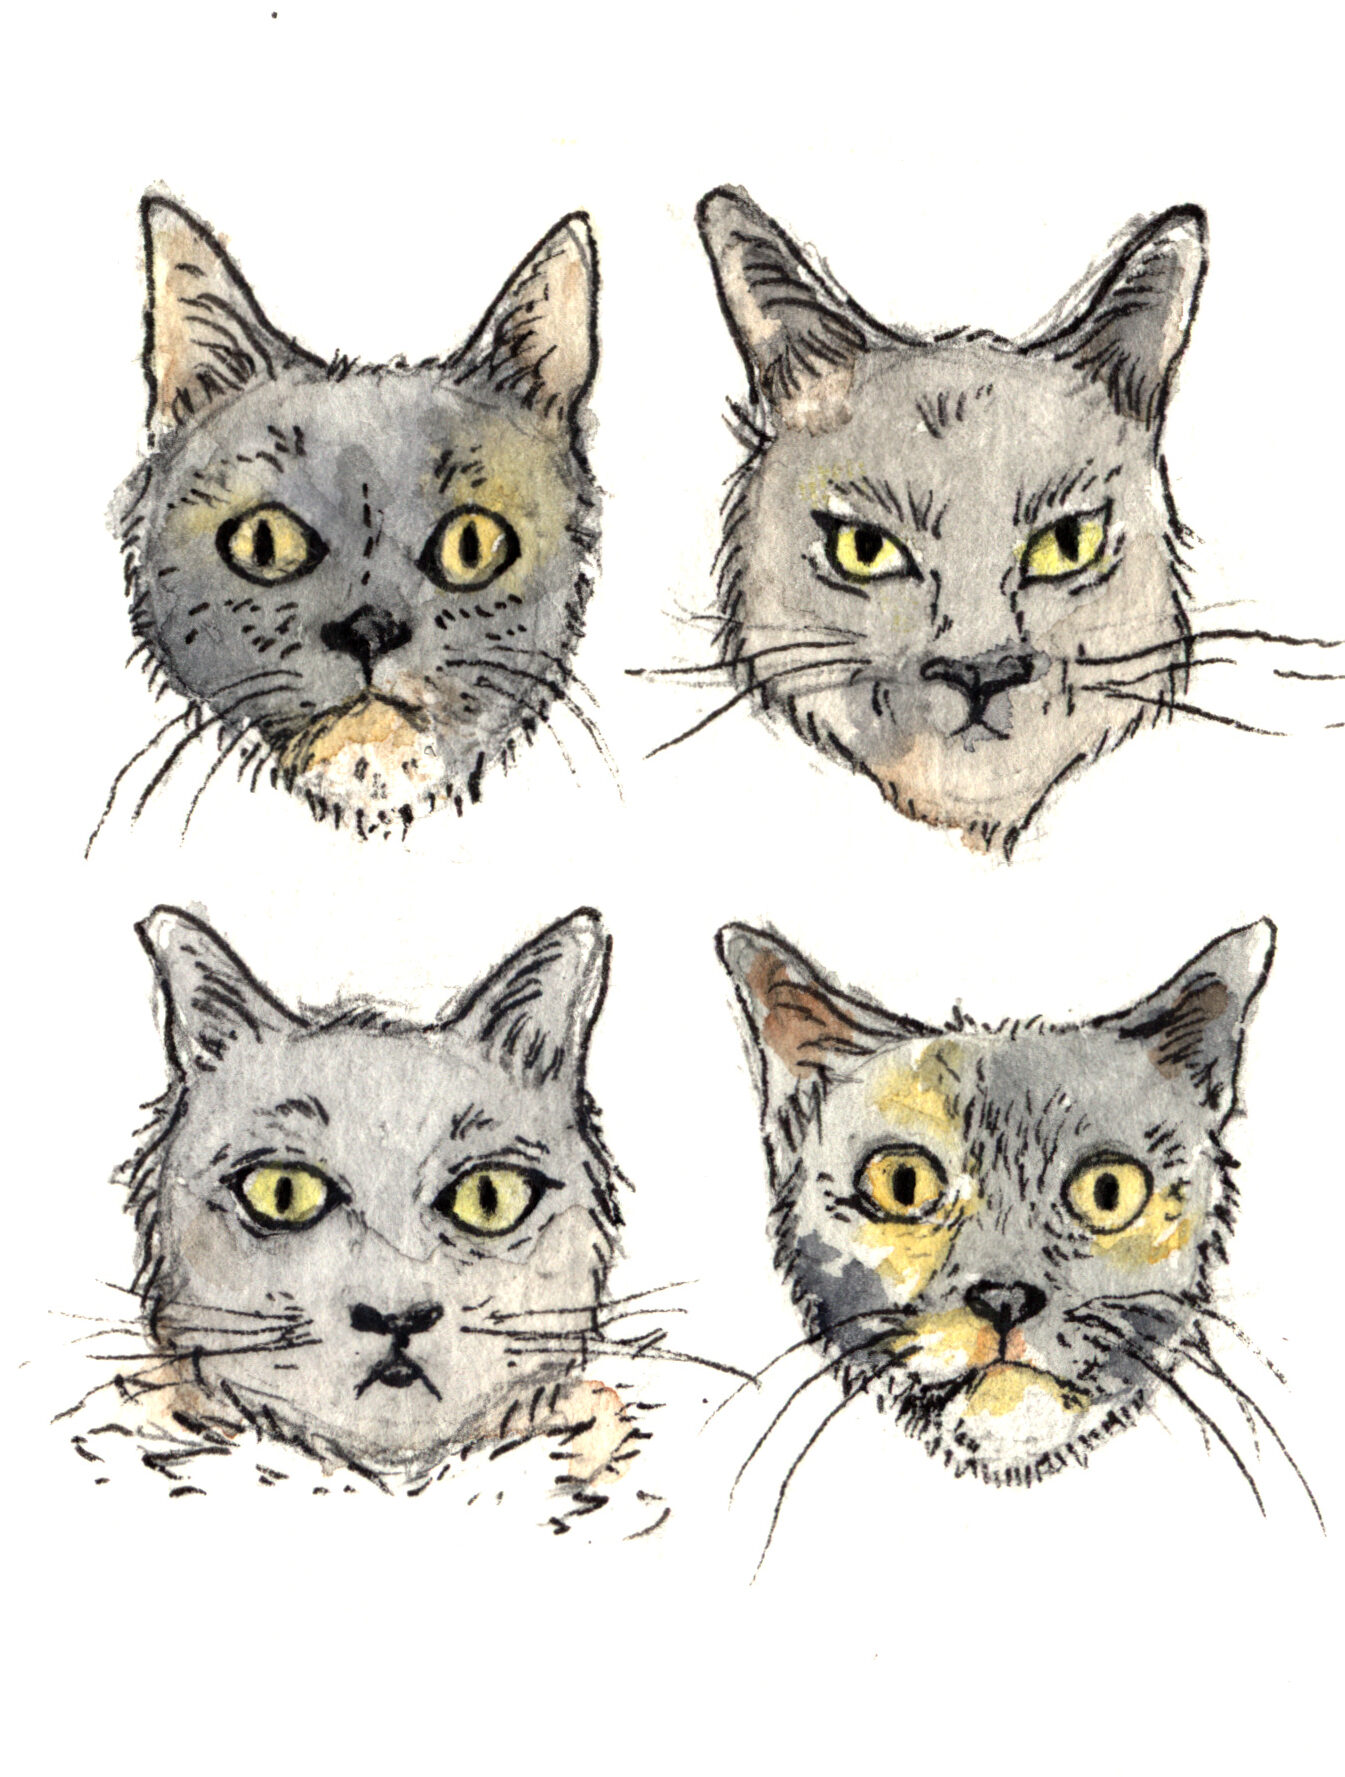
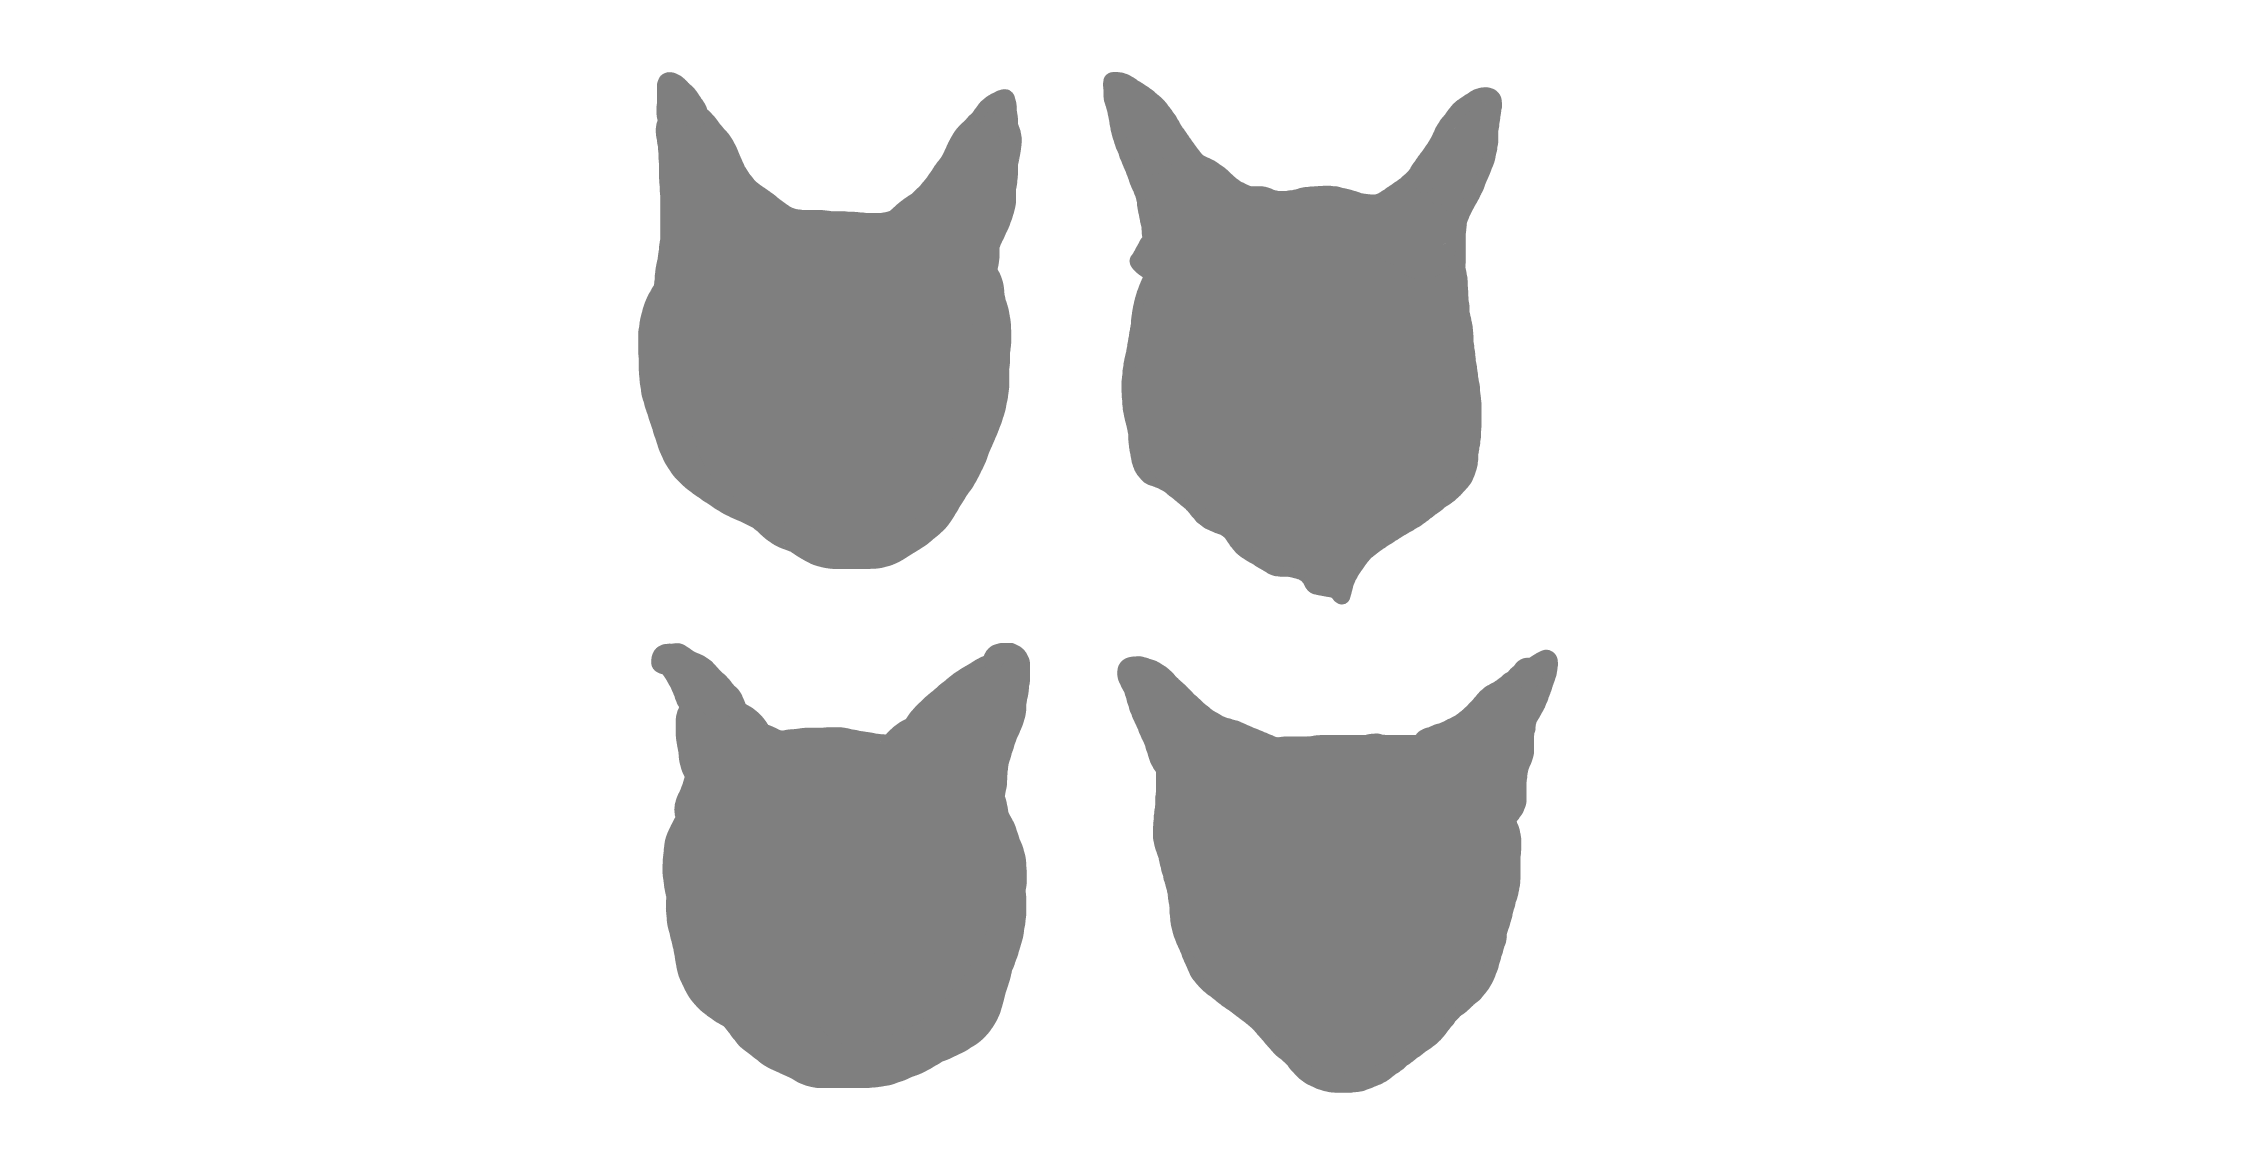
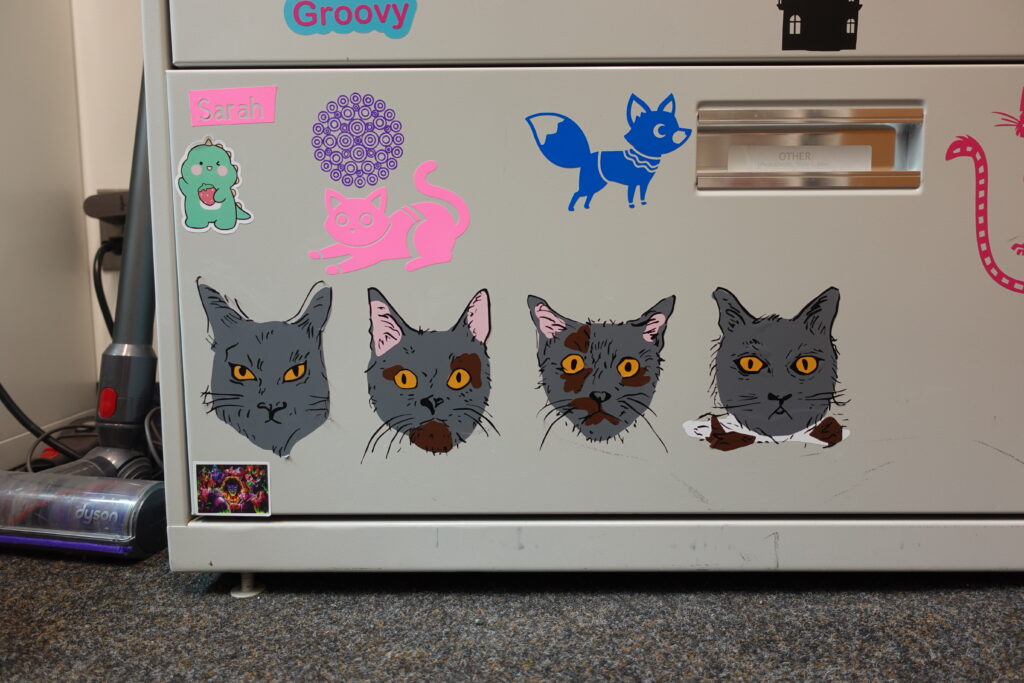
Bottom right cat:
Select tool will remove large areas of one colour
Top left cat:
Erase tool can change size and can be used to remove small sections to clean up or multiple colours in an area at the same time
Top right cat:
Left as is
Bottom left cat:
Used select and erase tools to remove all colour except the black outline
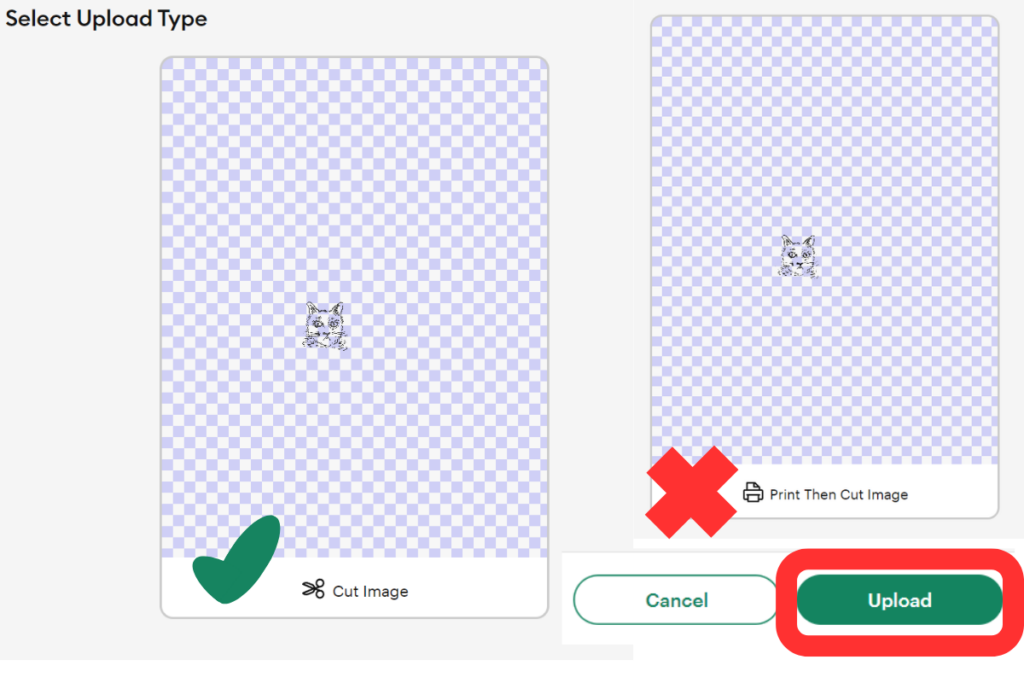
- Once done apply and continue
- Cut image
a. Please note that TRU Makerspace does not have a printer and items cannot “print then cut”
- Upload
- Repeat with all desired colours
- Select uploaded items
- Add to Canvas

- On Canvas change each layer into another colour
a. This puts each layer on a different mat when cutting
- Size to make sure they will layer proportionally as sometimes each layer uploaded enlarges or shrinks in the process
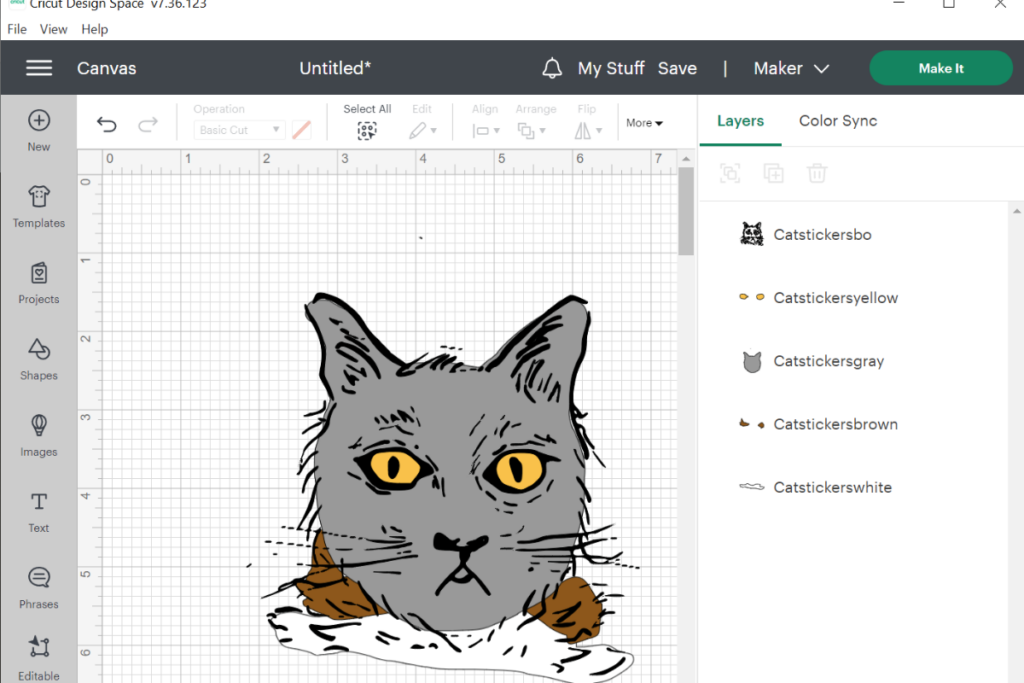
- Cut and weed layers as normal
Layering Vinyl
Once I had all my pieces cut it was time to weed them. The bigger, chunkier colour blocks were super simple to weed; however, the black outline layers were super challenging. I found that even though I made sure to thicken the lines in the digitization process, I still used wispy and short lines here and there (as I wanted to evoke the essence of the artwork). These wispy and short lines did not always cut properly, so in the cutting process I had already lost some of the detail. Using newer or fine blades were better for making sure I did not loose small cuts while the Cricut did its thing. It was also challenging to weed as they did not always cut entirely, or would stick to the back of the vinyl when pulling up surrounding negative space. But using patience by weeding small areas carefully helped this process the most.
While weeding was an adventure in itself, layering was the next and final challenge. I experimented doing this two ways.
1. Building up the layers individually on the display surface from background colours to foreground colours
2. Building up the layers on the transfer tape from foreground colours to background colours then moving it as a completed piece onto the display surface
I ended up preferring the second approach as it allowed for the black outline to be the piece that the other layers were going onto, making it so it looked less wonky. It also made it so that placement on the display surface had the whole piece considered, and not just guessing how much space it should have. It was harder to use the first approach because placing the yellow eyes onto the grey face felt like guessing where the black outline would end up.
Final thoughts
I really like how it turned out and now I know how I like to make layered stickers in the future! I had a couple of failures along the way, one cat took three attempts to get, but this project is finally finished which is a win in my book. It was nice to see a creative project from idea to finished product. For years I kept myself from being creative and just dreaming of working on maker projects because of the time and cost of working on them. I think having access to technology like a Cricut, a sewing machine, or a 3D printer is great as it allows us to experiment without the fear of the costs associated with learning or the space needed to house the equipment.
By Sarah Porter