Knitting a Scarf to Visualize the Questions Asked in the Makerspace
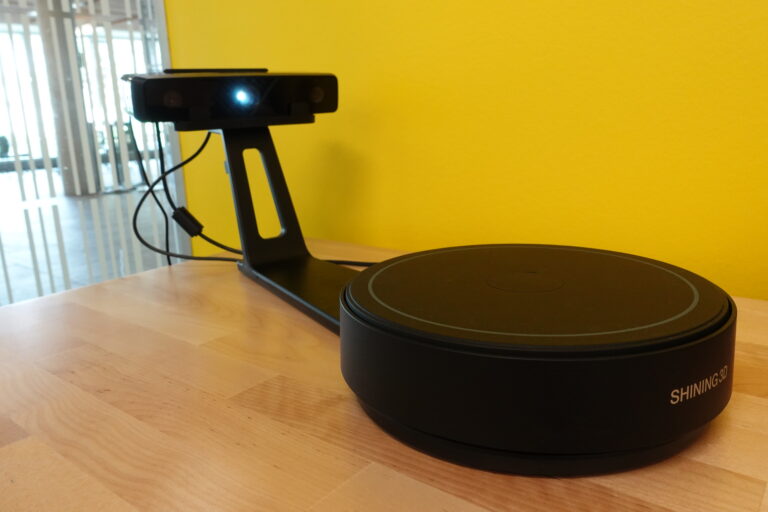
We recently got a king size Addi circular knitting machine in the Makerspace, and inspired by Making Research Tactile: Critical Making and Data Physicalization in Digital Humanities I decided to make a scarf that would visualize the number of questions we’ve answered in the Makerspace since we opened in March, 2022.
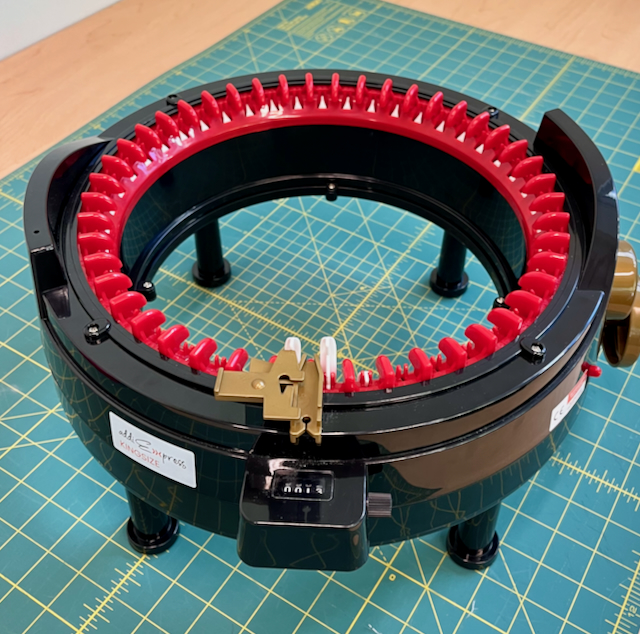
The machine lets you quickly knit either circular tubes or flat panels, and I found it surprisingly easy to use as someone who doesn’t know anything about knitting. The main thing I learned is you need to be careful about how much tension you put on the yarn as it goes into the machine, and you also need to watch carefully at each end or you risk dropping stitches. I dropped a few and had to fix them later, which I will show in a minute.
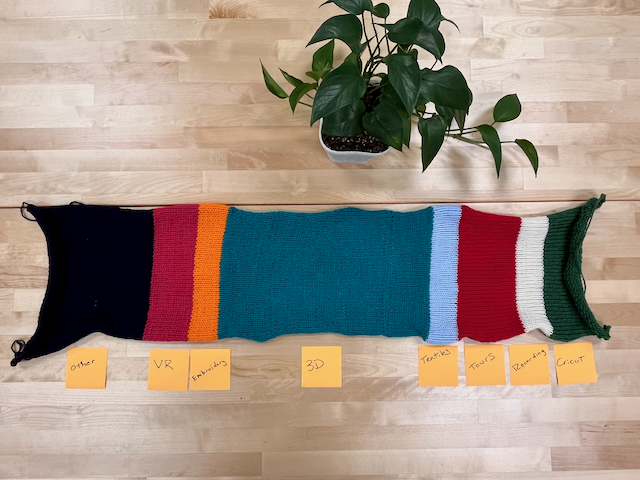
Whenever we help someone in Makerspace we make a tick on a piece of paper under the appropriate technology. These are called “Reference Interaction” and each tick is one interaction, not one question: if you ask 3 questions all at once we record that as one tick, and if you later ask another question we record that as another tick. This is all entered into a system that records the library’s stats. We have had over 10,000 of these interactions in the Makerspace since we opened!

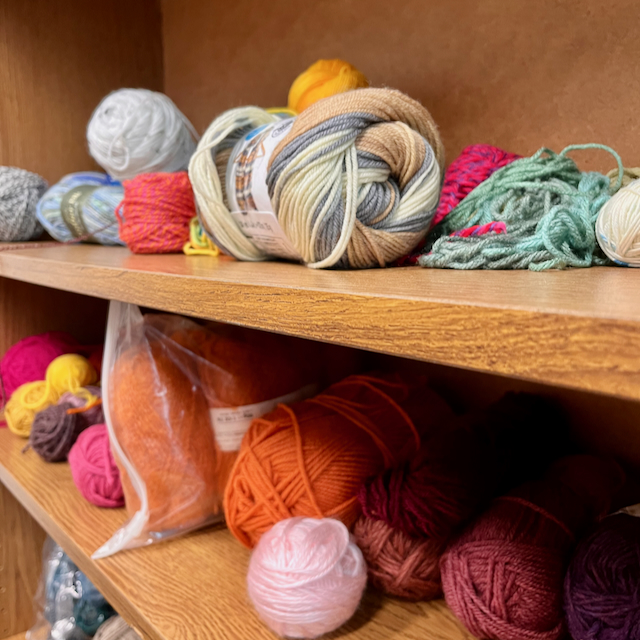
To turn this data into a scarf, I did a little experimental knitting until I figured out it took about 8 rows to make an inch. Since I knew I wanted something around 30 inches long, I played with the data until I figured out that if each row represented 300 interactions, I would get a scarf that was 33 inches long. I set up a spreadsheet to calculate this and added a colour, order, and “knit to” column which would tell me when to stop and change yarns. I then riffled through our new yarns in our community fabric stash until I found enough contrasting colours made of low-quality material to make the project.
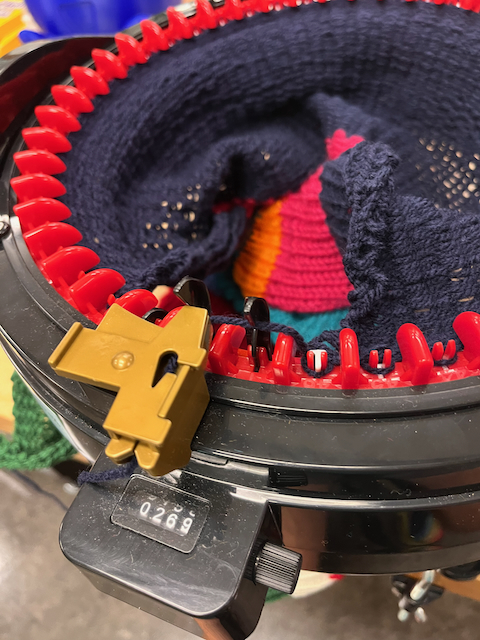
Then I started knitting! I used the row counter until I got to the right number, then cut the yarn and tied it to the next colour. This is another place where it’s easy to make a mistake, and a couple of times the yarn came untied or risked getting stuck in the machine. It pays here to go slow and learn how to tie a tight knot. In total, it required 269 rows and I estimate it took about 2 hours in total to make.
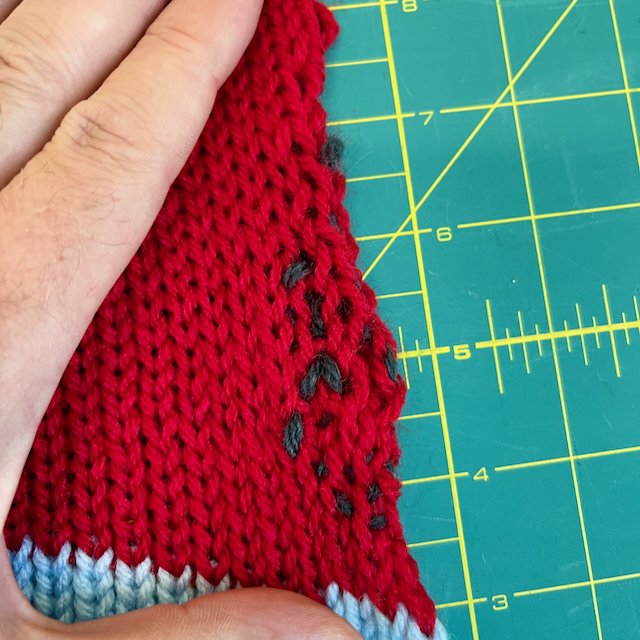
As I said, I dropped a few stitches so I googled around a bit and found that many people just take a new piece of yarn, loop through the dropped stitch and weave the ends back through the finished piece to hold it in place. I did that, badly, using a contrasting colour that would show my work. My theory is it’s always good to show when you make mistakes, especially when you run a Makerspace and ask people to try new things. Luckily, I make plenty of mistakes.
And here is the finished project! It will be hanging in the Makerspace until it gets cold enough one of us takes it down to wear it, so check it out next time you are here. I’d love to see people using the new knitting machine for all sorts of projects, as well as people experimenting with data physicalization and other kinds of data visualization. If you have questions or ideas, let us know or come by one of our co-working sessions.