
Let’s Learn to Use Cricut
This post will help walk you through making your first Cricut vinyl cut to make a sticker! This tutorial will help get you oriented to the software – Cricut Design Space – and its features that are used to design objects to be cut on the Cricut.
Let’s begin!
- Open Cricut Design Space (which is on all of the Makerspace computers)
- Makerspace has an account. If not logged in, let a staff member log you in, or create your own account
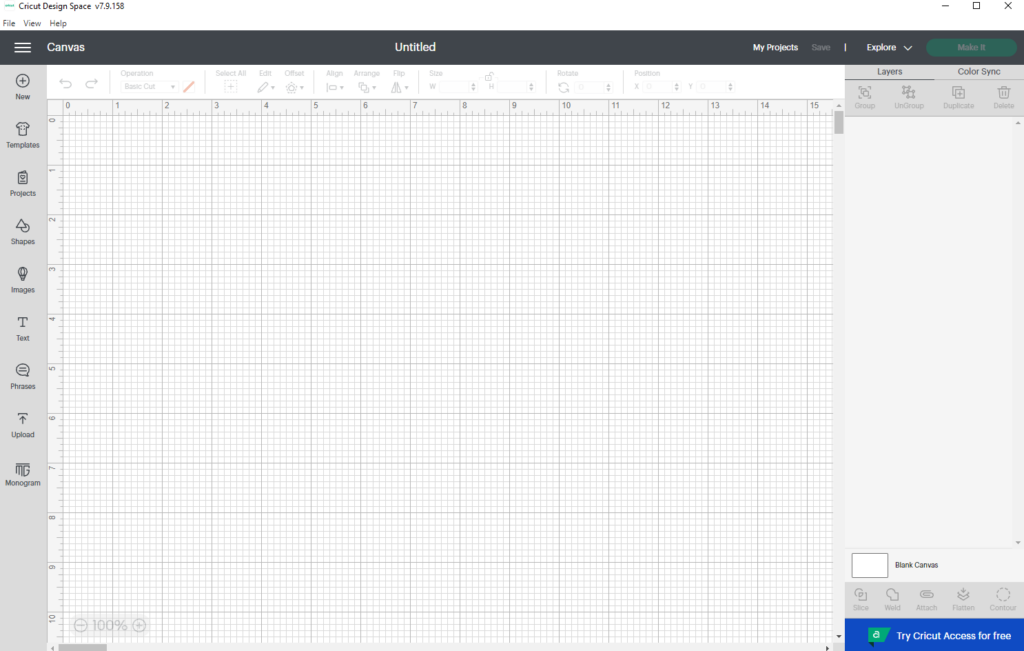
- Once signed in, click the green “New Project” on the top right
- A blank canvas will appear
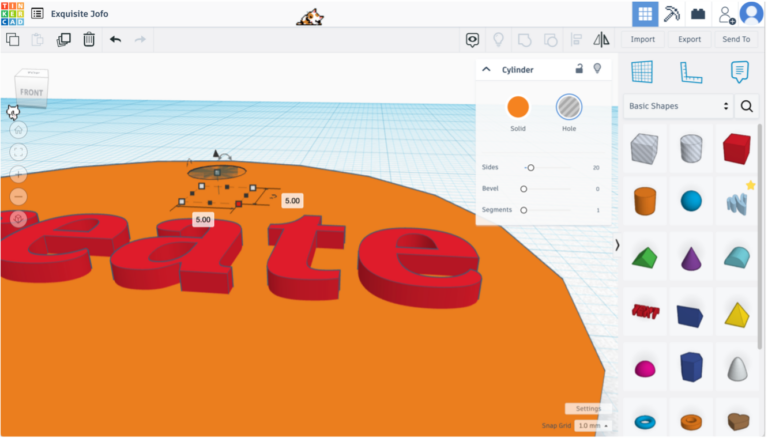
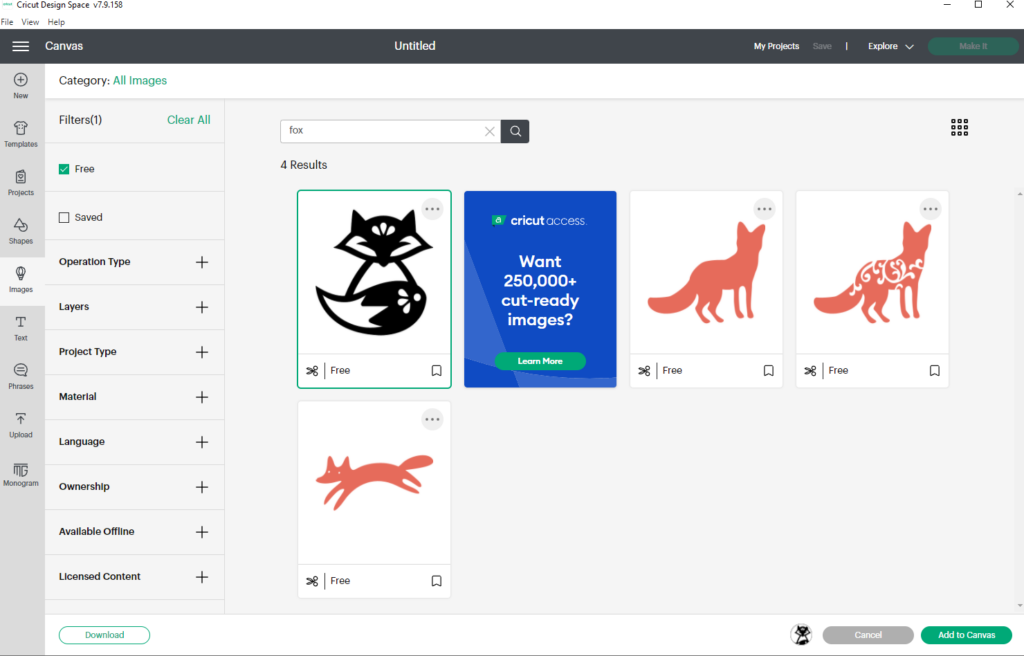
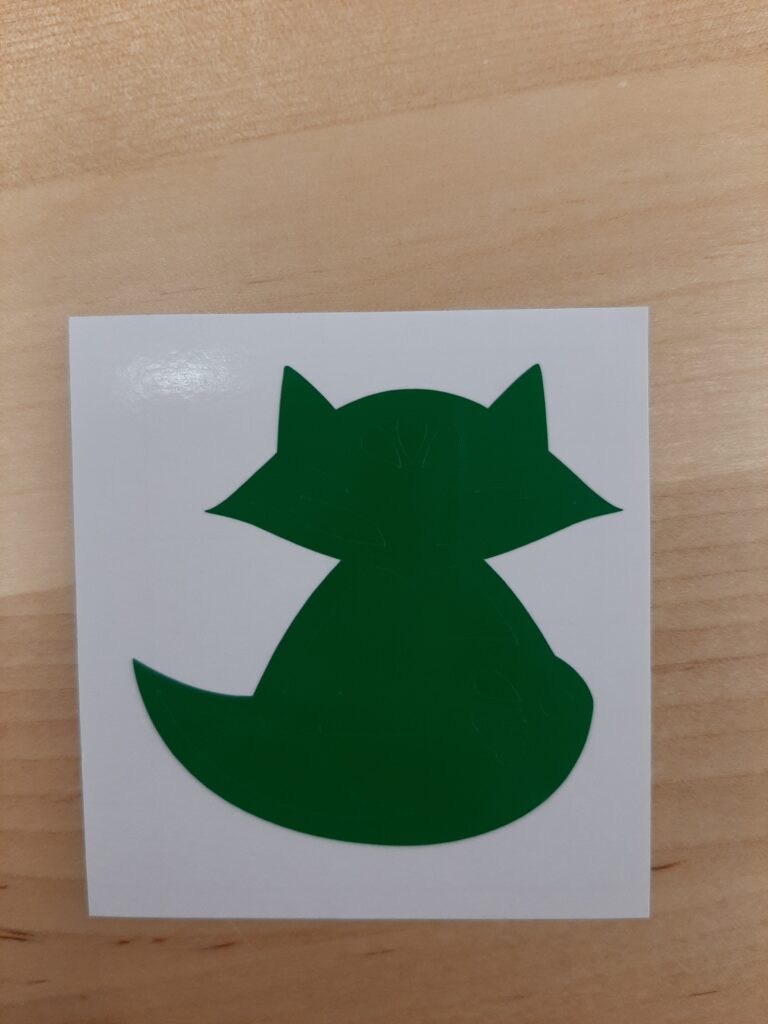
5. Click “Images” from the left column and search for “fox”. Click the “Free” filter. Choose the first image (the black one as seen below) and click “Add to Canvas”
6. Use the tools along the top or drag the corners of the image on your canvas to change the size as desired
7. If you want, save and title your work
8. Click the green “Make It” on the top right when ready to make your sticker
9. Click green “Continue”
10. Turn the Cricut machine on and connect to Bluetooth. The power button on the Cricut will turn blue once connected. It should connect automatically, but if not ask a staff member
11. Set base material (It will automatically be vinyl, click on that)
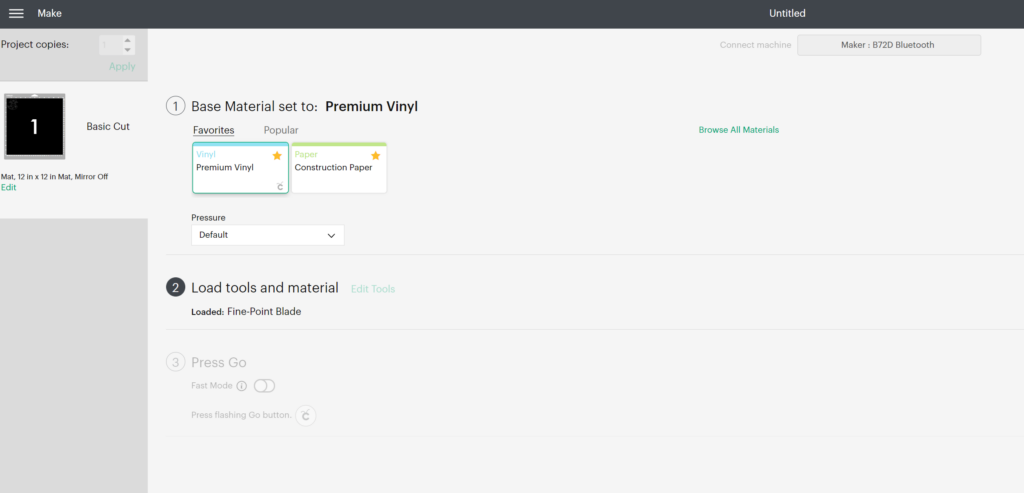
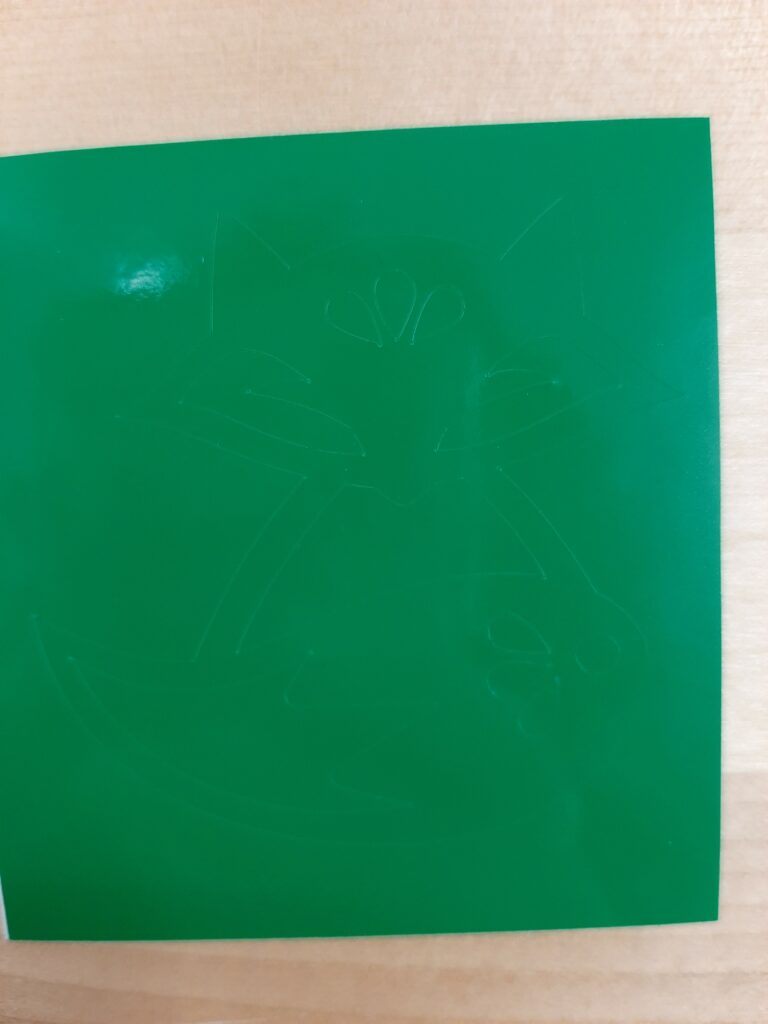
12. Put your desired colour of vinyl on the Cricut mat. Follow directions on the computer screen to load the mat and start the machine
13. Once finished cutting, unload mat the same you loaded it. Flip the mat and take the mat off your material. This will help keep the vinyl flat and prevent bubbling
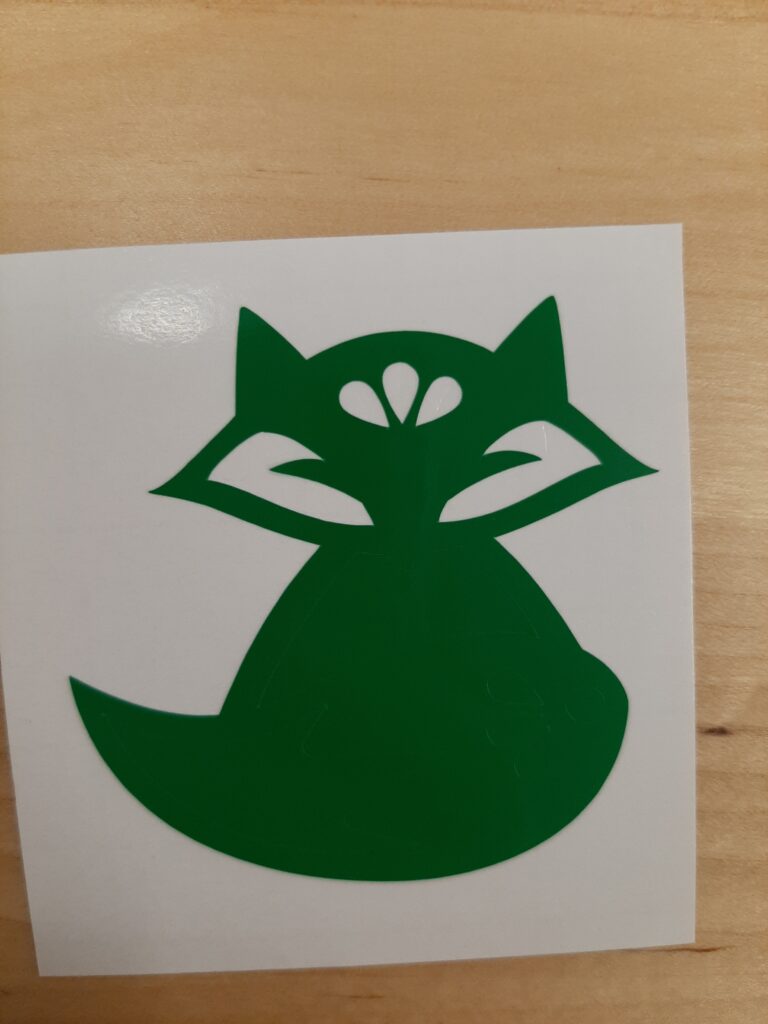
14. Now you must “weed” your sticker to remove the negative space so you will be left with your design. You can use the tools by the Cricut.
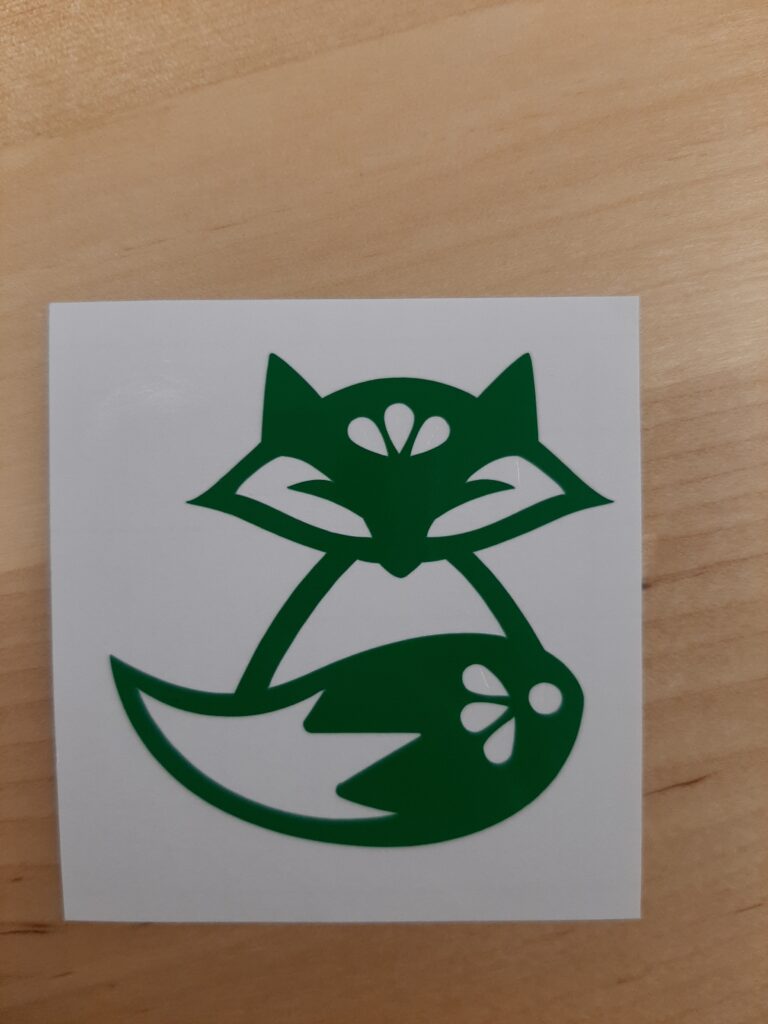
15. You made a sticker! Once designs get more complicated, use transfer tape to transfer your designs to your items.